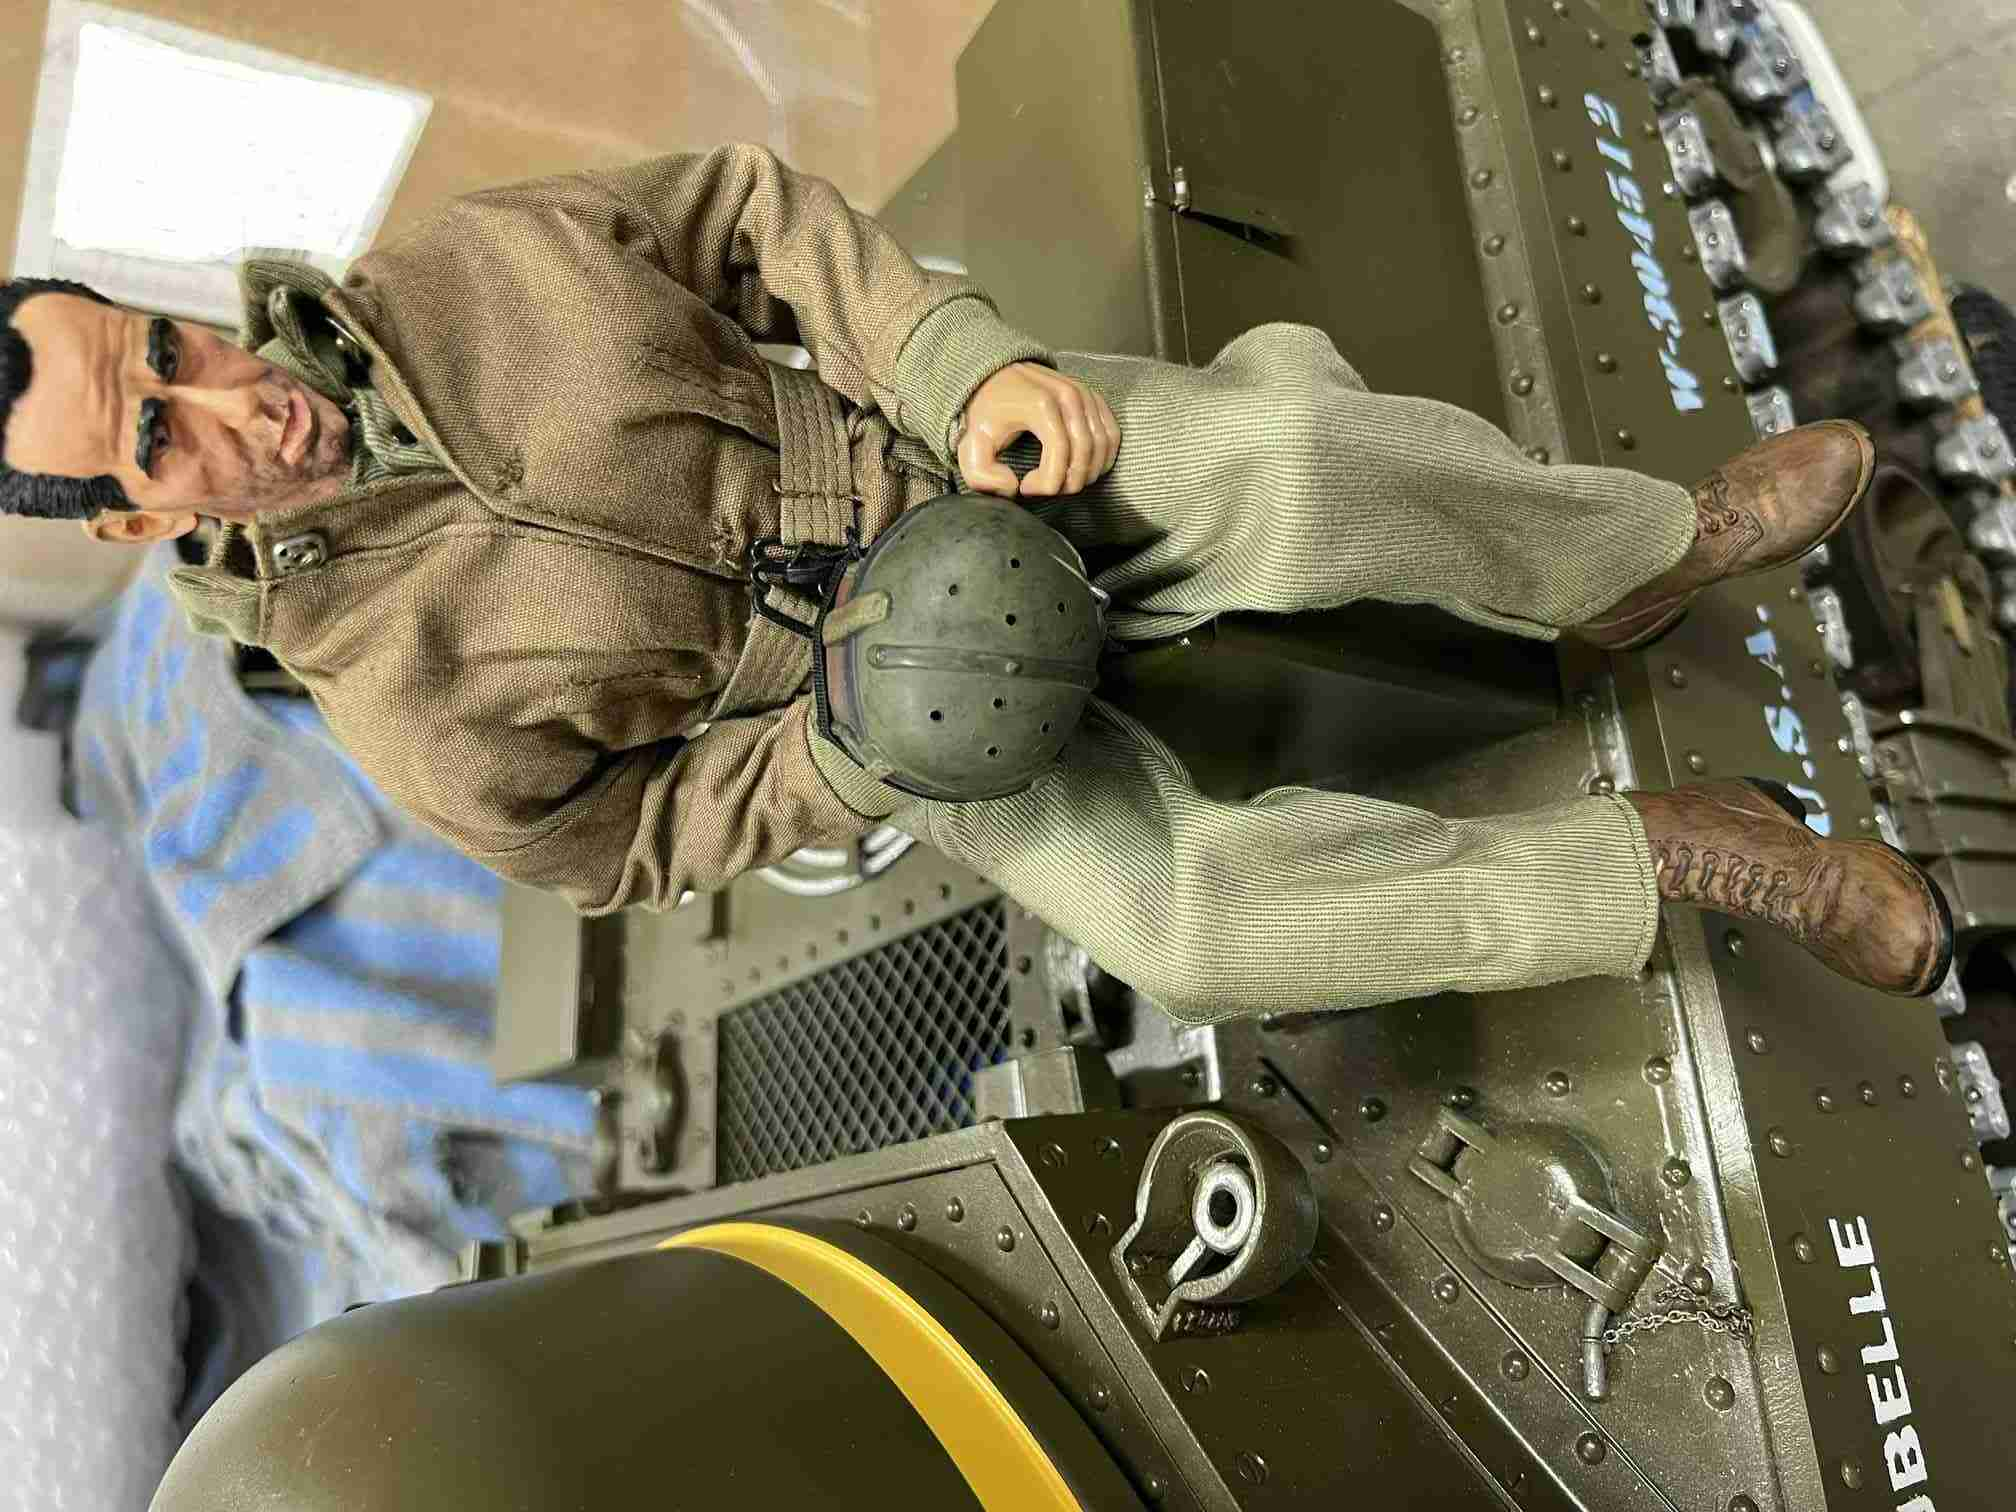
Armortek M3 Lee.
Armortek M3 Lee Medium tank
I've been admiring the Armortek models from a distance for quite some time. The idea of buying a model the size of these has appeal. Now I know many model builders working on these can spend years adding the nth level details to them. While I marvel and admire their work I don't have the patience nor deep seated interest in doing the same. That said there are certain details and additions both in construction and certain details of the model that I'm compelled to change. The M3 Kit I purchased was purchased from another modeler whose priorities changed. The Lee is decidedly outside of my experience in any scale which was a major reason I decided to purchase it. What follows is my brief article covering how I built this one. As most of this has been written after I completed the bulk of construction I will attempt to keep the timeline accurate. I purchased the model kit later in 2020
Unlike many builders I have no interest in describing 'unboxing' sessions or 'cataloging all the parts' as I don't get them and won't suffer anyone to read such here. The photos that follow are my preparation of the running gear parts. Part of my decisioning process for this model was to decide what paint to use. As you probably know one of the difficulties with my glaow powered models was finding paint that is fuel proof or fuel resistant. Not so with the electric models however I did end using an expoxy that is fuel proof as well. As it is costly and quite a lot was required I believe I will not use it on subsequent 1/6 electric models.Jerry 08/03/2021

As shown above I beganby sand blasting some of the parts that the previous owner had applied a thin coat of some sort of a Rustoleum primer. Assuming this was incompatible with my preferred coating I had to remove it from quite a few parts and some had considerably incomplete coverage. As my air compressor, a 'V' twin of 2hp isn't fully up to supplying the appropriate CFM rating to the blast cabinate sandblasting these few parts was an exercise in patience at best.

One of the first changes I needed to make was an improved looking pin for the bogie assembly which is the axle for the roadwheels. I acquired a number of 10mm steel hax head bolts and proceeded to modify the heads, bodies and threaded end to replace the simple bolts included in the kit. These are seen below.


From this point I began to make other straight forward modifications and began painting parts. The next change I made was to modify the idler wheel to use actual hex head screws to attach the outer cap to the hub. This was to replace the small rivets in the kit and I imagine the kit method of attachment was to glue the cap in place. Next was preparing the lower hull side plates. Now began the first of many rivets used in this kit! Once again I opted not to glue the rivets in place but rather purchased slightly longer versions and used a regular bench mounted rivet tool (rivet squeezer!) to secure the rivets. This worked exceptionally well. This will not be the last of my riveting on this model!! Jerry





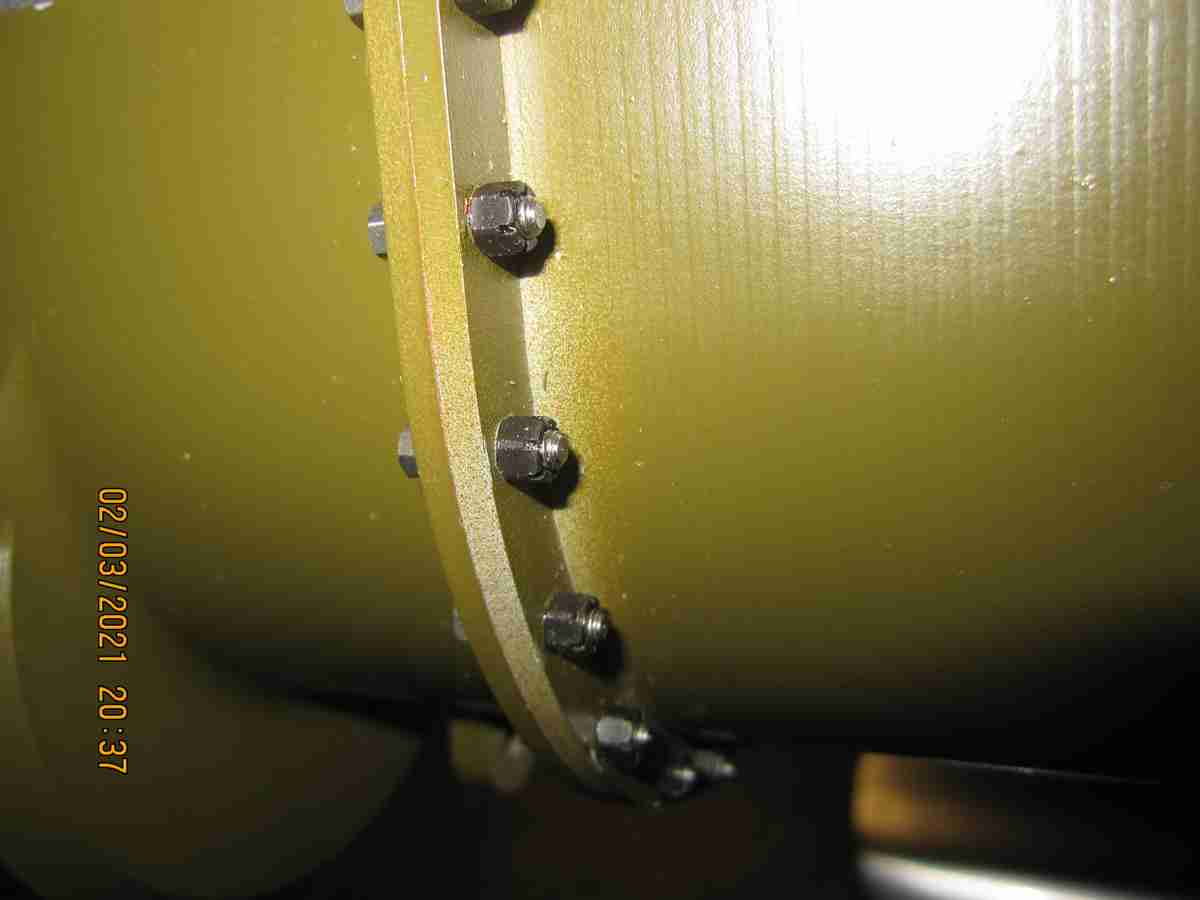
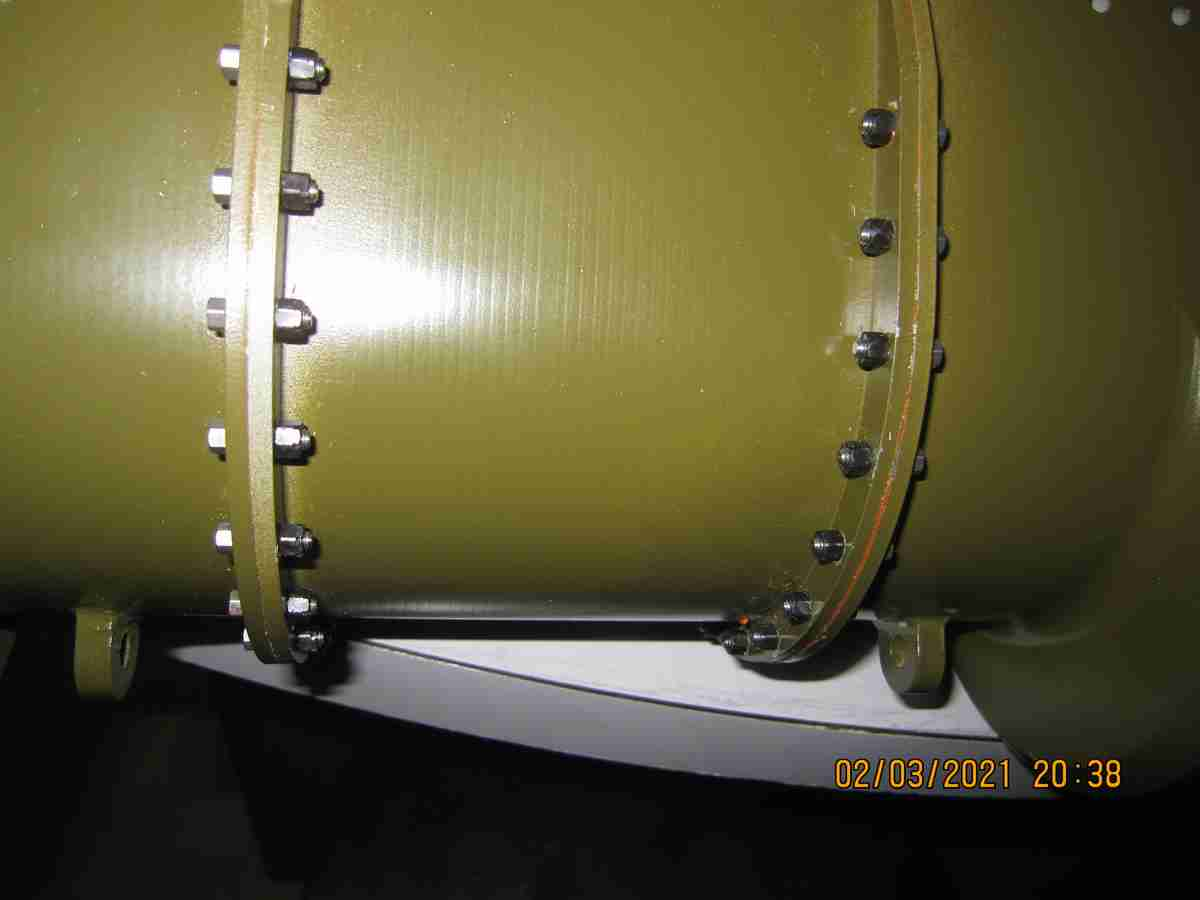
other items I felt I had to change.... screws! Armortek gives you everything you need to build up a first rate model but I've already said this or should have. Unfortunately for me some of the hardware while supremely functional just isn't 'to scale'. There are sitain situations where on the original machines higher grade fasteners were used that run of the mill hardware you would normally find at your hardware store. Now if I say anything further I'll demonstrate that I'm out of my league here as I don't know the actual technical terms for this rather than what I use: 'engineering grade'. A very significant characteristic of these sorts of nuts and bolts are that they are shaped such the height to width is proportional. I don't know what the ASTM or SAE, DIN or British equivalent standard are or what they are named. Most of the hardware needed for a model is functional and not seen but some is. I was compelled to replace the stock fasteners included in the kit for these area: The sprocket rings to the sprockets, the bogie bodies to hull bolts, the front transmission housing- bothe the hex bolts suppied and nuts- I purchased steel castellated nuts from Stehr. Not obvious changes; you have to look pretty close to see most of this and 9 of 10 will likely never notice. But I do.

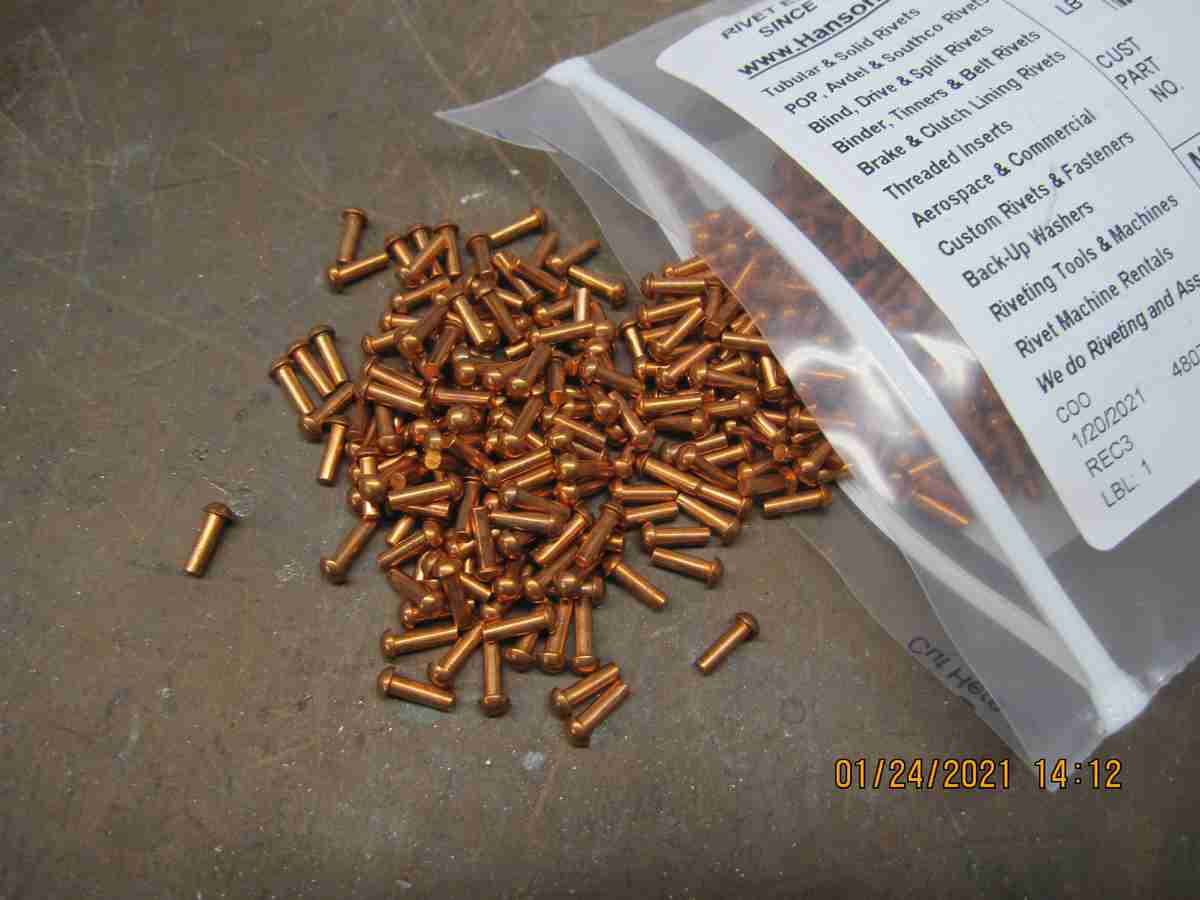
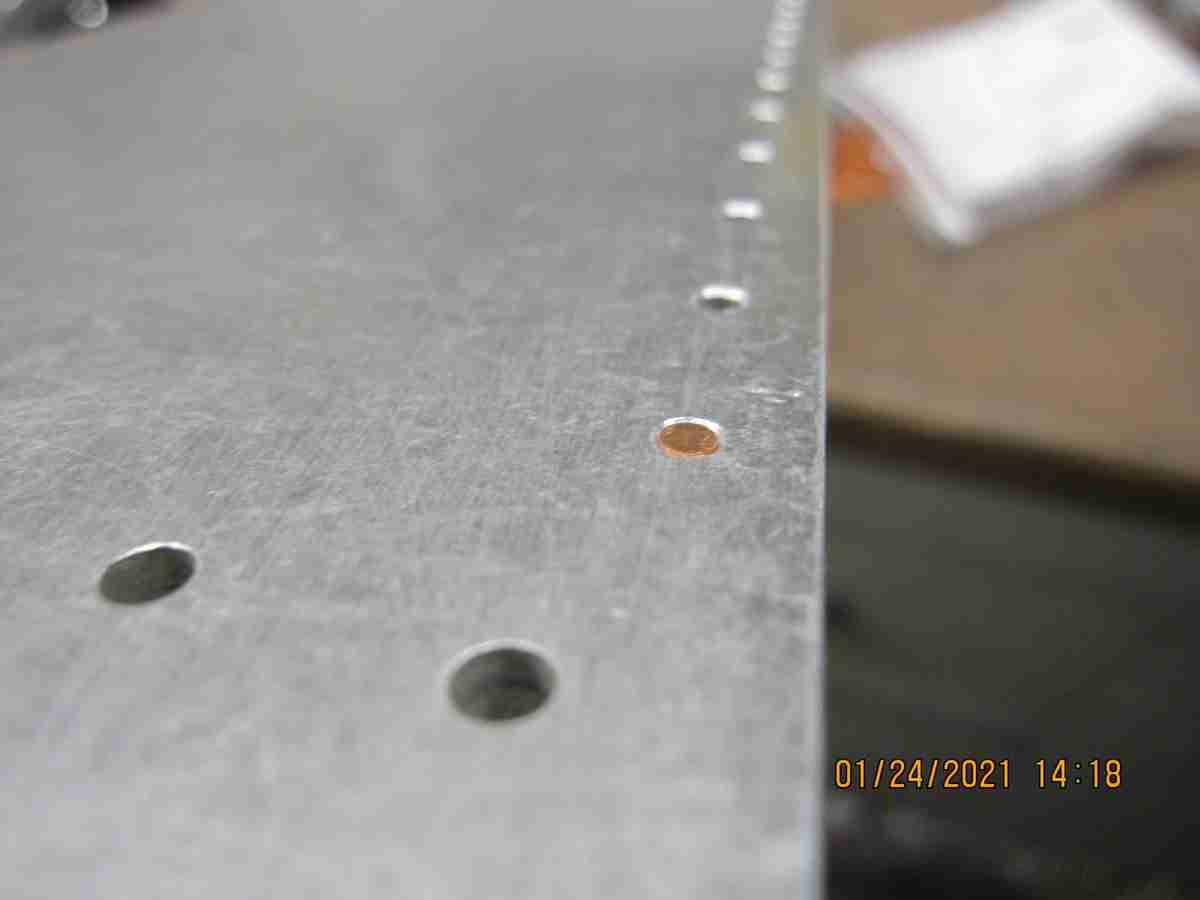
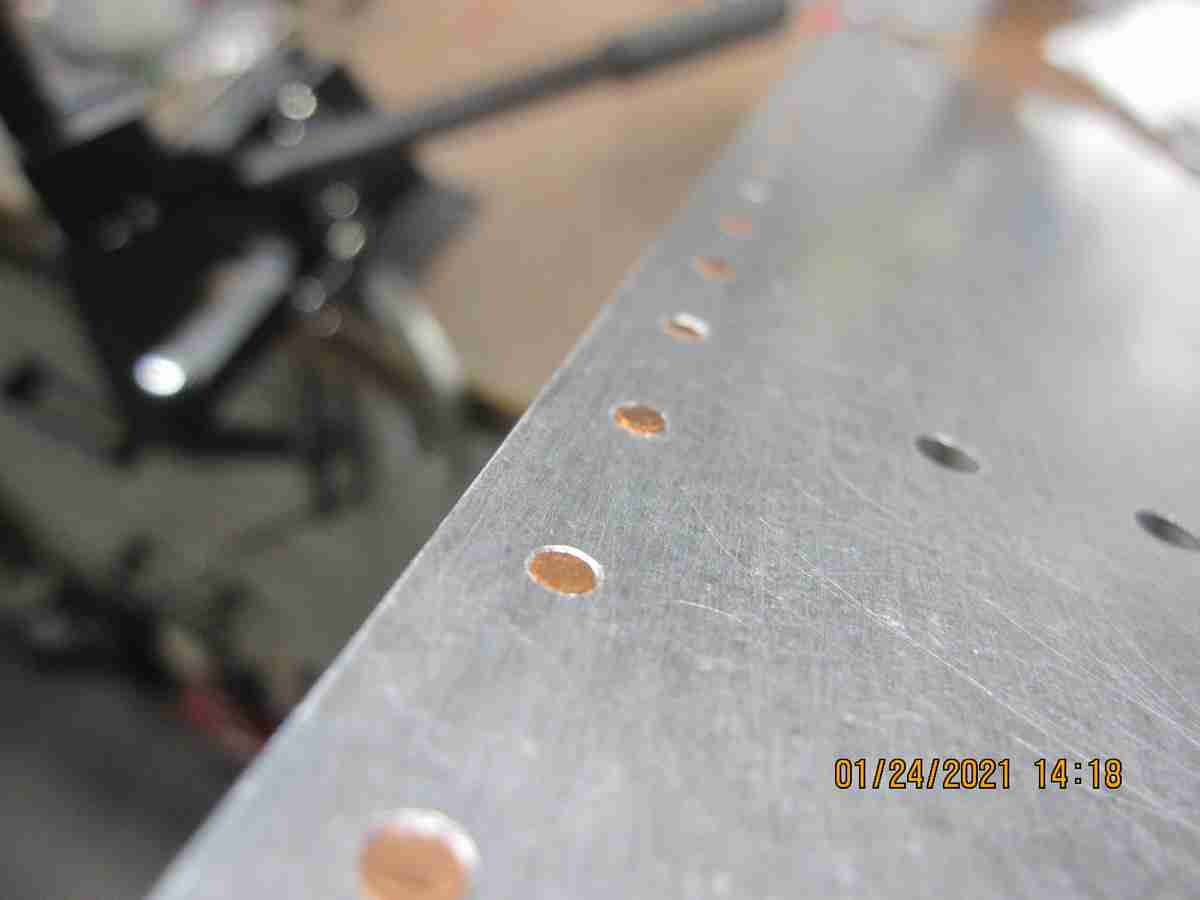
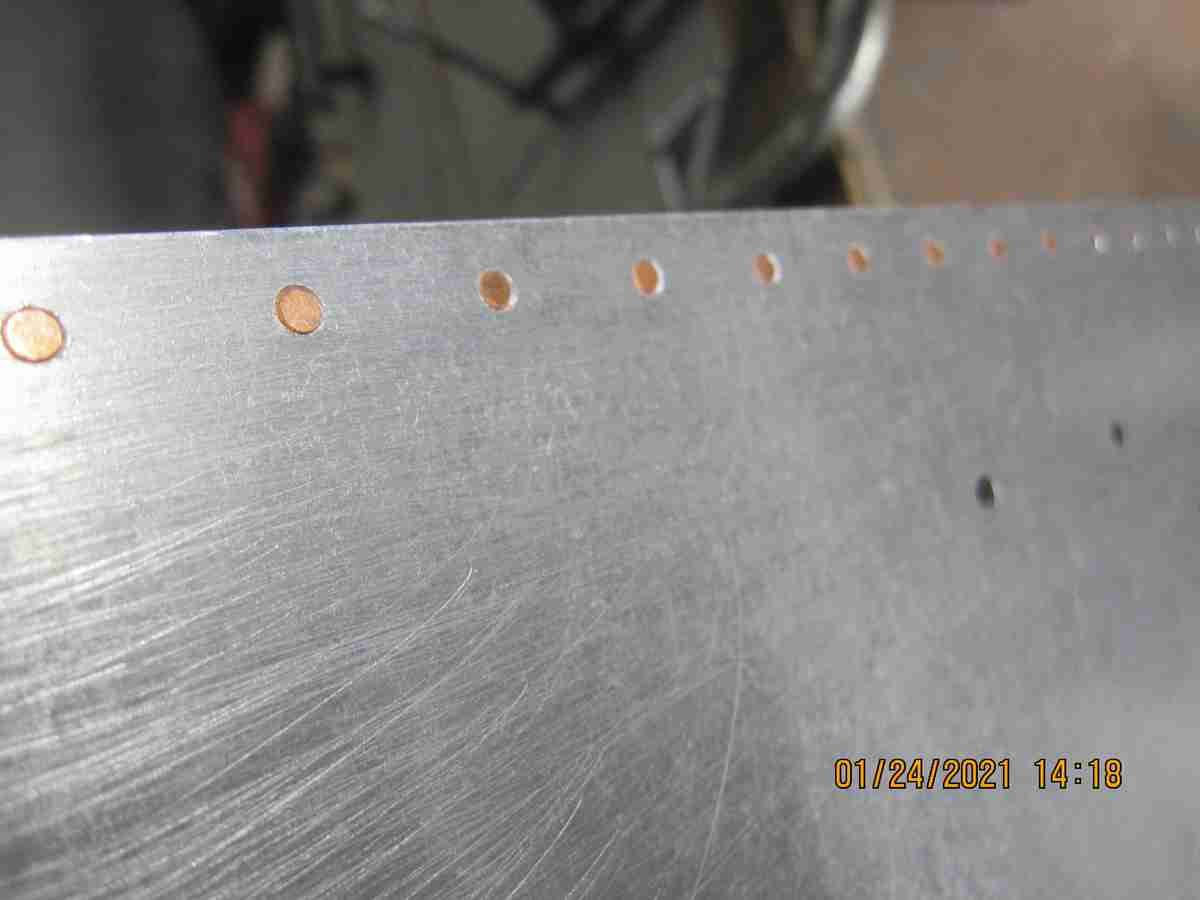
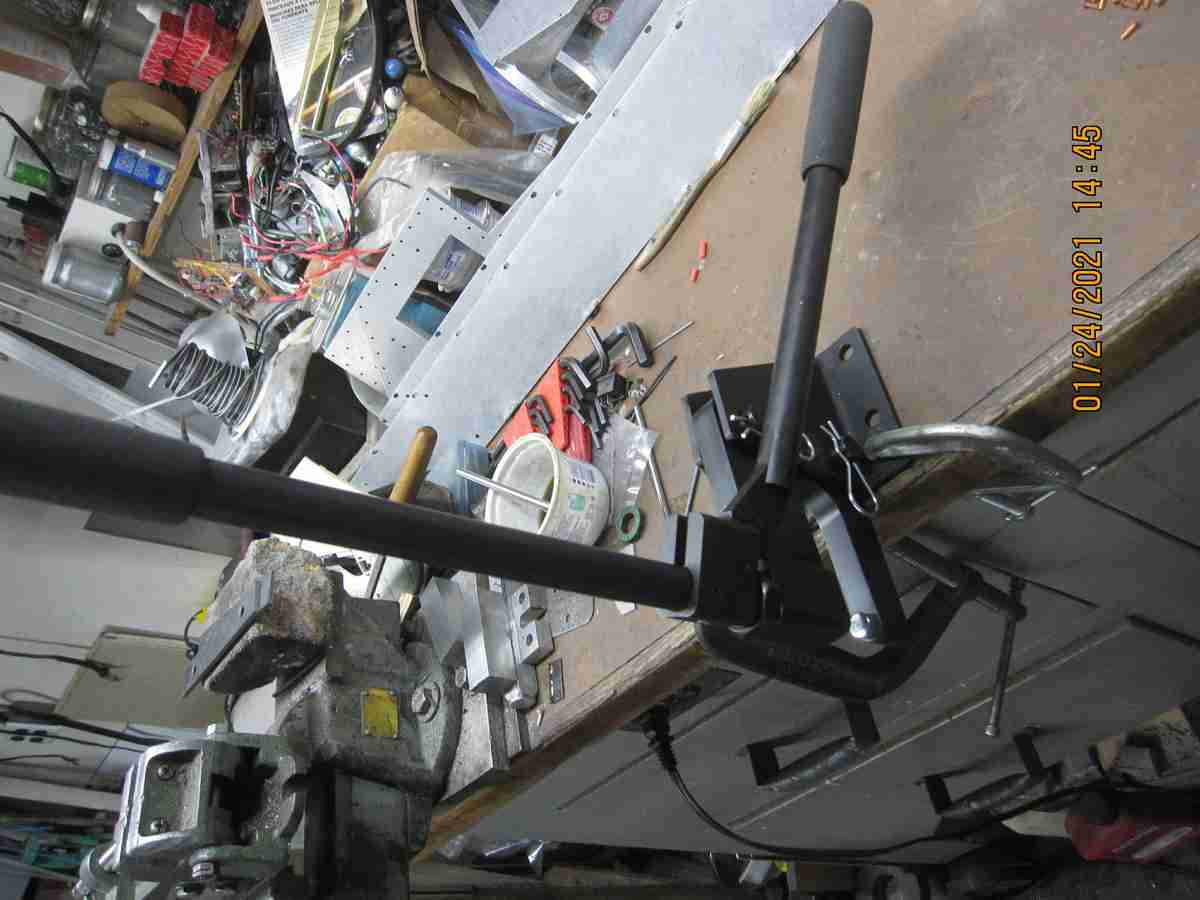
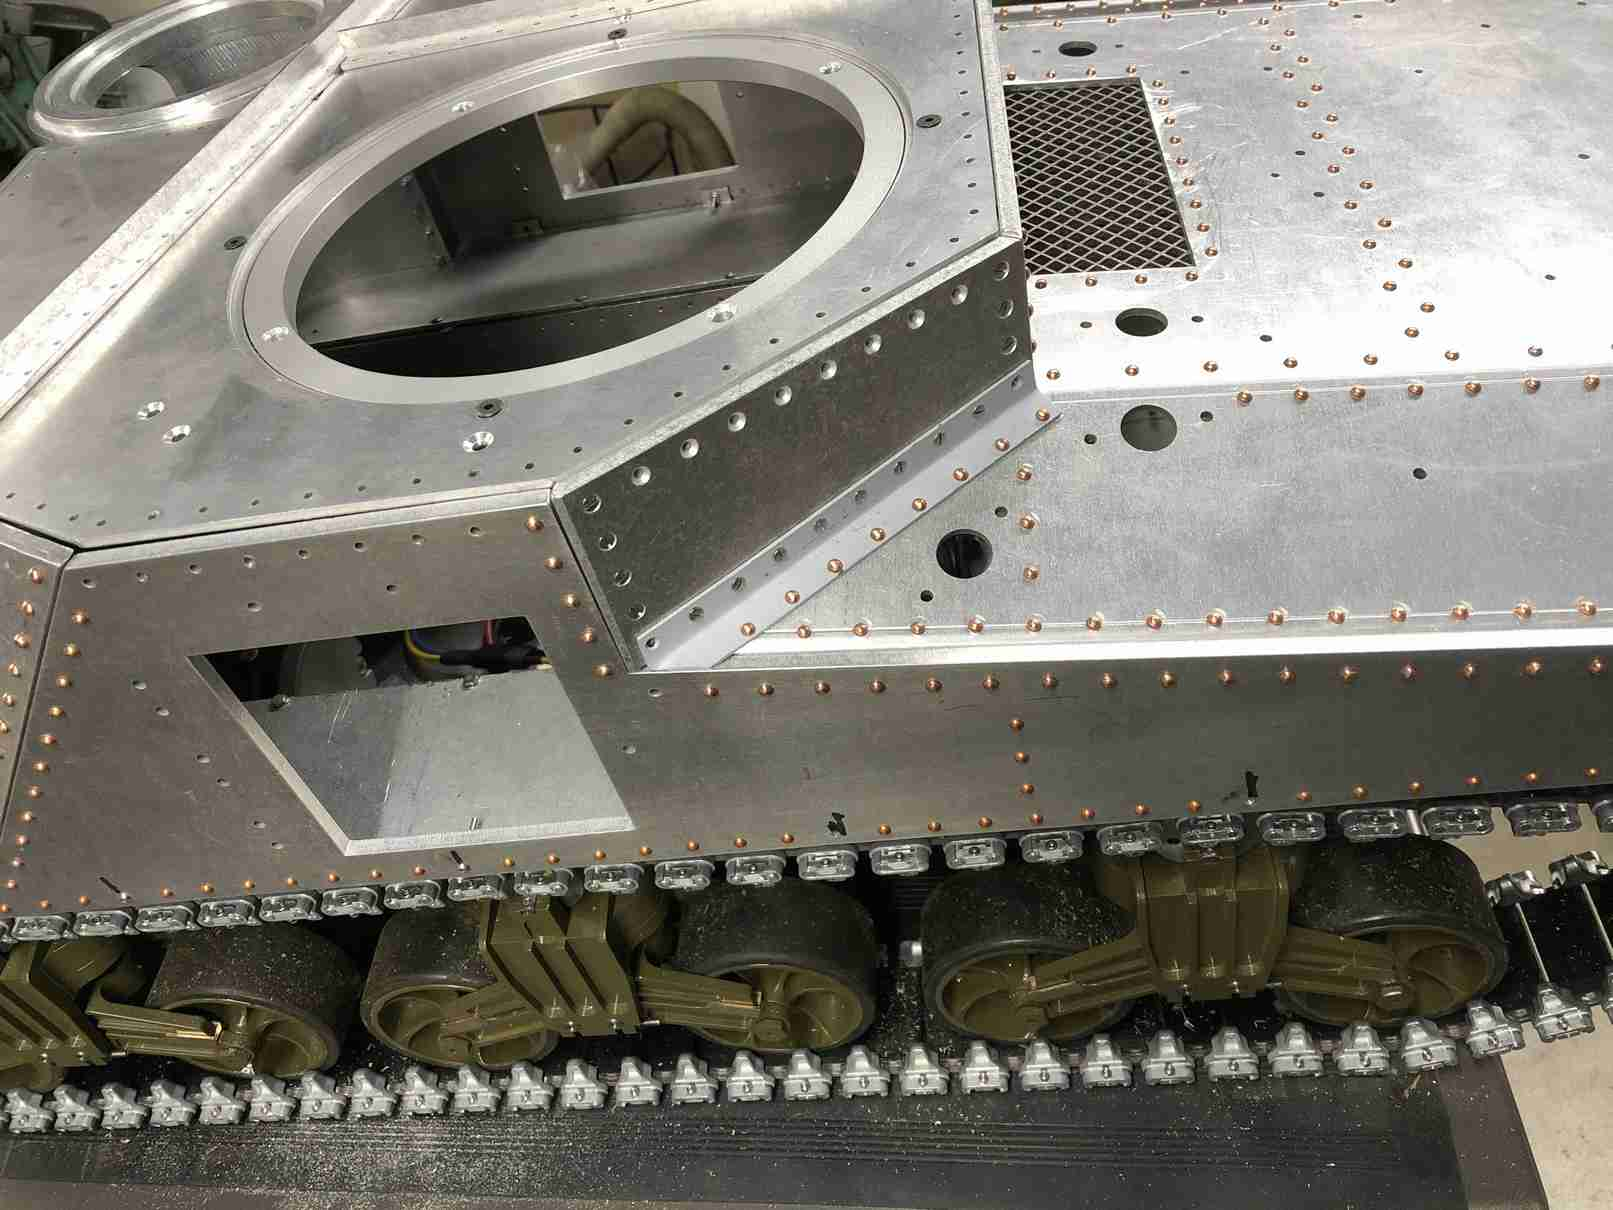
the next bee I got in my bonnet is that I decided that this being a riveted upper hull I was going to rivet it together. My goal plainly put was to use the absolute minimum of screws and as many real functional rivets as possible. I ended up purchasing rivets by the pound! both copper and aluminium as I wasn't certain how they would work. I made my own rivet tool as the rivet squeezer wasn't able to reach most of what I had to do. I riveted the entire upper hull by myself and it got heavier and heavier as more pieces were added! There were times when I questioned my decision. Fortunately I realized early on that I could actually use the upper hull's weight in my favor so it ended up working pretty well and I was able to maintain alignment in all aspects. I did many trial fittings using long 2-56 and 2mm screws and also used the same to maintain alignment until rivets could take their place. I also used backing washers whereever I could to maintain strength. As a final test I decided go big or go home so I test the strength of the upper hull by sitting on it! I'm happy to say it passed the test! I didn't take many photos of the riveting progress nor could I take any 'action shots' of me actually riveting anything for as I said I was pretty much flying solo in that regard. And it was somewhat noisy. You can get a sense of it from the photos I did take along the way and as I painted the hull.



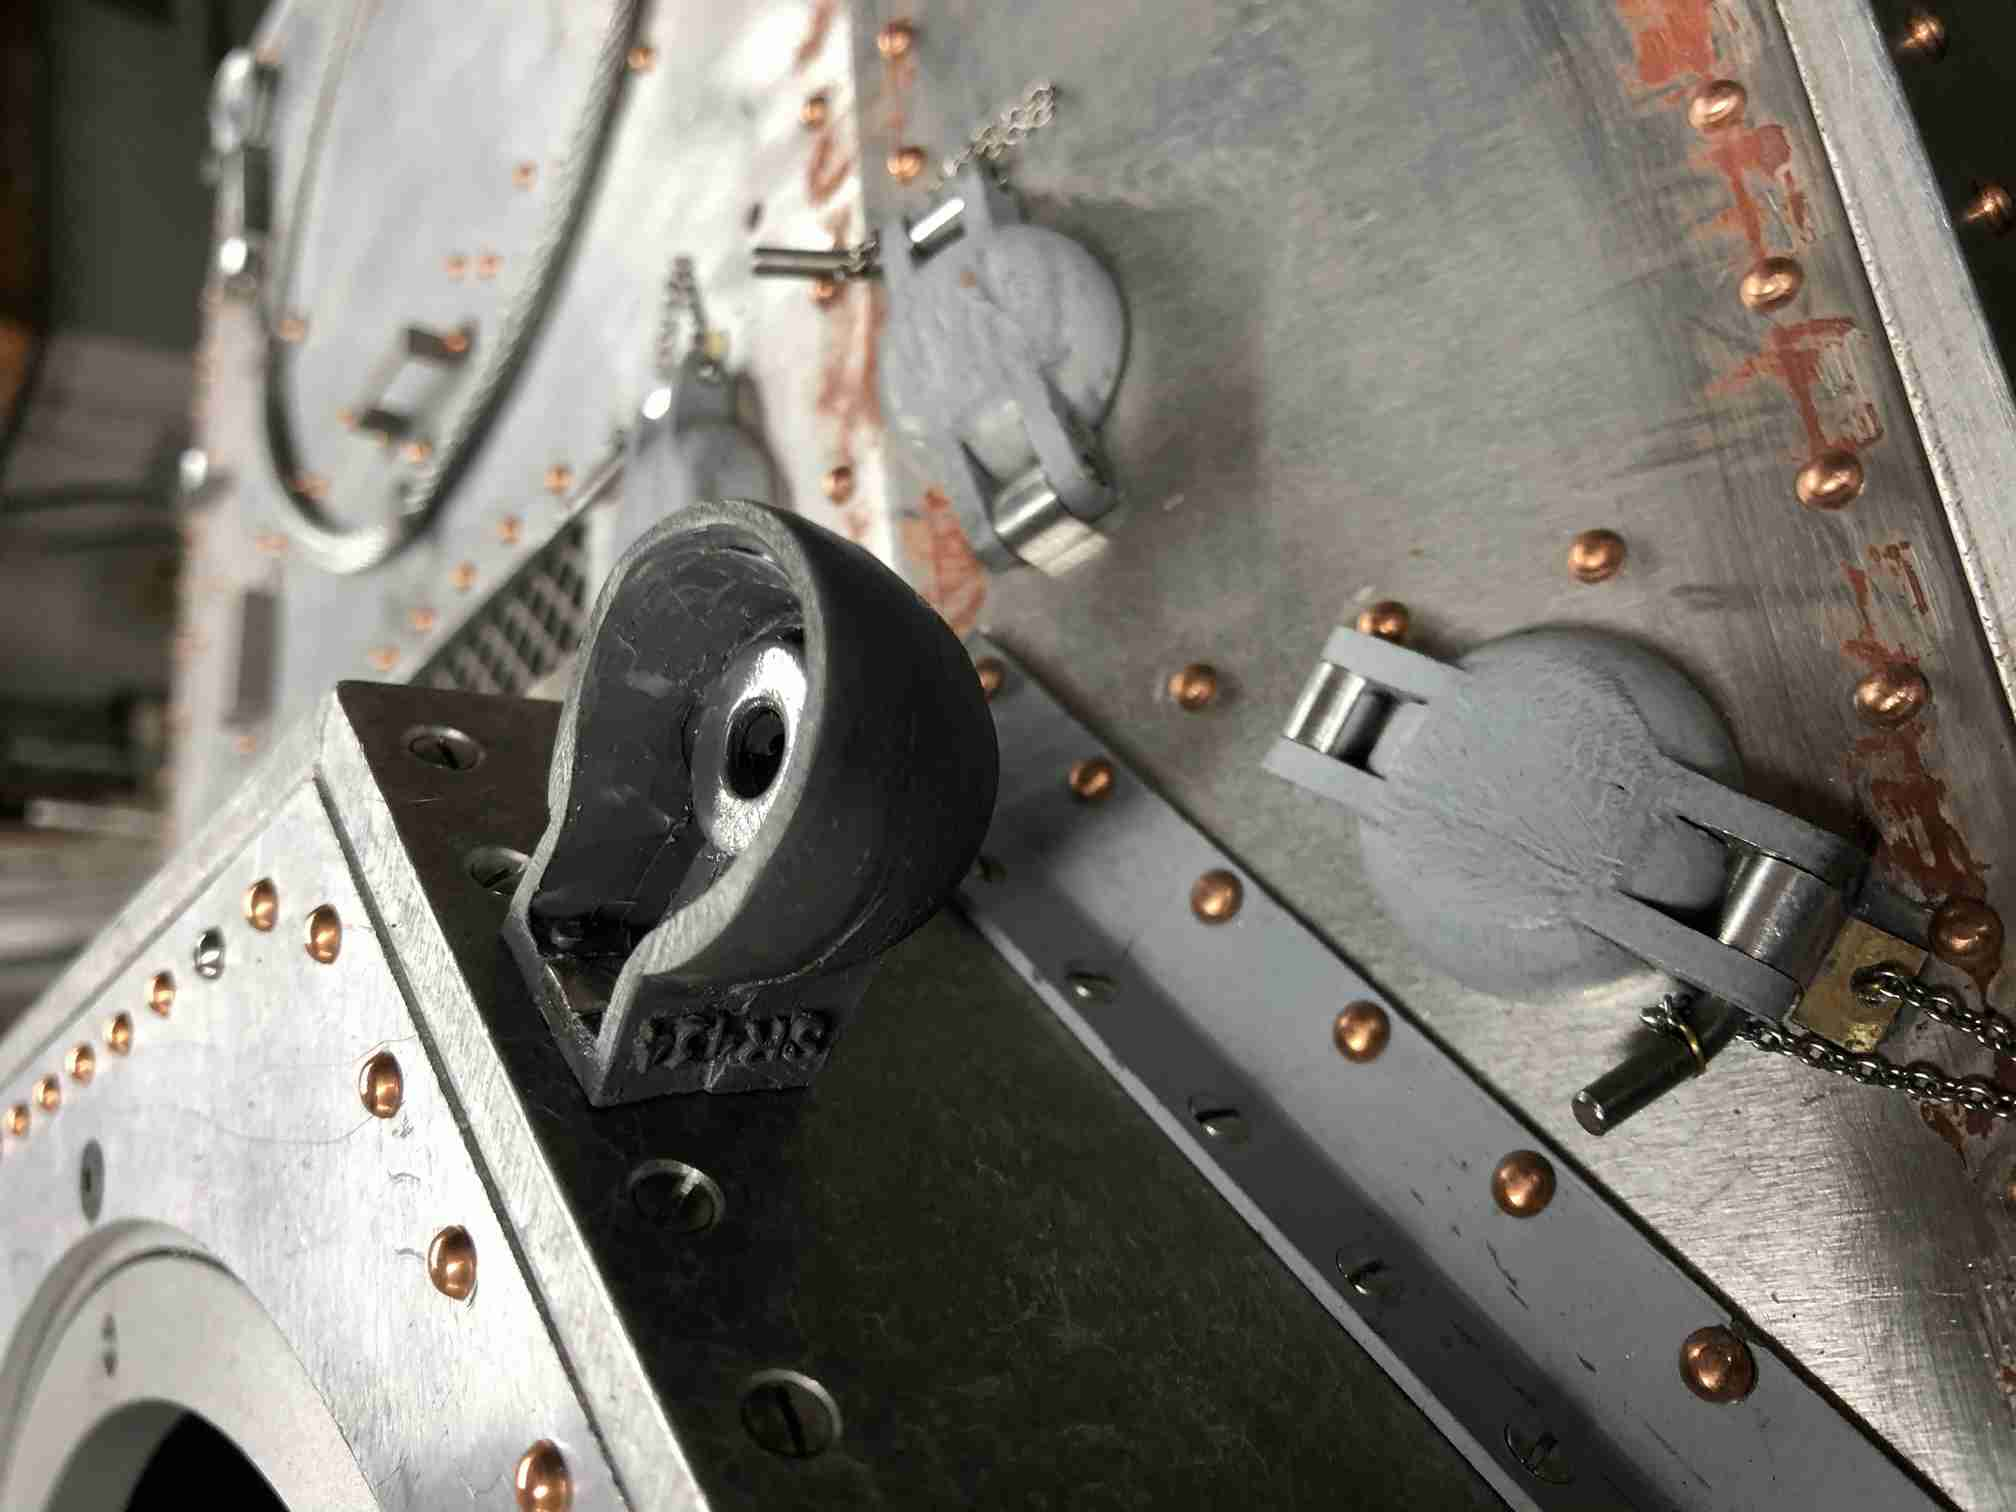
I did make some other fun modifications to the basic contruction. I made a loose interpretation of the front glacis mounted 'protecto scope' which actually can rotate although at some point I'll likely re-make this as the internal drum is too small; still it looks much better than a plastic part or worse just an empty hatch. I also made a functional glacis hatch support complete with full articulated tiny univeral and stoawge clip. I made functional side door latches roughly based on originals I saw in photos. All from steel. When I assembled the fuel and coolant hatches I actually riveted the parts together, gave them a rough cast-like coating to roughen them up. I also made retaining chains for the securing pins although I was admonished for using the bent versions included in the kit whereas the orignal were straight pins. I did add some resin parts in the form of the Antenna pot on the port side and the rear tail lights. Both purchased from East Coast Armory. I plan to make the head and tail lights functional. I remade the cupola hatch so it would fold where it should and used the kit supplied hinges to make more realistic appearing versions.


Painting the model and installing the recoil and other elements of the electrical and mechanics bring this account fairly current. I have some more work on the radio and as I take a break on my other project (Maier- Klingberger Panther) I will get back to this and recount the current progress here. Jerry 08/05/2021
I've implemented an sbus to pwm converter to allow me to expand into using channels 9-12. The first is to use ch 9 to control the Cupola mg elevation. I'd run out of channels stopping at 8. I'm hoping I will be able to use a TBS mini to control the headlights and tail lights. I know I could mix in the throttle to simulate brakes coming on whenever the throttle is centered but I don't believe I'm going to do that; I just want to be able to activaate the lights on demand. The IBS mini requires two channels minimally to effect the controls but one needs to be a pot of some sort so I may just use a RC switch as a more cost effective alternative. To waste a Benedini mini just to turn two lights off and on seems a pretty big waste! Anyway I hope to test this out today or tomorrow.
I've decided I'm going to finish the model as an early deploment to Tunis North Africa. The striping and star will be yellow, the registry number and "U.S.A." in a light blue. I just like the early paint scheme; not sure that's terribly authentic but I like it. So I'm beggining to cut out stencils and awaiting a friend who is going to mix some paint for me to this end.... Jerry 08/22/2021
I'm happy to report using the sbus adapter was successful. I have control of the cupola MG elevation using channel 9. This adapter is a very handy gadget and very inexpensive.
I resolved a nagging problem with the 75mm traverse. I could never get it to work properly as the instructions specified. Basically the original design called for a servo, mounted on the side of the lower hull neear the 75mm gun rotor to be attached to the very bottom of the rotor with a 4mm screw. The rotor was unsupported at the bottom and the issue was it would bind putting the servo in a situation it could not resolve. In a nutshell I relocated the attachment point to the top of the rotor and relocated the servo to the left flange of the rotor housing. This solved to issues; one the traverse works perfectly and now that the servo is attached to the upper hull I no longer have to worry about having to disconnect the servo arm when removing the upper hull. I'm pleased with the way this turned out and so I can move forward with the final touches on this model. Jerry 08/30/2021


I had had a problem with preportional engine sound but corrected the issue. At this point I need to just do touch up painting of the primary color and then mask the model for the divisional markings, insignia and registration numbers. I hope to get this done within a reasonable time however I have a scheduled responsibility that will keep me offline for a while. I will post the results of the painting sessions here. Jerry 09/12/2021
Here's a brief video...
Armortek 1/6 M3 Lee !
I realized I rather left this hanging about a year ago and never followed up with the last bits I did to the model. I finished the lamp assemblies including mounting better lenses for the headlights and finishing the rear tail light covers. There was some touch up on the body I did with small brushes and light airbrushing. I finally got around to cutting stencils (by hand!) in order to apply tactical markings, the USA registration number and the name; Lulubelle. I had always intended this to appear as my rendition of Bogart's Lulubelle from 1942's "Sahara". At some point I need to make a proper antenna and I want to give some attention to the tools and stowage on the rear deck- most likely make or obtain better ones and work over the clamps/mounts. I also need to finish wiring the lamps. Jerry 09/24/2022


