The old girl arrives in Concord!...
Very early Maier Panther with Klingeberger conversion system.
Here's a variation on a Maier Panther. This model has a Klingeberger conversion unit. I will directly quote from the former Klingeberger web site (https://www.klingeberger.de/firmengeschichte.htm):
"1975: Produktion einer Antriebseinheit für einen 40 kg schweren Metallpanzer "Panther". Das dazu erforderliche "diesel-elektrische Starter-Generator-Aggregat" war damals eine echte Sensation im Modellbau und wurde zum Patent angemeldet." ("1975: Production of a drive unit for a 40 kg heavy metal tank "Panther". The "diesel-electric starter-generator unit" required for this was a real sensation in model making at the time and a patent was applied for.")
This unit replaced or was used in place of Maier's transmission and engine. I'm not certain how many were ever built or used in models but the documentation I have indicates that they were developed specifically for Maier's Panther. Why? I thought the same and the only explanation I could come up with is that Maier's first three speed gearbox, that 'open faced' clutchless version (seen on my gearbox pages) while sturdy and worked did not allow for slow turns and was likely not well received however I cannot be sure. This is purely conjecture on my part.
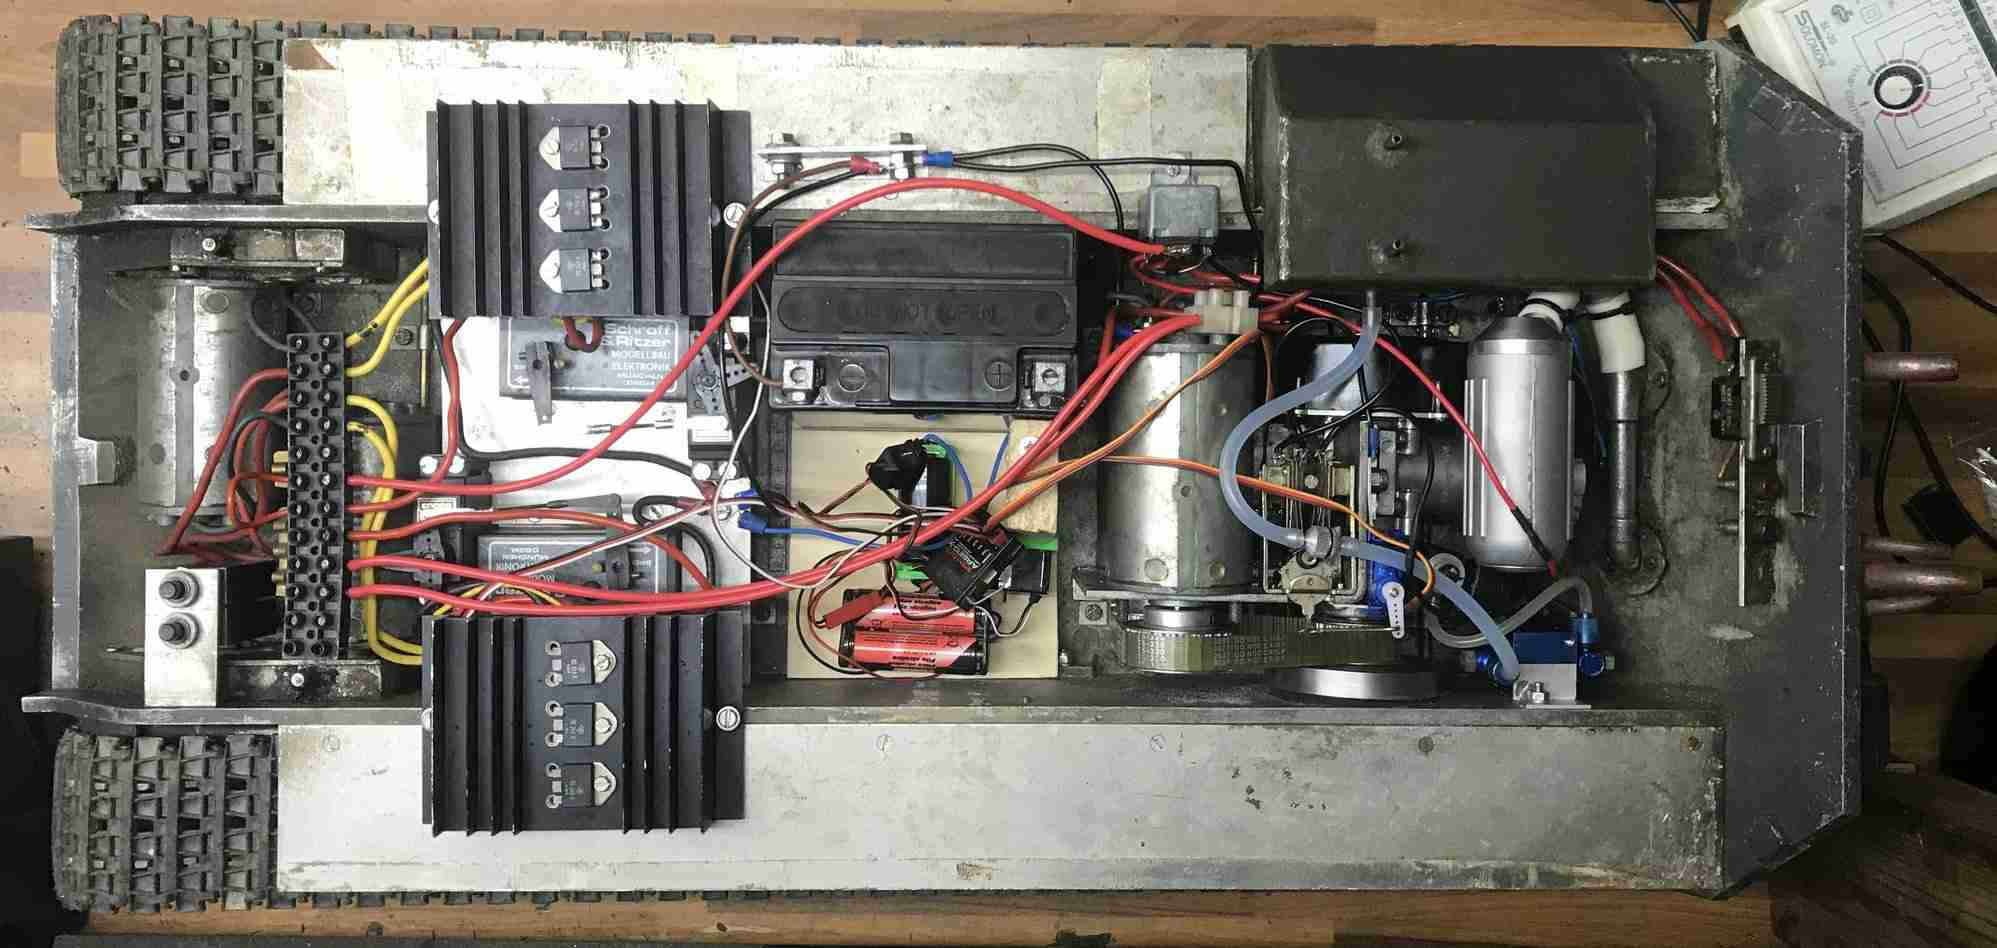
I will be writing more about this but as I know very little about these units I plan to work on this over time as I can. I am able to say with fair certainty that the Maier Panther model used here is a very early example as the serial number indicates it was made 19 February 1970(!) so by far the earliest example of a Maier Panther I've ever seen or had as it predate my original by a good 6 years making this one fully 51 years old. I believe the Klingeberger unit is also an early version as the documentation I have ( which came with a partial system purchased 5 years prior) describes a slightly different version. The basic unit comprises a HB .61 PDP ( 10ccm) engine drive twin large permanent magnet motors to generate power that is used to power the model via specially designed gear motor drive that attached to the final drives. As I mention I will write more about this however I wanted to get this page started with a brief write up, photos an screen captures from the Klingeberger web site. I wrote to Mr Klingeberger last year when this model appeared in an RCU thread ( more later) and he informed me that not only had he recently stopped his business (no one to take it over) but he had stopped production of this unit many years ago. That's all for now. 05/30/2021 Jerry
Please note that some of these following few photos are not mine but rather from the fellow who wrote the article about this on RCU...
The old girl arrives in Concord!...
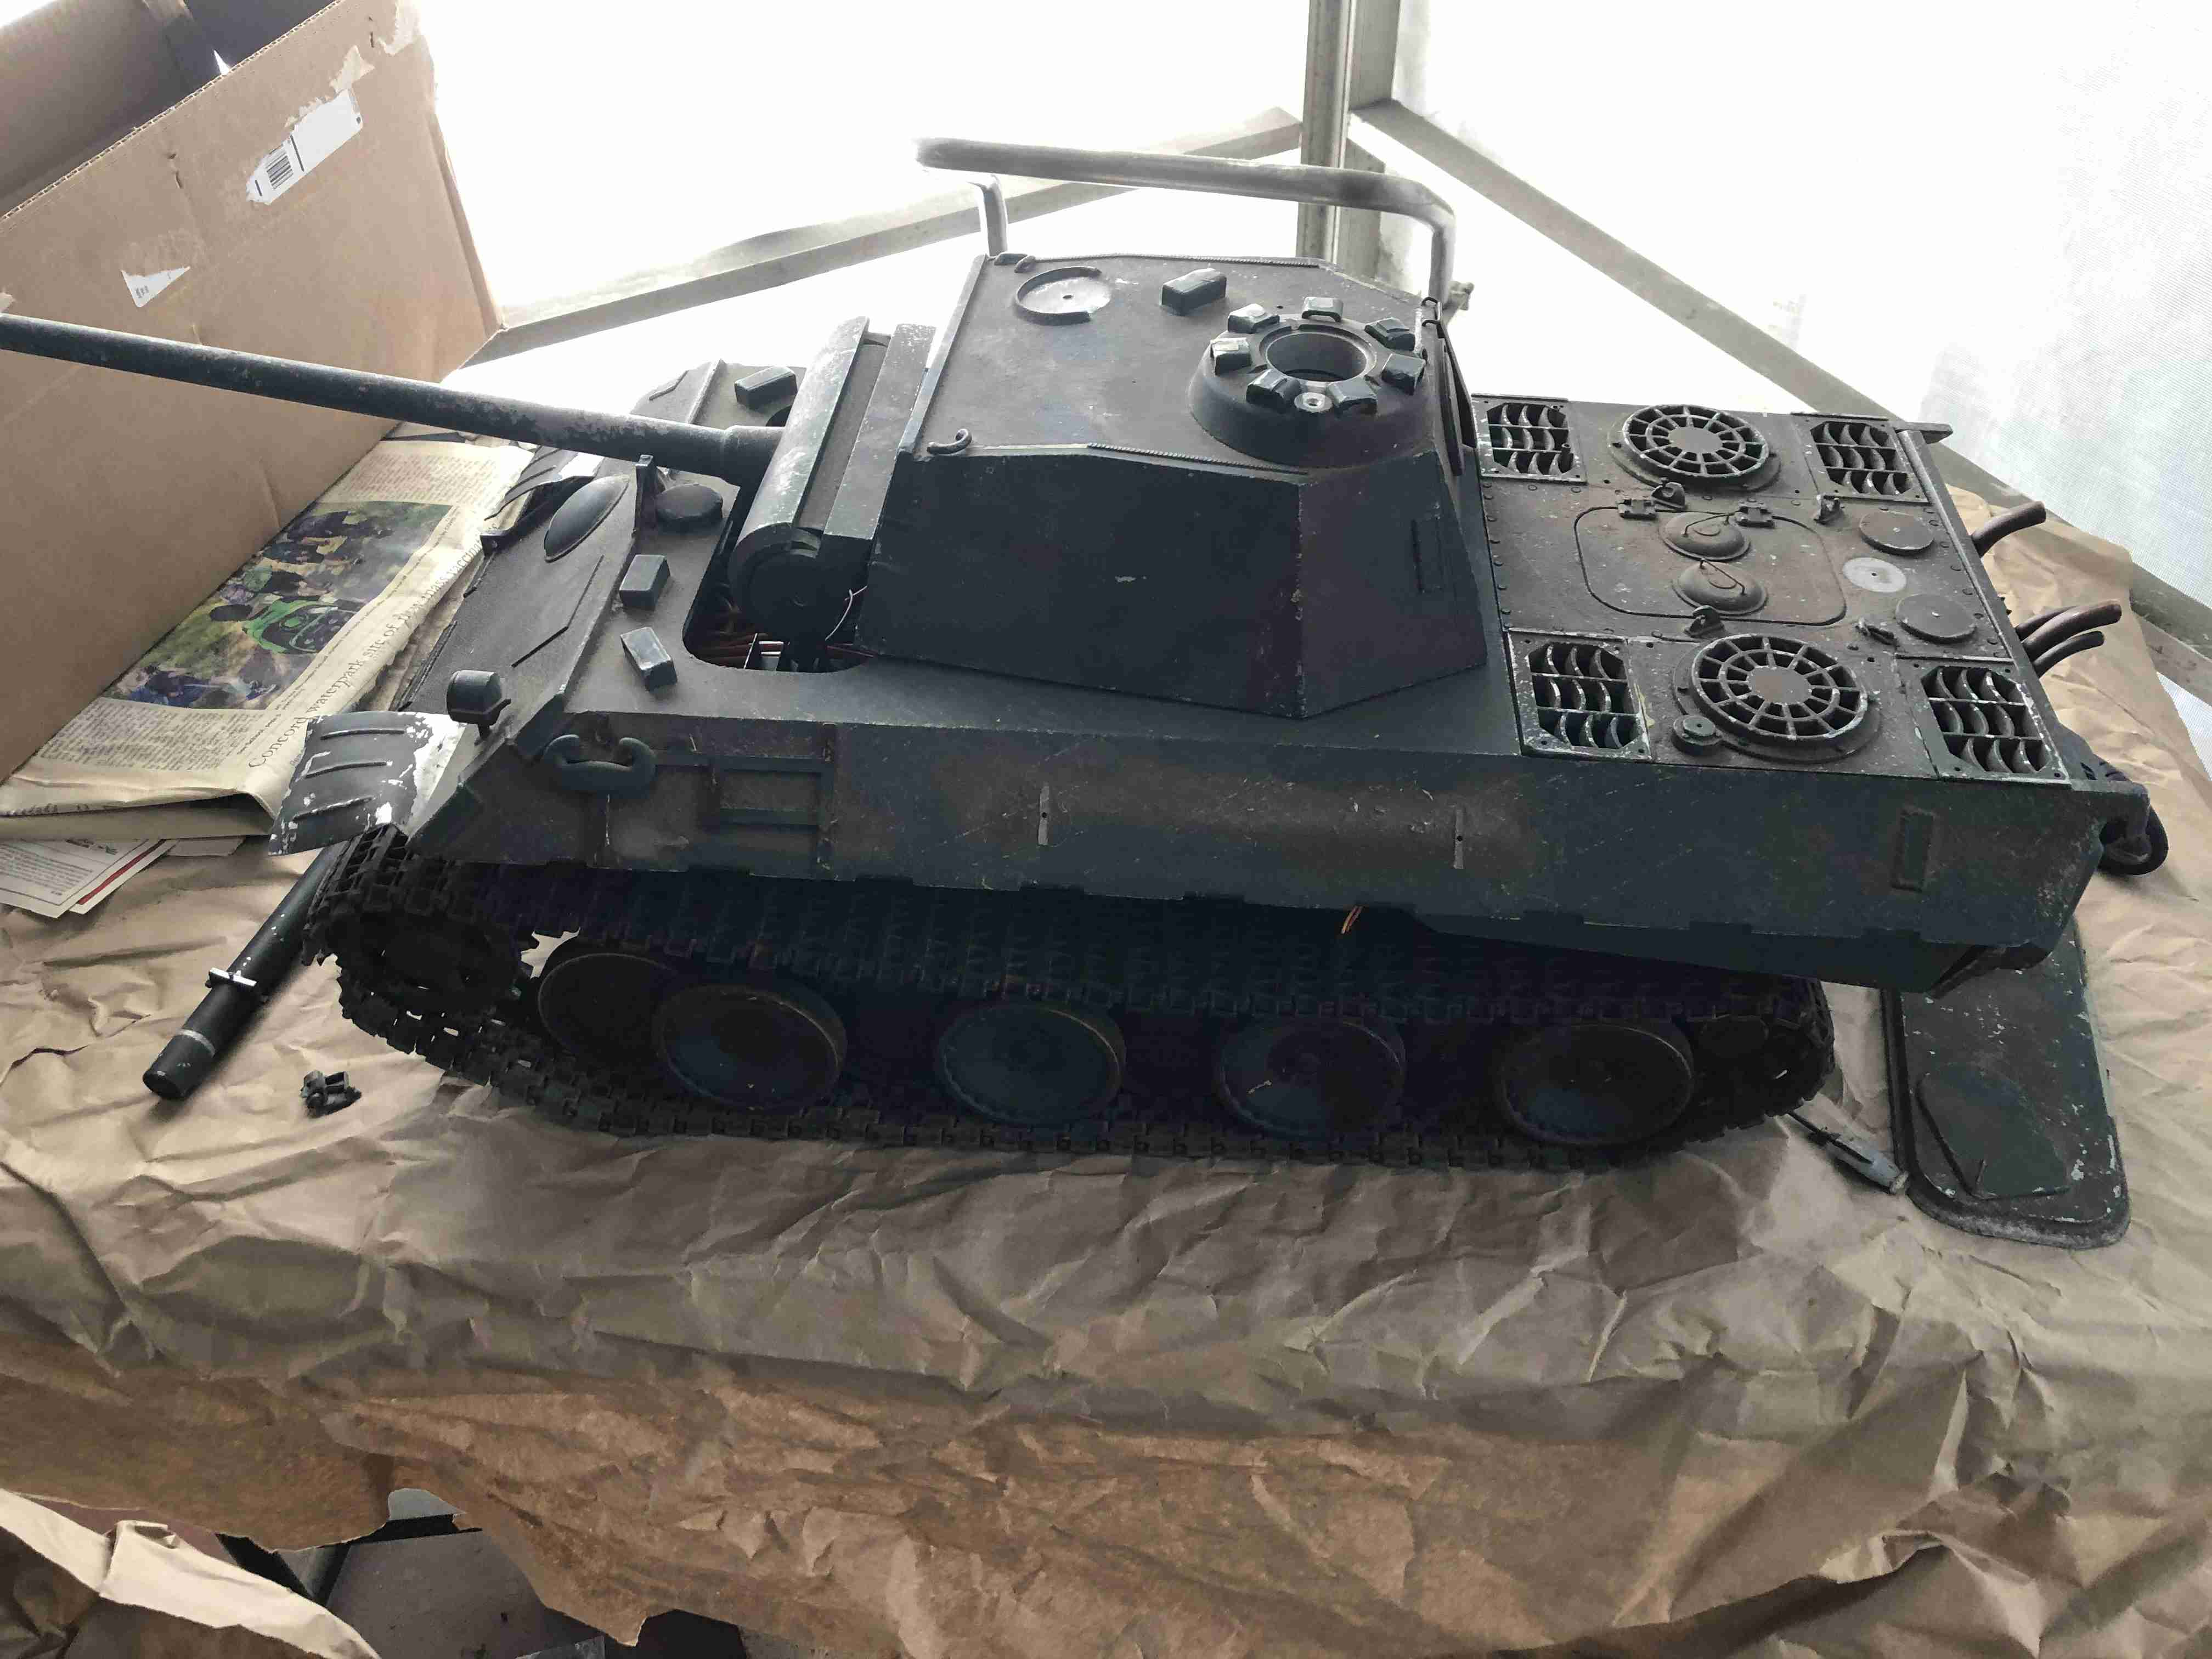
Spent a little time on the Maier+Klingeberger Panther over the last few days. Stripping paint, unbending ( or as an IBM CE once said "we don't bend things we 'reform' them") parts and filling useless holes. When I say filling holes I don't mean with glue or 'putty'; I press essentially an aluminum rivet I make myself of whatever appropriate size is required to permanently fill a hole. I took the drive units completely apart and thoroughly cleaned them; in fact I took the entire model to pieces in order to properly clean every and repair every part. Here are a few photos. There is much work yet to do but actually I want to spend only as much time as needed to restore this old thing. It's interesting to see the significant changes Maier made to the basic model over the course of his production run of around 330 Panther models; of those 330 I now own eight! More than enough! Jerry 06/23/2021

Don't you just hate it when you know you've got something yet you can't put you fingers on it?? I'm looking for my Panther wheels and parts but just haven't been able to find them. It's been years since I've worked on one and that results on parts getting pushed to the back of the piles(s). I really want to get my hands on these parts to see what I'm in for to finish the latest Panther.... When I first received the model the first thing that jumped out at me was that some previous owner had installed the two fuel tank armored plates way far forward from where they're supposed to be and couldn't understand why that was the case. The Panther is pretty well documented, Maier's pictorial instructions were reasonably clear on this so why had the builder done this? Well I found out why today after I re-attached these to the upper hull. The exhaust plate is 2-3mm too wide! Instead of modifying the plate to allow the upper to sit properly that nameless builder decided to mount them both far forward enough to not interfere with the exhaust plate... I checked with some of my other Panthers and the upper from this latest model would fit at the rear on a later hull( it won't fit up front because of the gearbox oil filler hits the frontal cross member. Recall this model was made before the later style gearboxes were- later hulls have a molded relief here so the gearbox will clear. When I first received the model I missed the fact that the rear plate is too wide.. I will modify the rear exhaust plate of the latest model to fit within the side armor plates. Tomorrow... Jerry 06/27/2021
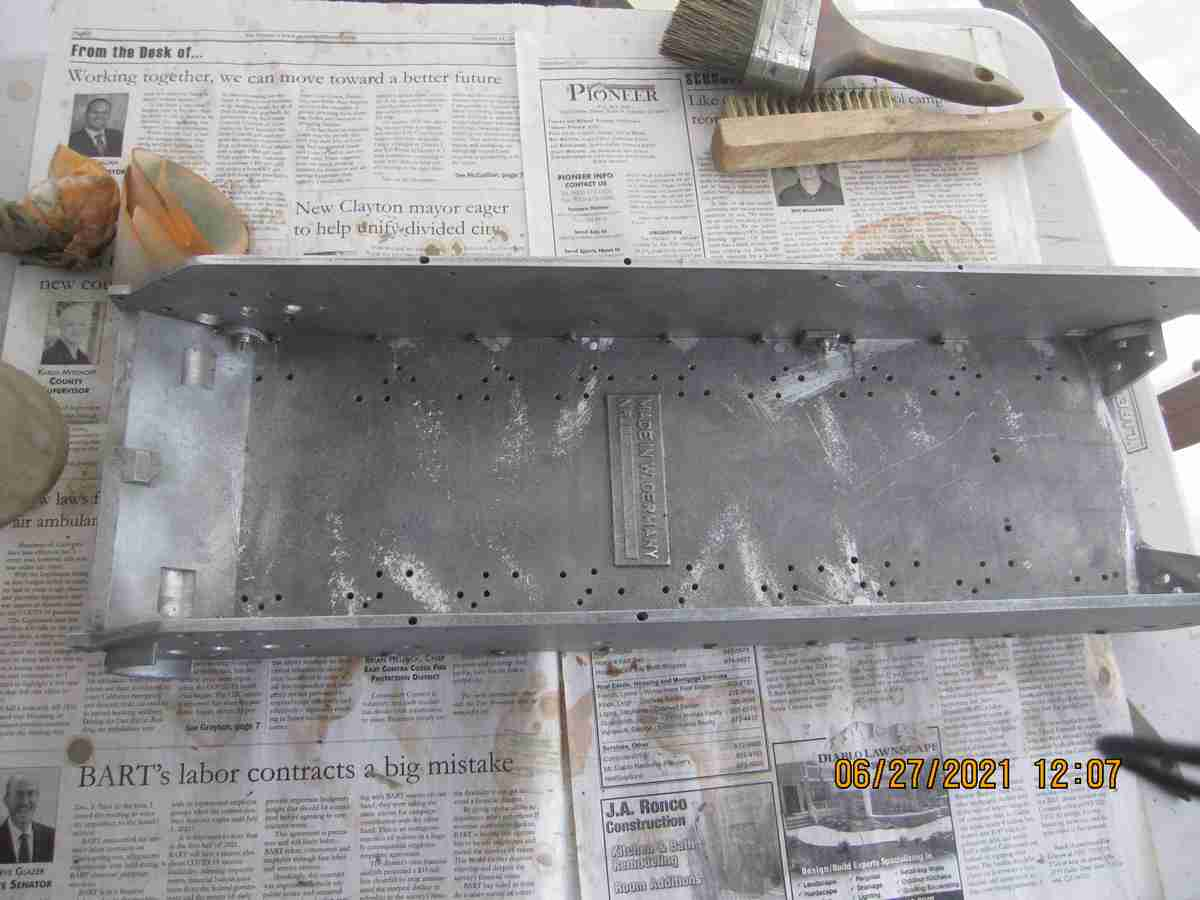

Resolved the exhaust plate issue. I also decided to use a combination of parts for the Panther's road wheels. It won't be as fast as if I'd had a ready made box of parts waiting to assemble but I feel the end result will work sufficiently well. I found I have a quantity of Maier's wheel tire retaining rings so I will use those with some of the wheels I had pressed years ago as they are compatible parts. I will have to drill holes for hubs and for the 24 bolt pattern around the perimeter. I also need to make the hubs; I have an example of a Maier hub as my guide. For tires I've long since used my own and not the hard plastic rings Maier used. I used vulcanized rubber tires I make myself; I think my existing mold should work but will make a new one if need be; the only unknown is if my raw rubber is still viable. Along with all the metal parts I pulled out as many previously made tires as I could find. Some of these are Devcon polyurethane tires I made 30+ years ago and a few are the vulcanized type so I'll see which ones will work. Jerry 06/28/2021
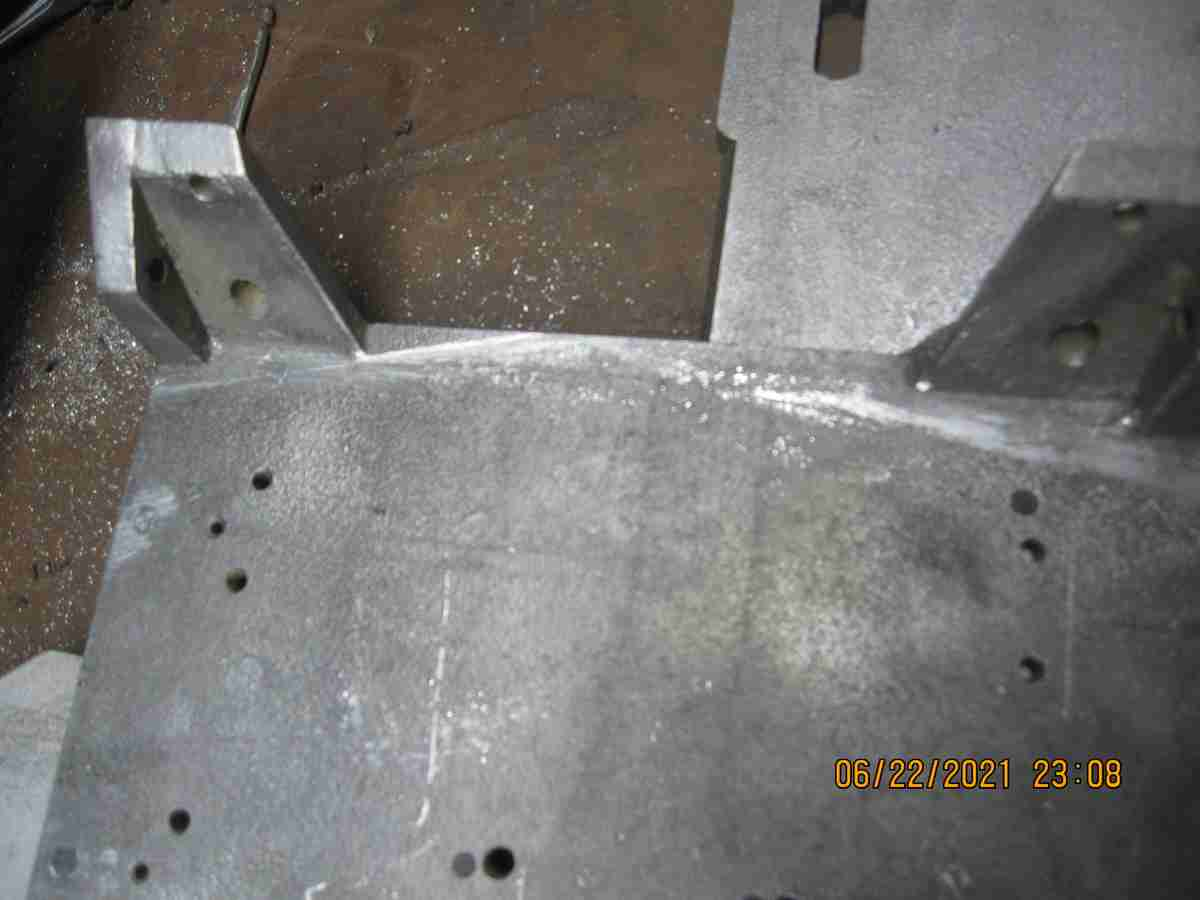
While I'm still deciding what I want to do about the wheels for this model, yes I'm not really relishing the machine work facing me to use the wheel parts I've laid out; I decided to do the rear engine deck. This is one of my favorite upgrades to do to a Maier Panther. As with most of the original model Maier's basic intent was to give the builder a way to assemble the model with adhesive. I actually don't have an issue with that but where I run afoul of this method is it's easy to use way too much and end up with a really bad looking result. Larger than life lumps of glue and blurred details are often the result. I spent several days chiseling, scraping and burning off ounces of Stabalit and wire brushing the metal followed by cleaning in acetone. I'm using steel 1-72 SAE hex head "engineering" proportional bolts. I chose these cause I have them and they are generally less expensive here than metric equivalents 2mm is roughly the same size .078" vs .073" for 2mm and the head size it virtually identical. So here is the deck so far; it's clean with nothing affected by any adhesive. I'll attempt to reuse as many of Maier's original lead detail parts as it's not my goal to remake them all. Jerry 07/01/2021
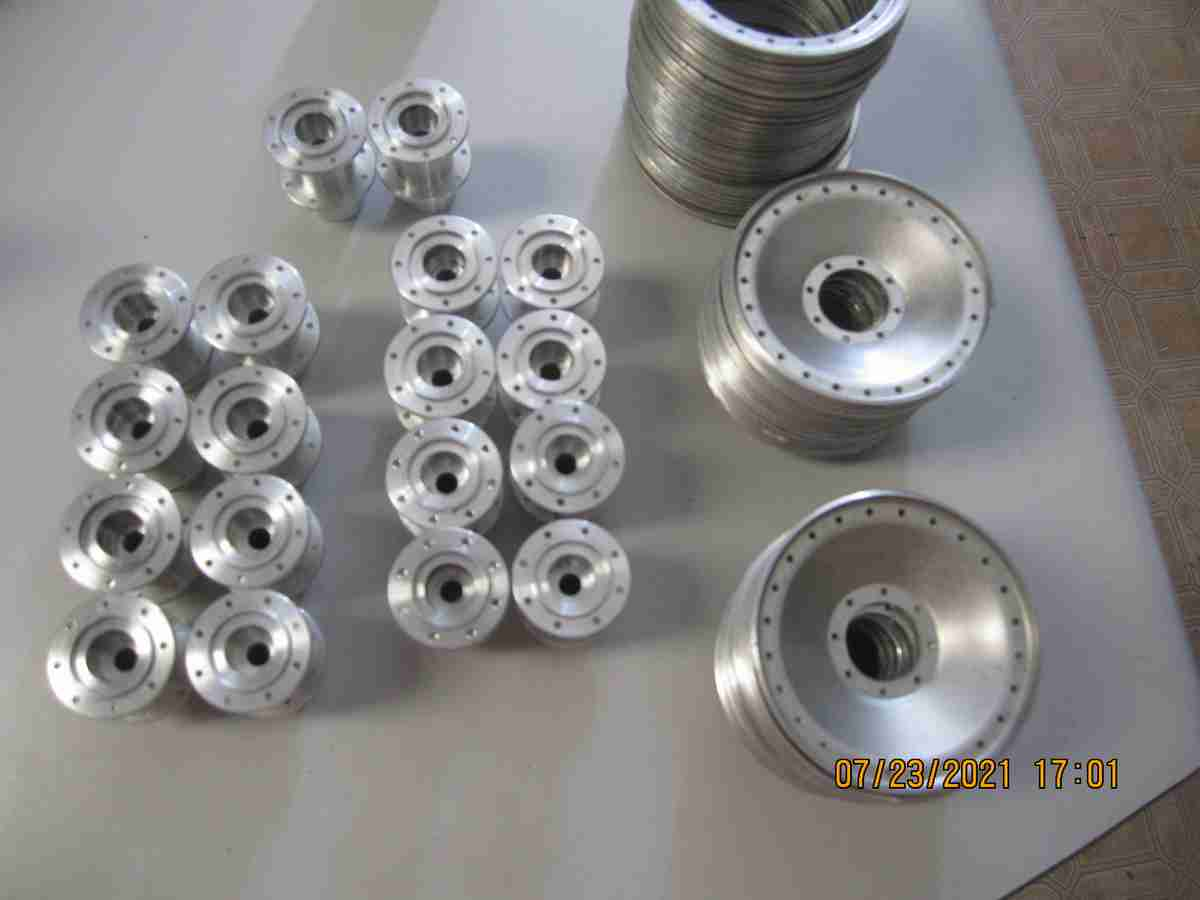
Completed the bulk of the machine work on the wheel hubs for the Panther I'm rebuilding. I have to say I didn't overly enjoy this part as it was tedious and fairly exacting. All that remains on the hubs is to drill the 8 wheel mounting holes. For the wheels themselves as I'm using my own wheel pressings I need to drill all the holes in them as well. Once that is complete and the wheels are ready to be assembled I need to make the rubber tires I don't have which may or may not be most of them. I am certain this will be the last of this type of model I will ever rebuild. I've done everything I've ever wanted to do with these and I'll leave any subsequent model finds for the enjoyment of others... 07/19/2021
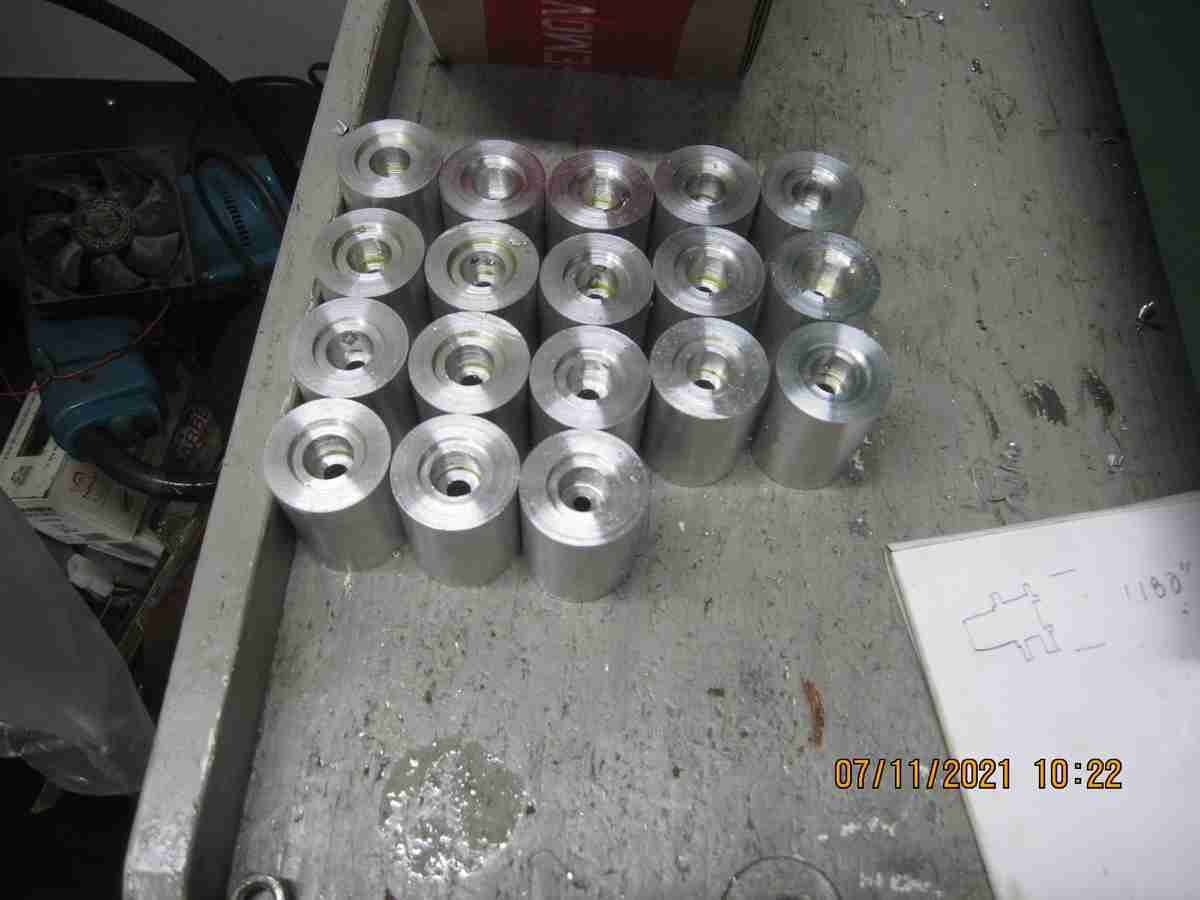
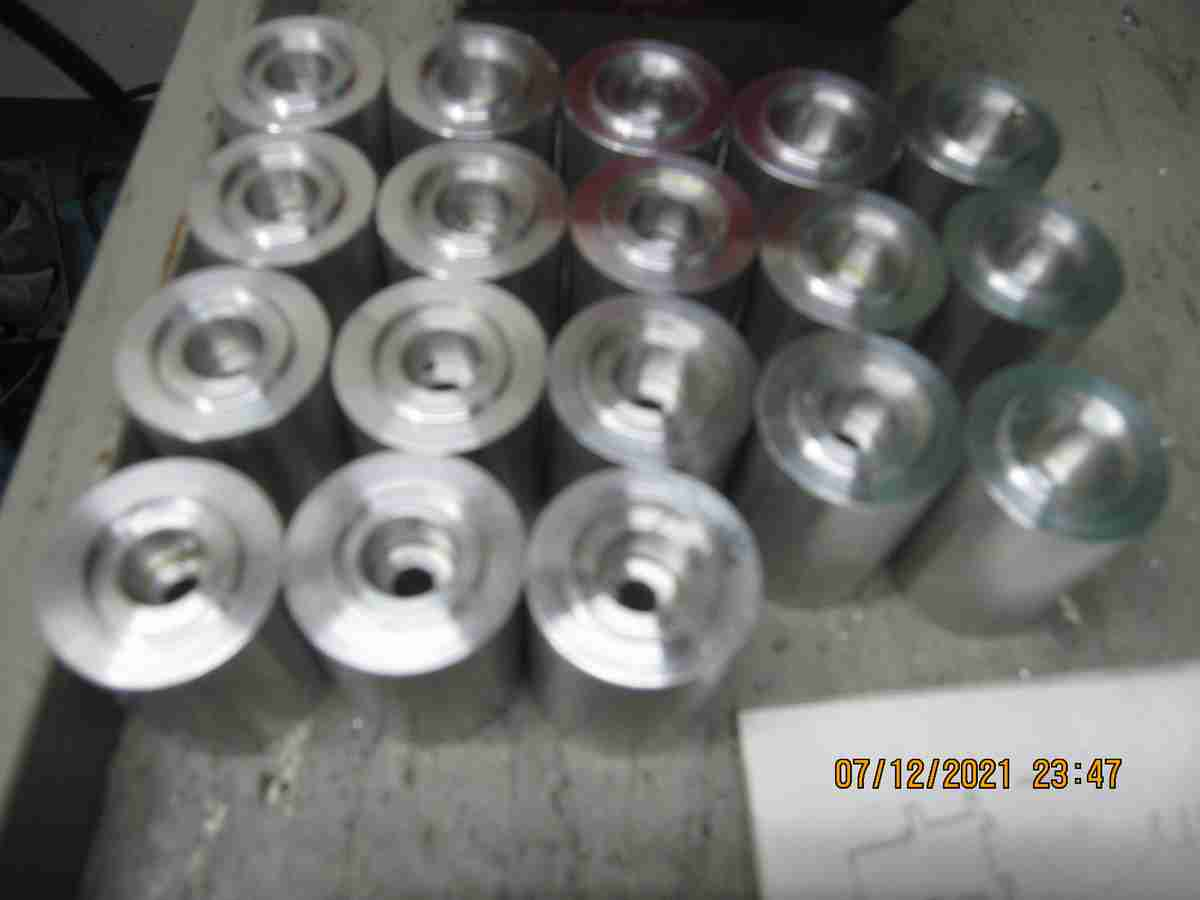
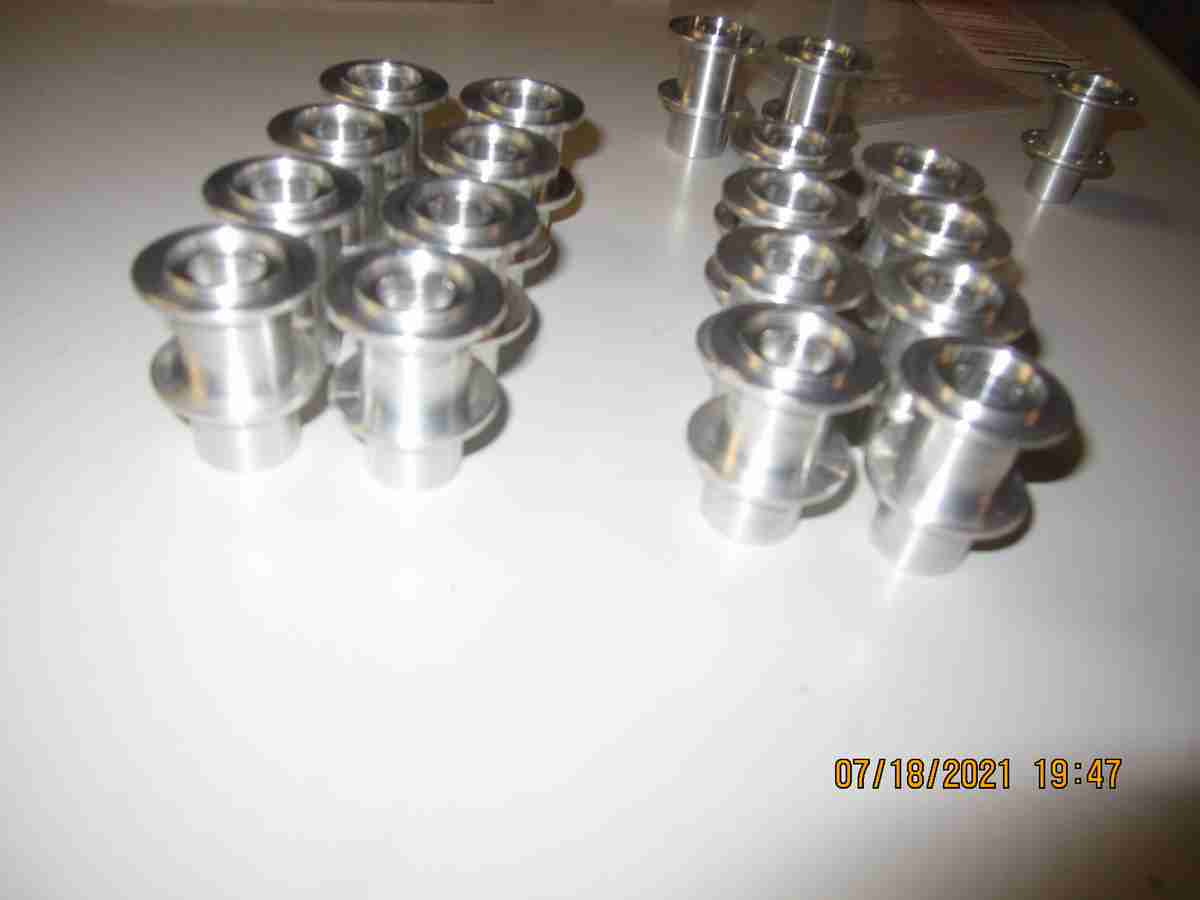
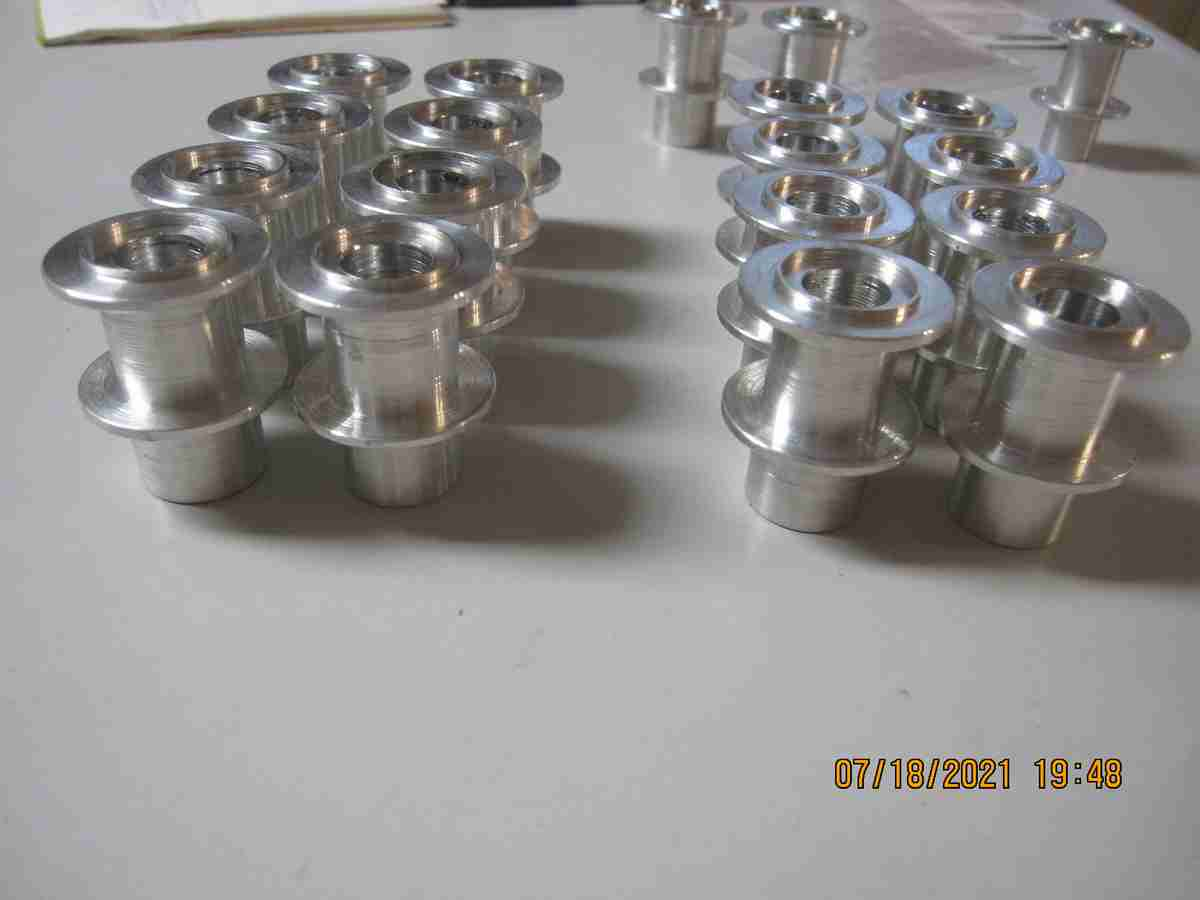
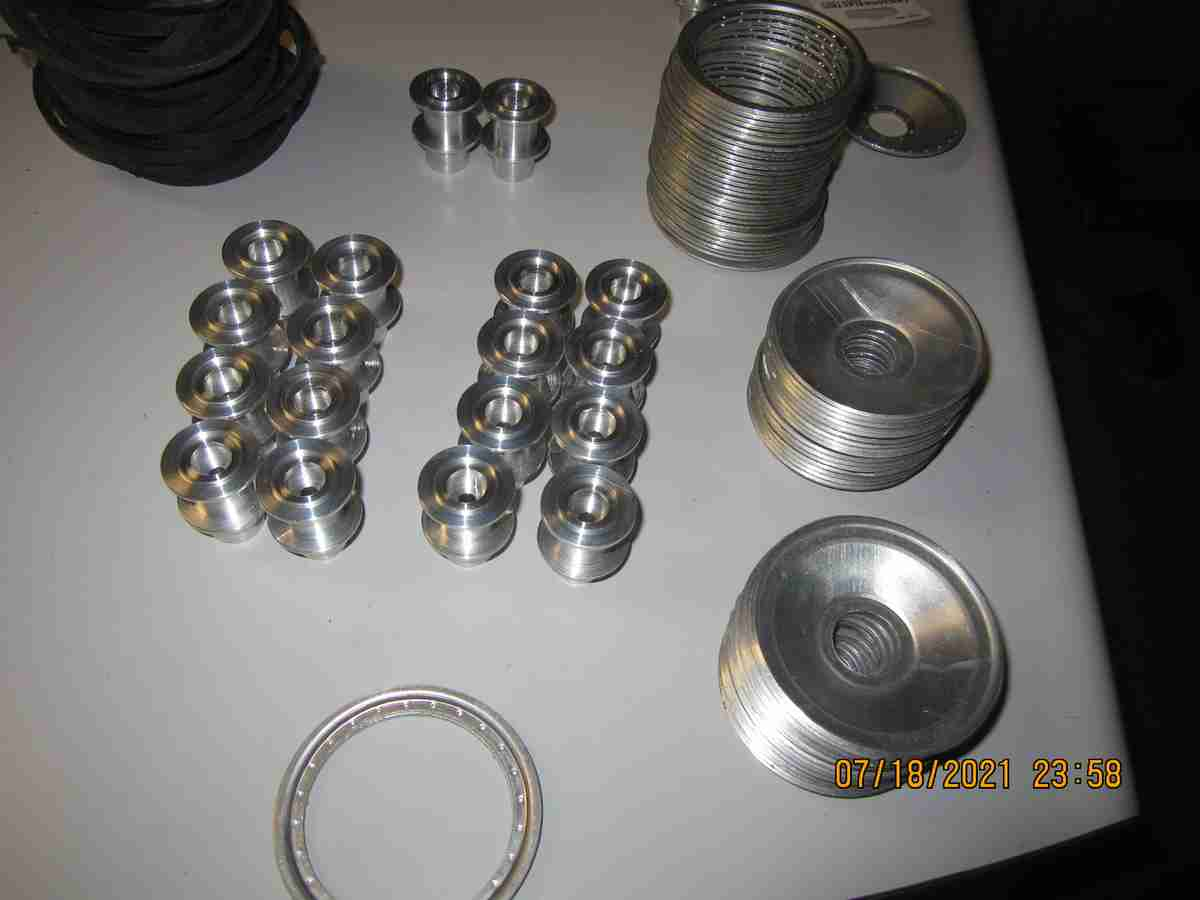
Hubs and wheels are all drilled. What a boring job! I'm glad this part if finished. So far I've been able to scare up 31 of the 32 tires I need and some of these might need to be re-made. Some are my later vulcanized rubber type and more than a few are old cast urethane rubber versions I made some 30+ years ago. Despite some bubbles, I didn't have a vacuum pump back then, they still seem pretty good after so long. The next challenge though will be getting sufficient screws and nuts of the right type to look decent. This is no trivial nor inexpensive aspect of the model. There are 24x32 and 8x32 hex nuts for a total of 768 + 256 or 1024 total nuts and as many bolts required. I remember Littlefield telling me that even on the 1:1 scale Panther he rebuilt this was a substantial expense as they can't be just any kind; they need to be a high grade and proportional height to width and the latter is true for these small versions. It's easy to spend quite a lot on these; easily the second most expensive item if one wants to go fully scale. Somewhere I have a quantity of scale, proportional 1-72 hex nuts and bolts (screws) which are my go to size in lieu of 2mm metric size. They're very nearly the same and 1-72 while still difficult to find is easier to come by here in the U.S. I can fudge the usage a bit by only using scale nuts on visible wheels which I'm very tempted to do and flip the orientation of nut to bolt head on the various wheels so I only have to use scale nuts wherever they're visible instead of hex bolts on every other wheel. In case you are unable to picture it the wheels are assembled first and only one way. As they're installed on the hubs some are concave side out and the alternate assembly is opposite- convex side out so on some the hex nut shows and on others the hex bolt head shows. A discerning viewer will notice this but c'est la vie , no? Jerry 07/23/2021
An example of what I tried to describe above is shown in the photo below. Different faces of the road wheels but as I don't (yet) have enough proper hex head screws I'm showing hex nuts on both faces instead of the head of the hex head bolt- which I believe should be on the concave face. My wheels are turning out better than I'd hoped, the one on the right has a 2 part Devcon poly Urethane tire I made 30+ years ago; the one on the left a vulcanized (using retread "rope" rubber) rubber tire I made perhaps 4 years ago. Now I need to either find the screws and nuts I hope I still have or buy some new ones...... Jerry
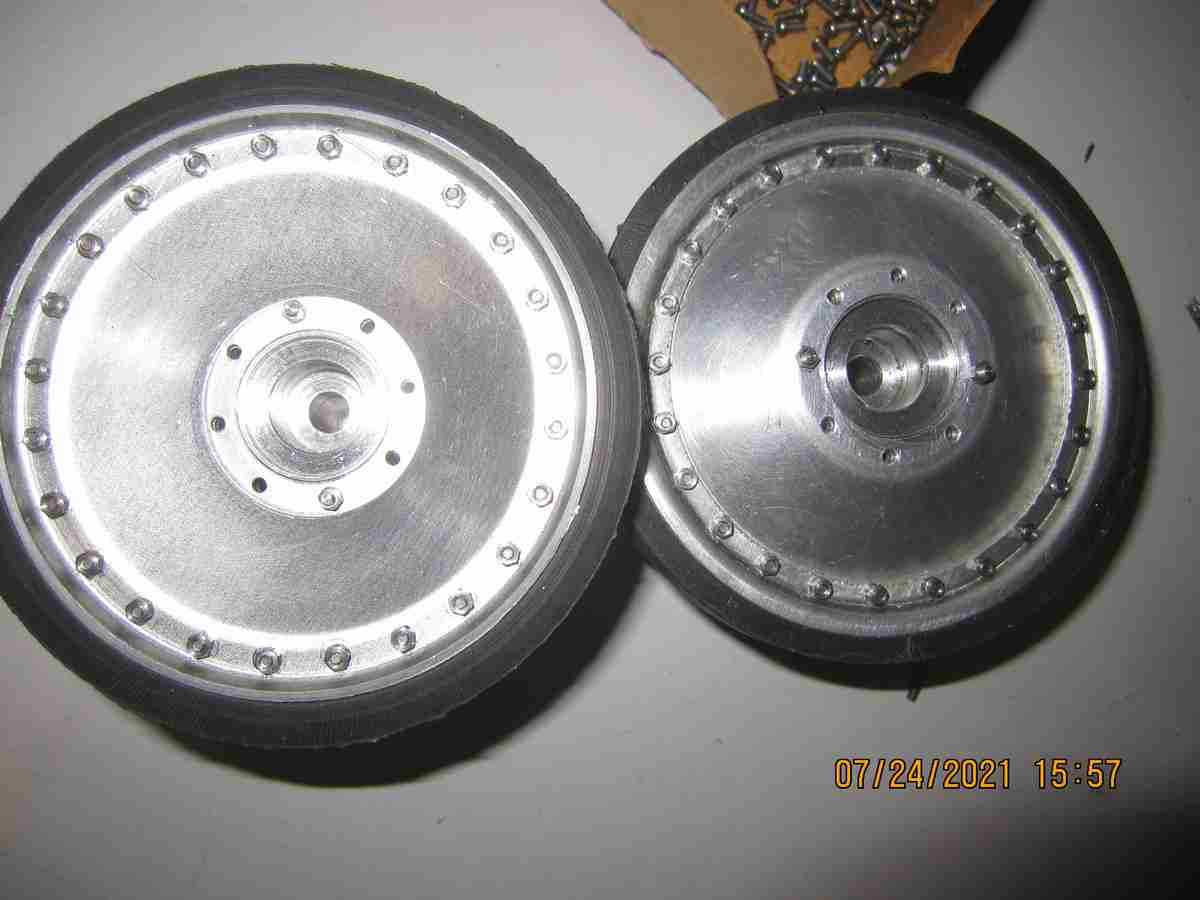
I have decided that I'll be using 2mm hex head screws and nuts. The wonderful folks over at MVD - Modellbauschrauben Vertrieb Dreieich in Germany have the most wonderful range of scale fasteners! Very good prices, wonderful communications they are rapidly becoming my 'go to' folks for scale hex head nuts and bolts. I've already used many of their fine products in my M3 Lee build. Check them out: https://modellbauschrauben.de/index.php
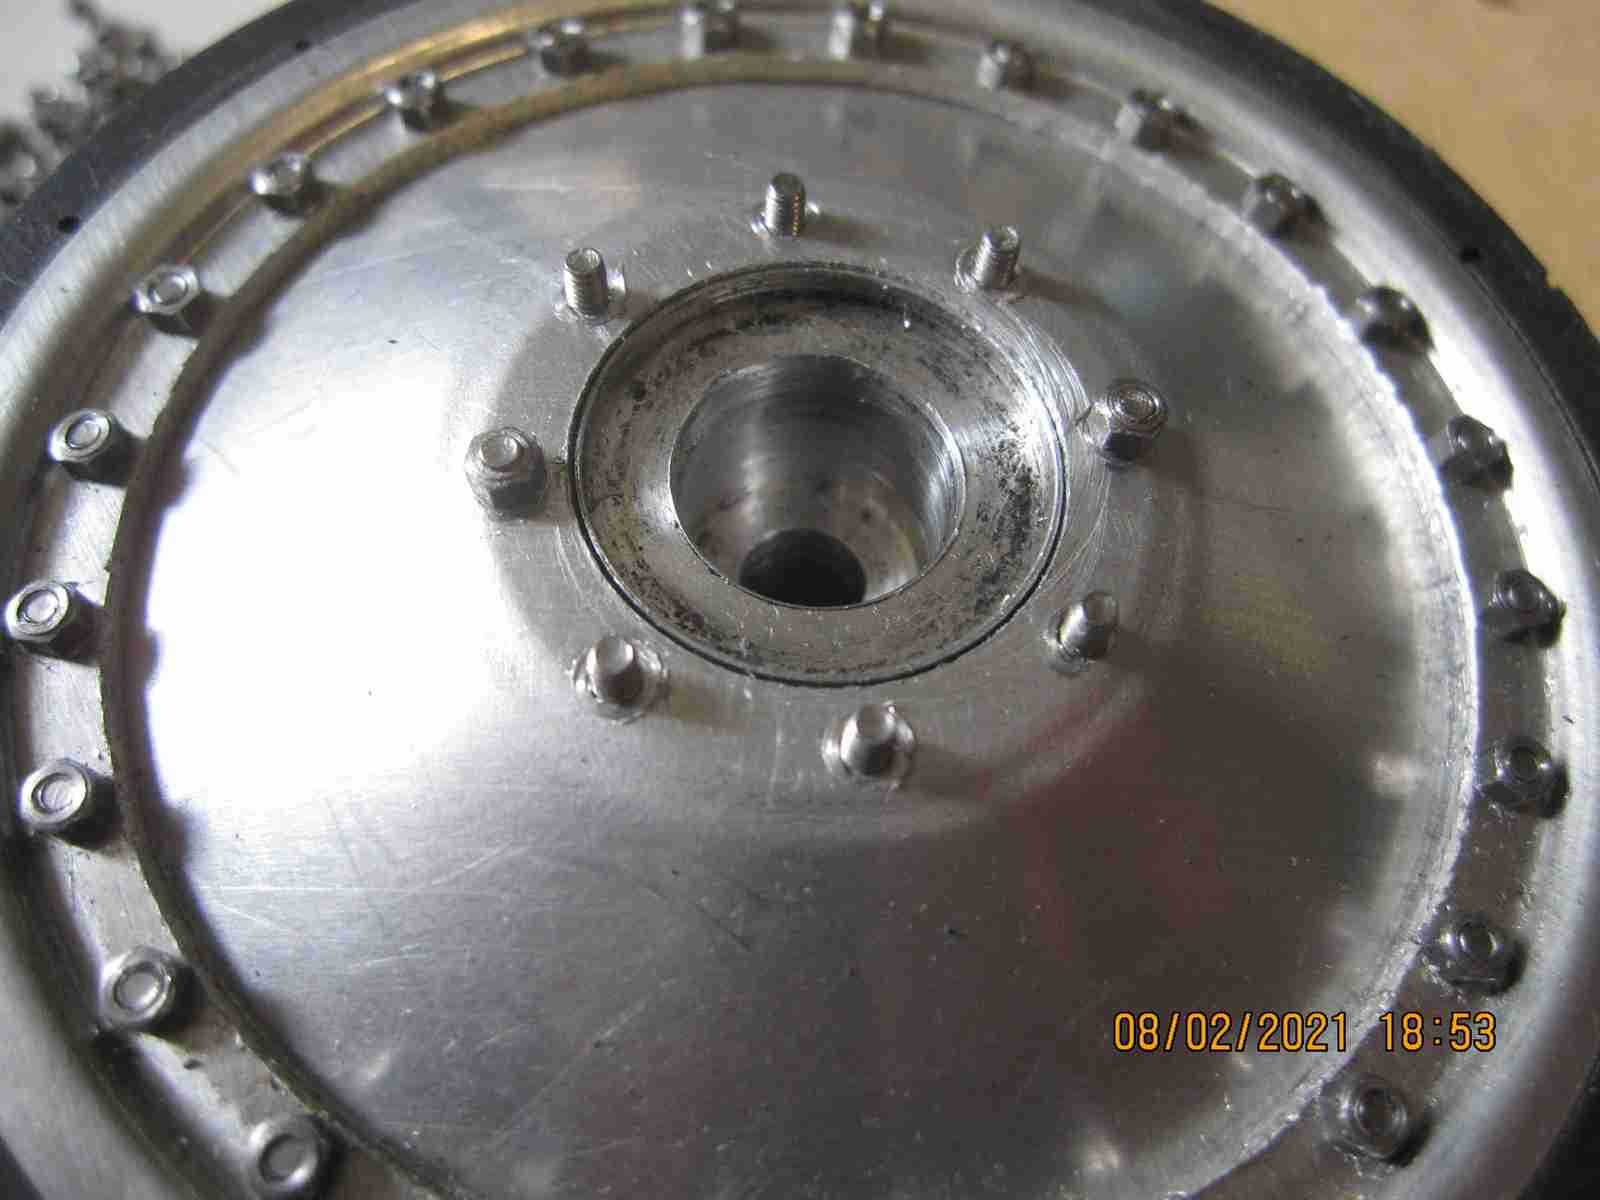
I continue to make progress on the model. I was trying to put down a bolt pattern to hold the front hatch plate- the one above the driver and radio operator's positions- Maier had made this a separate piece in the early Panthers he made as opposed to the piece being integral to the upper hull in his later models. This is a nifty feature of this model however the flange of the part unfortunately isn't really wide enough to allow a pattern of bolts to be added that will actually function. I was able to get two on each end but need to revisit this. I'm continuing to assemble the road wheel and have half complete 16 of the 32 required. I heed to take a break as using the small tools required does actually hurt my hands when applying enough torque to properly tighten all the screws.. After the wheels will come the small details, travel lock, stowage bins, tools stowage and the like/ The turret needs attention. My goal overall remains that I use the minimum of adhesive on the model as possible to prevent loss of detail and clarity of lines between parts. I'll be forced to take a break from this next month as I have obligations that need attention..but I'm making decent progress. This has been at one and the same time enjoyable, a lot of work, a lot of cleanup/repairs and an education. It's a curious model. Why? While the basic hull and major parts are early examples with who knows how many previous owners several of the smaller parts have been replaced over the years with newer types that Maier made much later. I know this because of my own original model purchased in 1976 and the very late examples I purchased later- some of the parts on this one are clearly of the type used later. My conclusion is that this model 'has been around'!. Jerry 08/07/2021

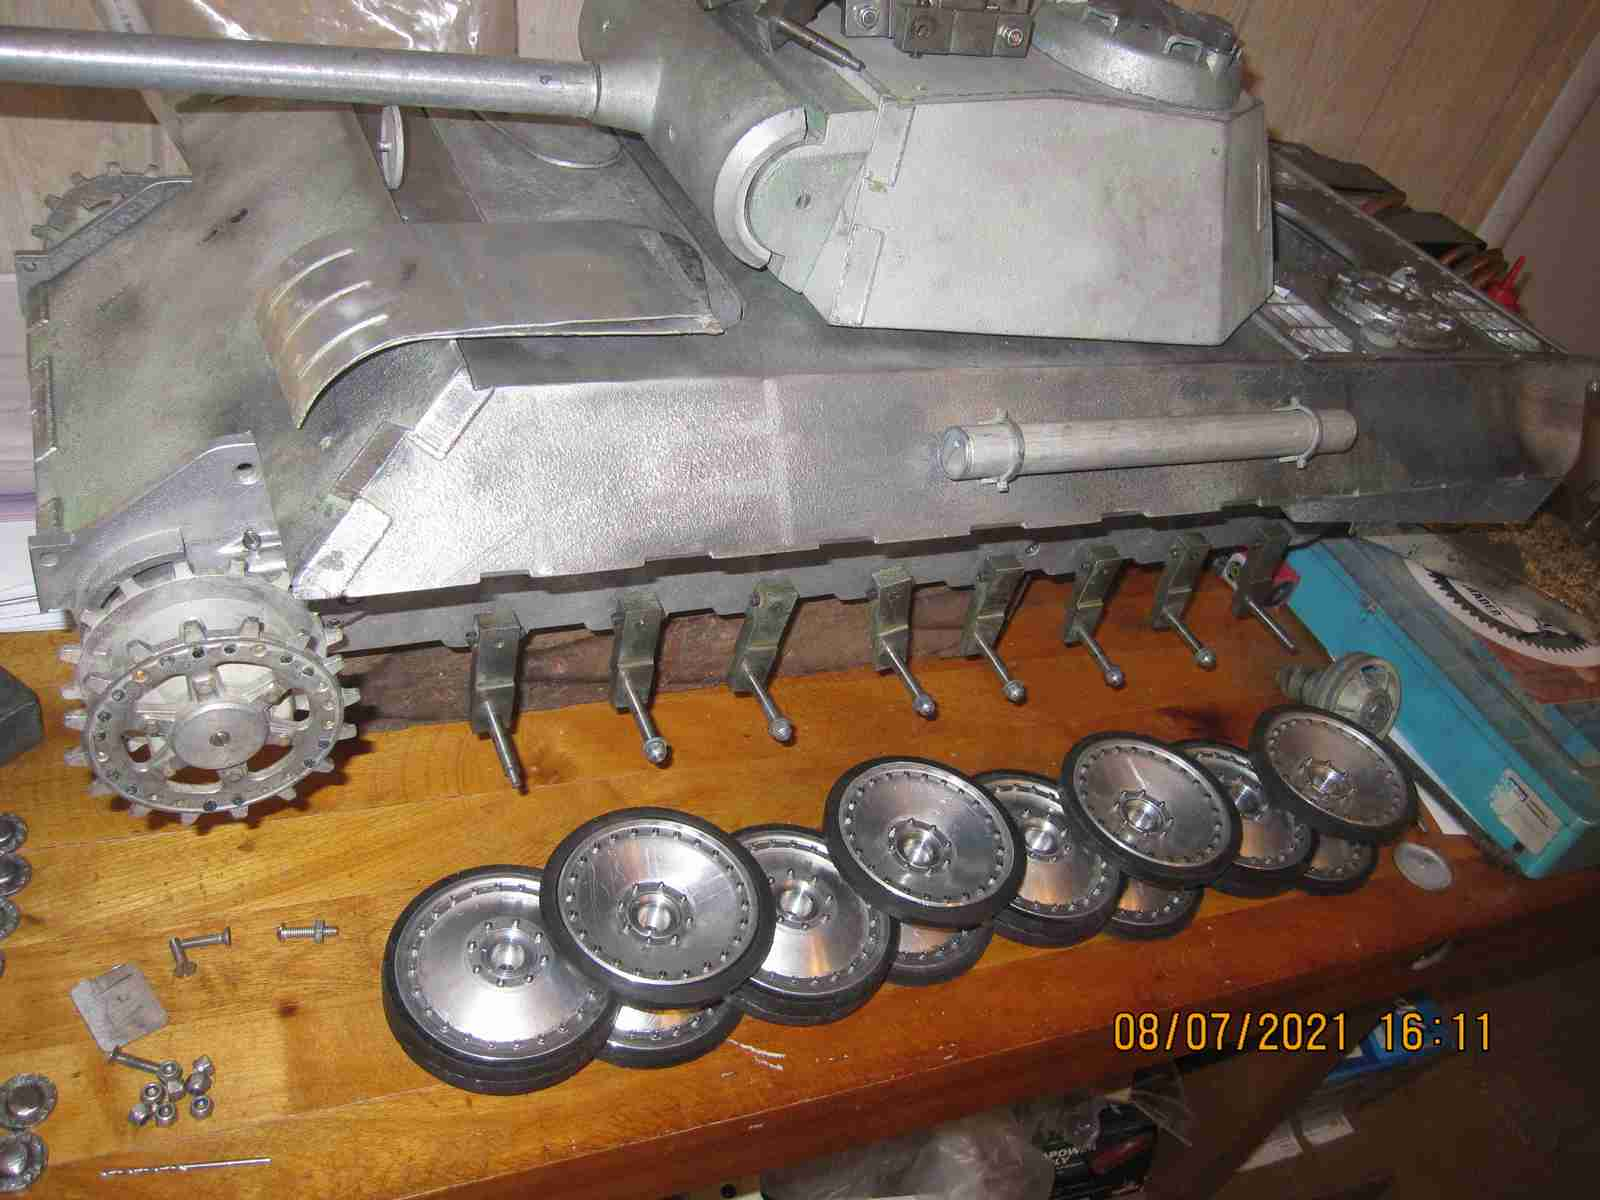
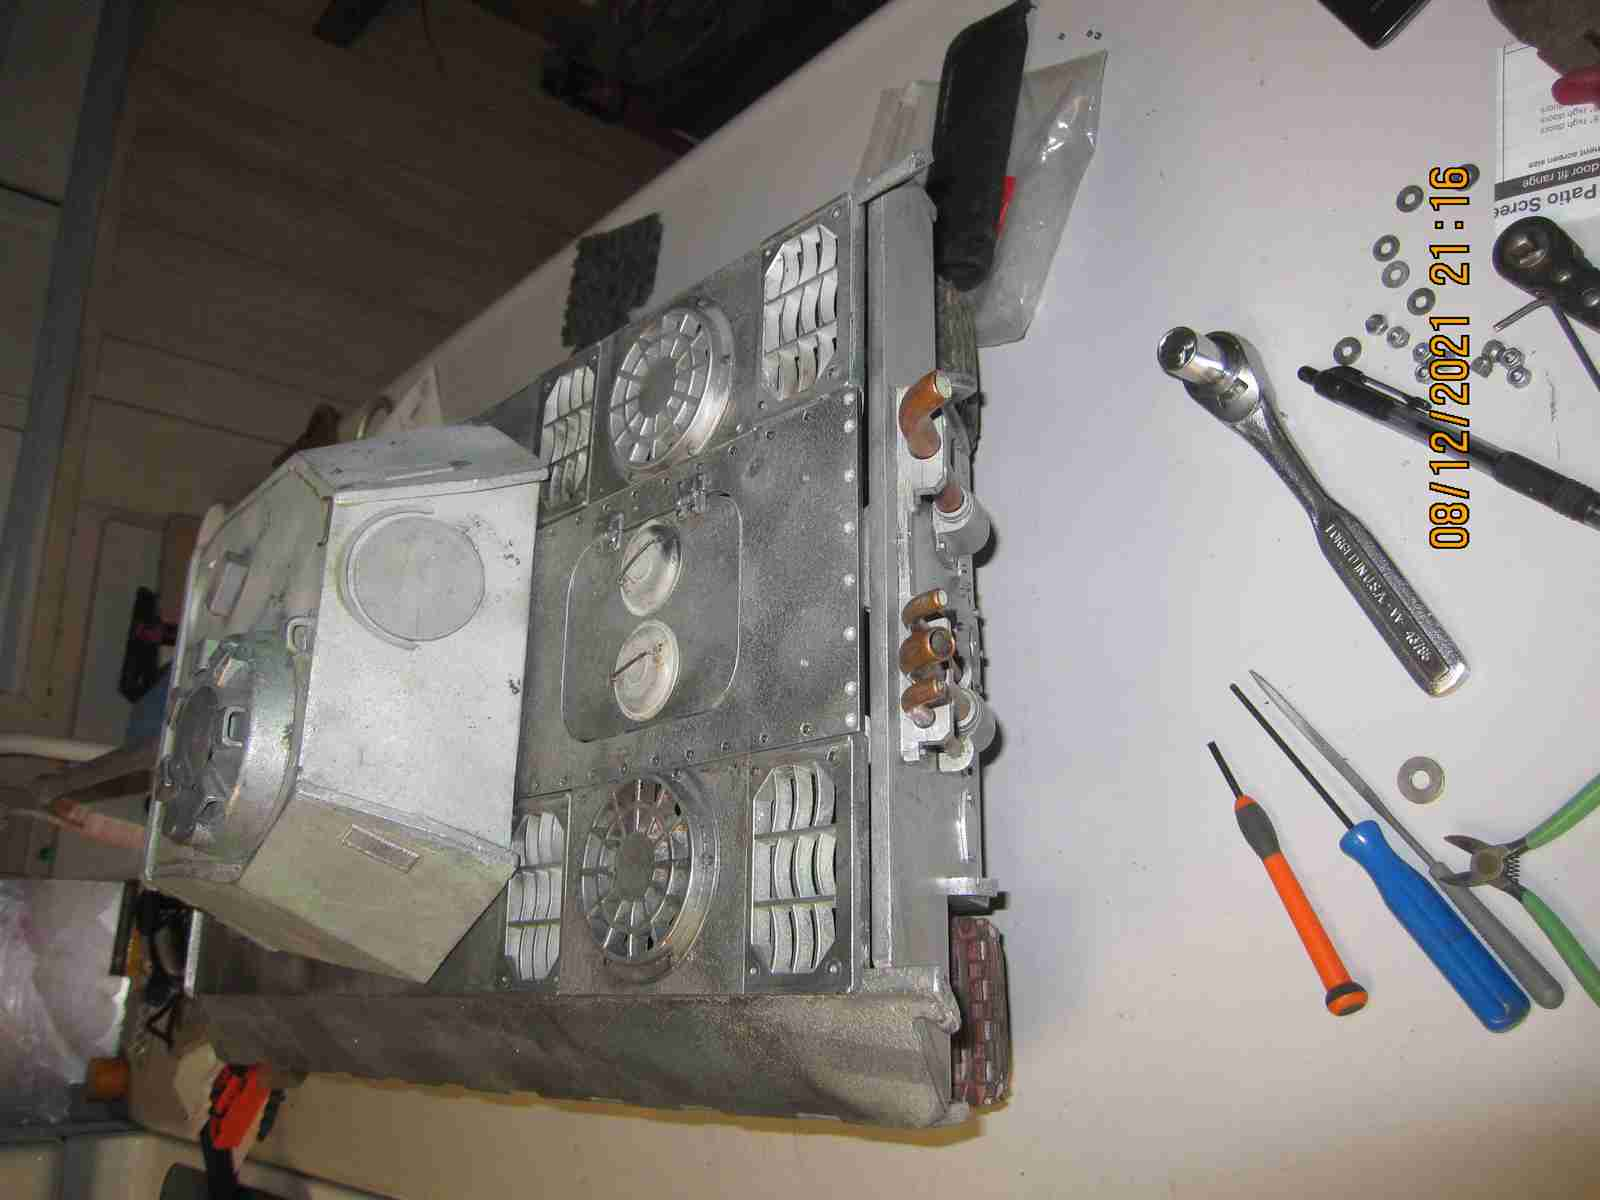
Finished assembling and mounting all the wheels, that's 960 nuts and bolts for everything. Trial mounted the wheels to the hull and I have to say I'll probably take a break from this thing. I've never made most all the parts for a Panther before and while I did use mostly Maier tire retaining rings for the wheels I did make everything else ( except the nuts and screws of course) and even one retaining ring as I was short one. This enough for a while. I've attached a pair of photos; bear in mind that the heavy generator unit is not in the model yet. Jerry 08/12/2021
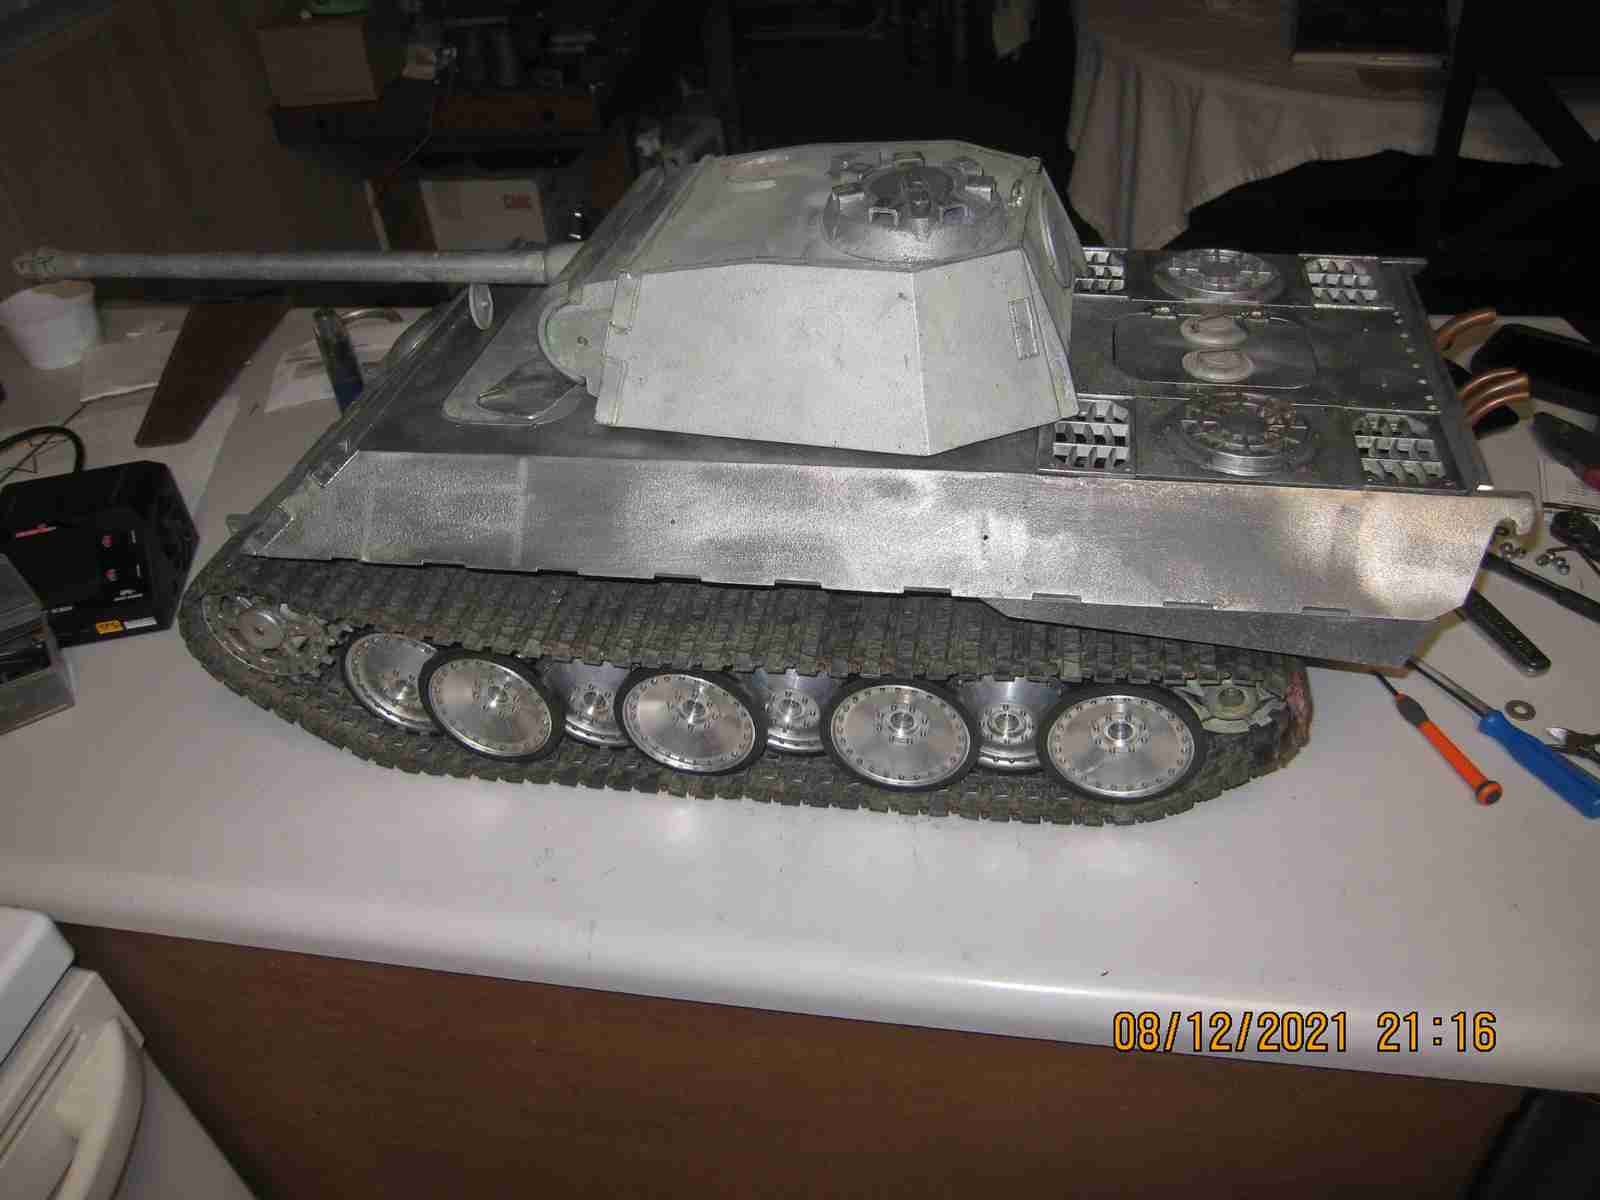
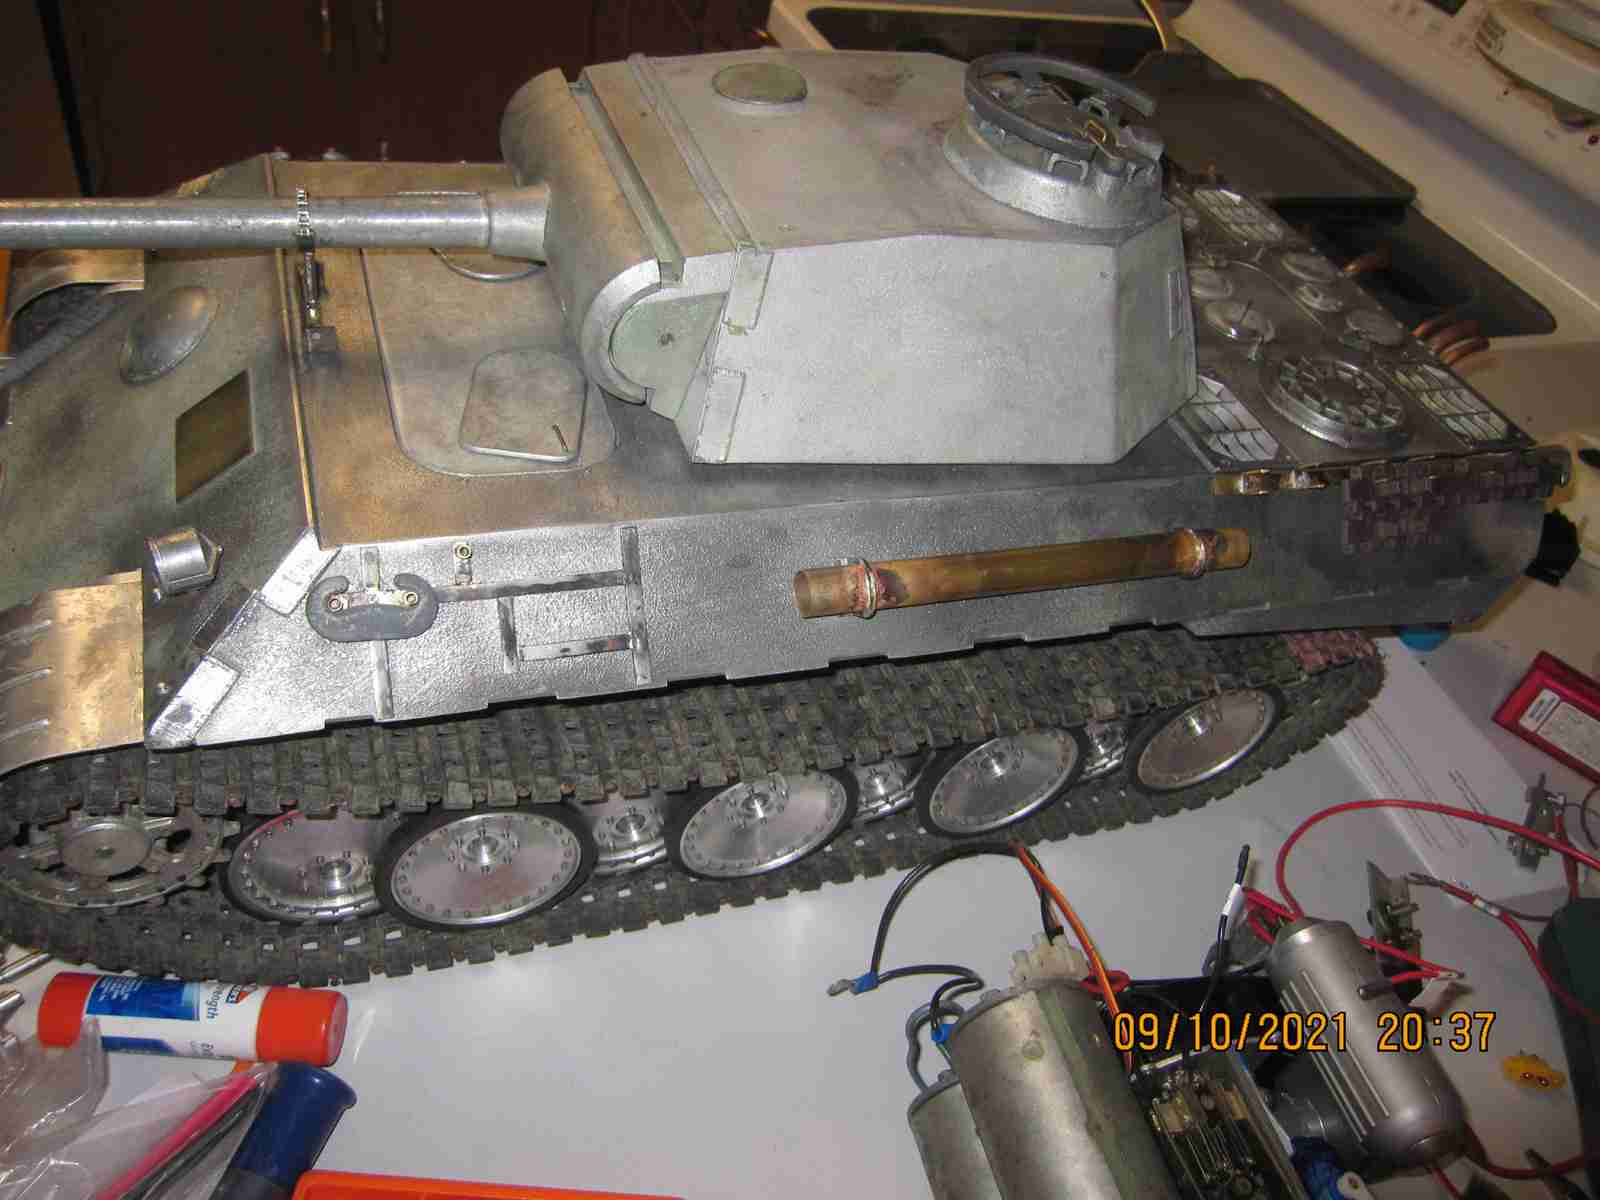
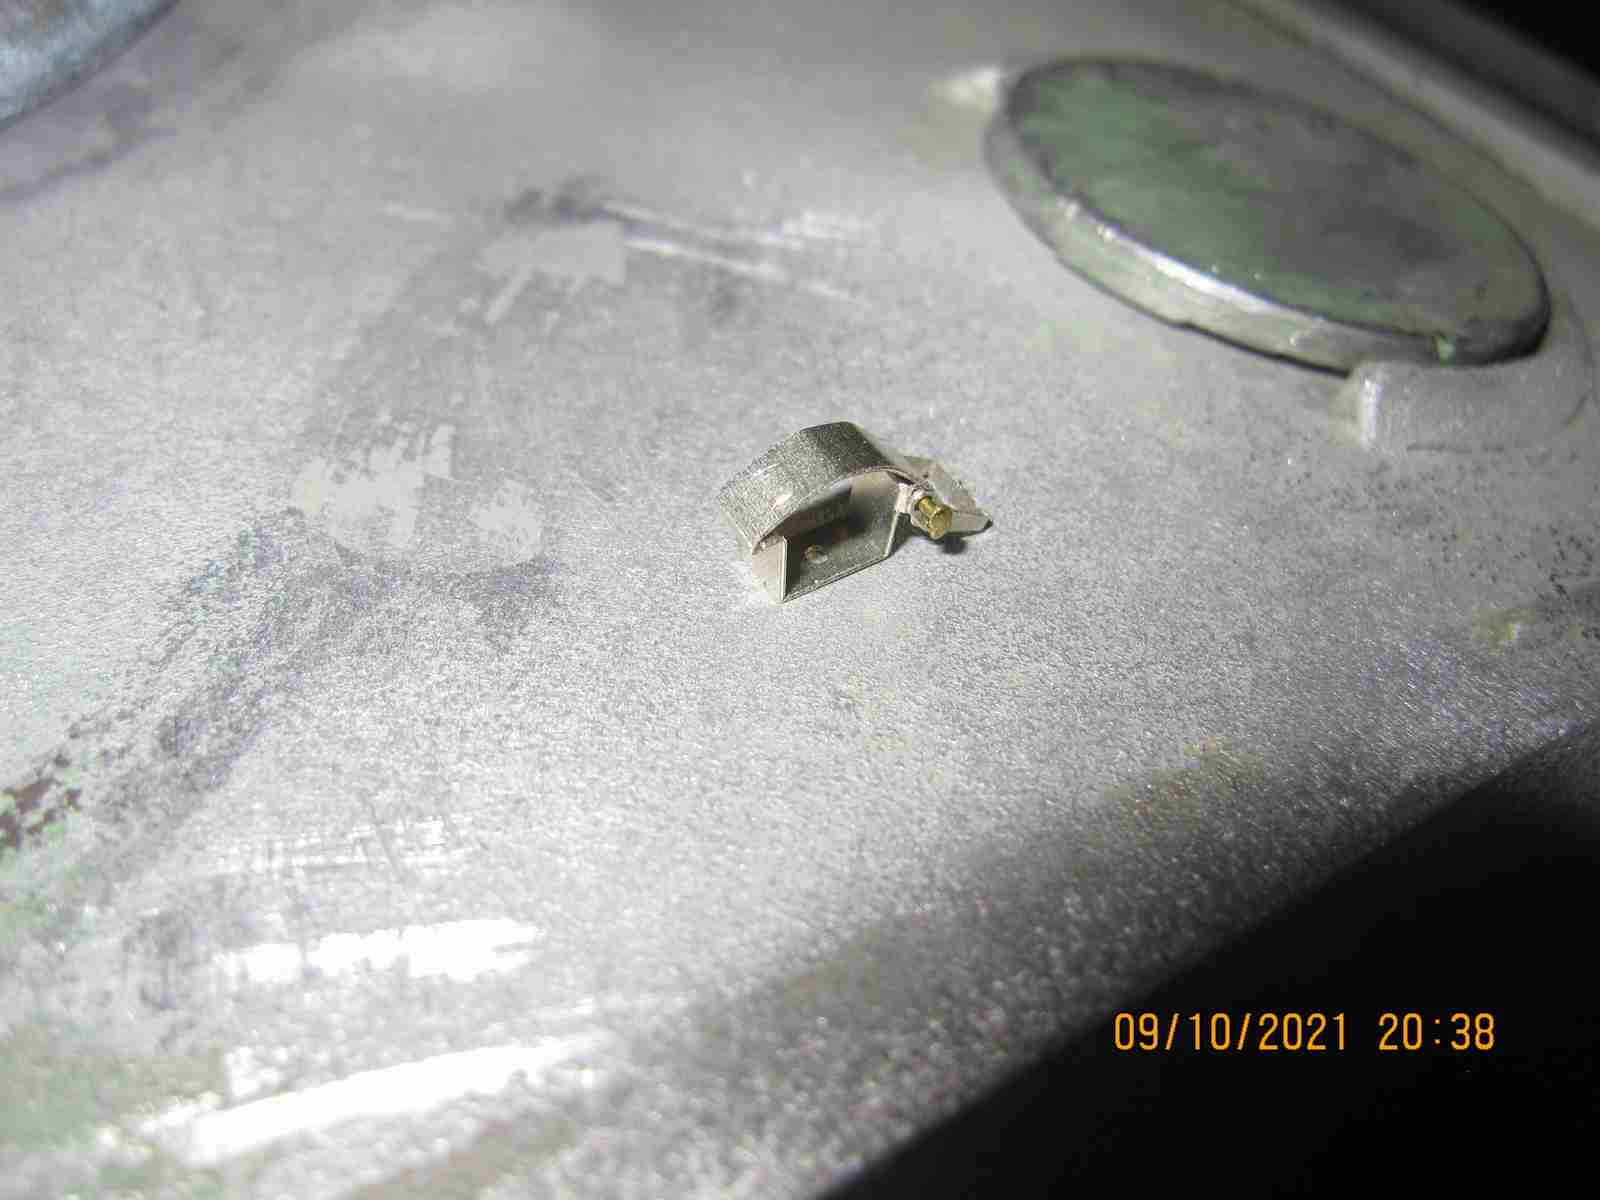
I spent a few days working with my Armortek M3 Lee; making a control box with battery isolation and the ability to disable the main drive motors so tests of the rest of the system may be made without worrying that he great beast will destroy something if I dumbthumb the transmitter.... now back to the Klingeberger Panther.. I continue with details, I find myself debating how much I want to do. I always assume that my models will one day be passed on so I don't want that person ( or persons) to think " what the heck was he doing?" Still no matter what I do rivet counters will always find fault so our goal is to make ourselves happy right? Anyway I roll on; the further I get the lower level the details become. As always. I had made a die to press steel into the armored vision protection covers however making those and installing them isn't enough. To get the right effect I need to cut and shape holes everywhere a vision scope would go; below the armored cover. And to make the rectangular holes isn't enough, then I need to make and mount the periscopes. Making and mounting the periscopes isn't enough: the periscopes need to be mirrored and properly painted to get the proper effect.... and on it goes. So here's what it looks like at the moment. Awaiting more scale bolts, retaining pins/chains, tool clamps and proper tools, hubcaps... and more.. Jerry 09/10/2021
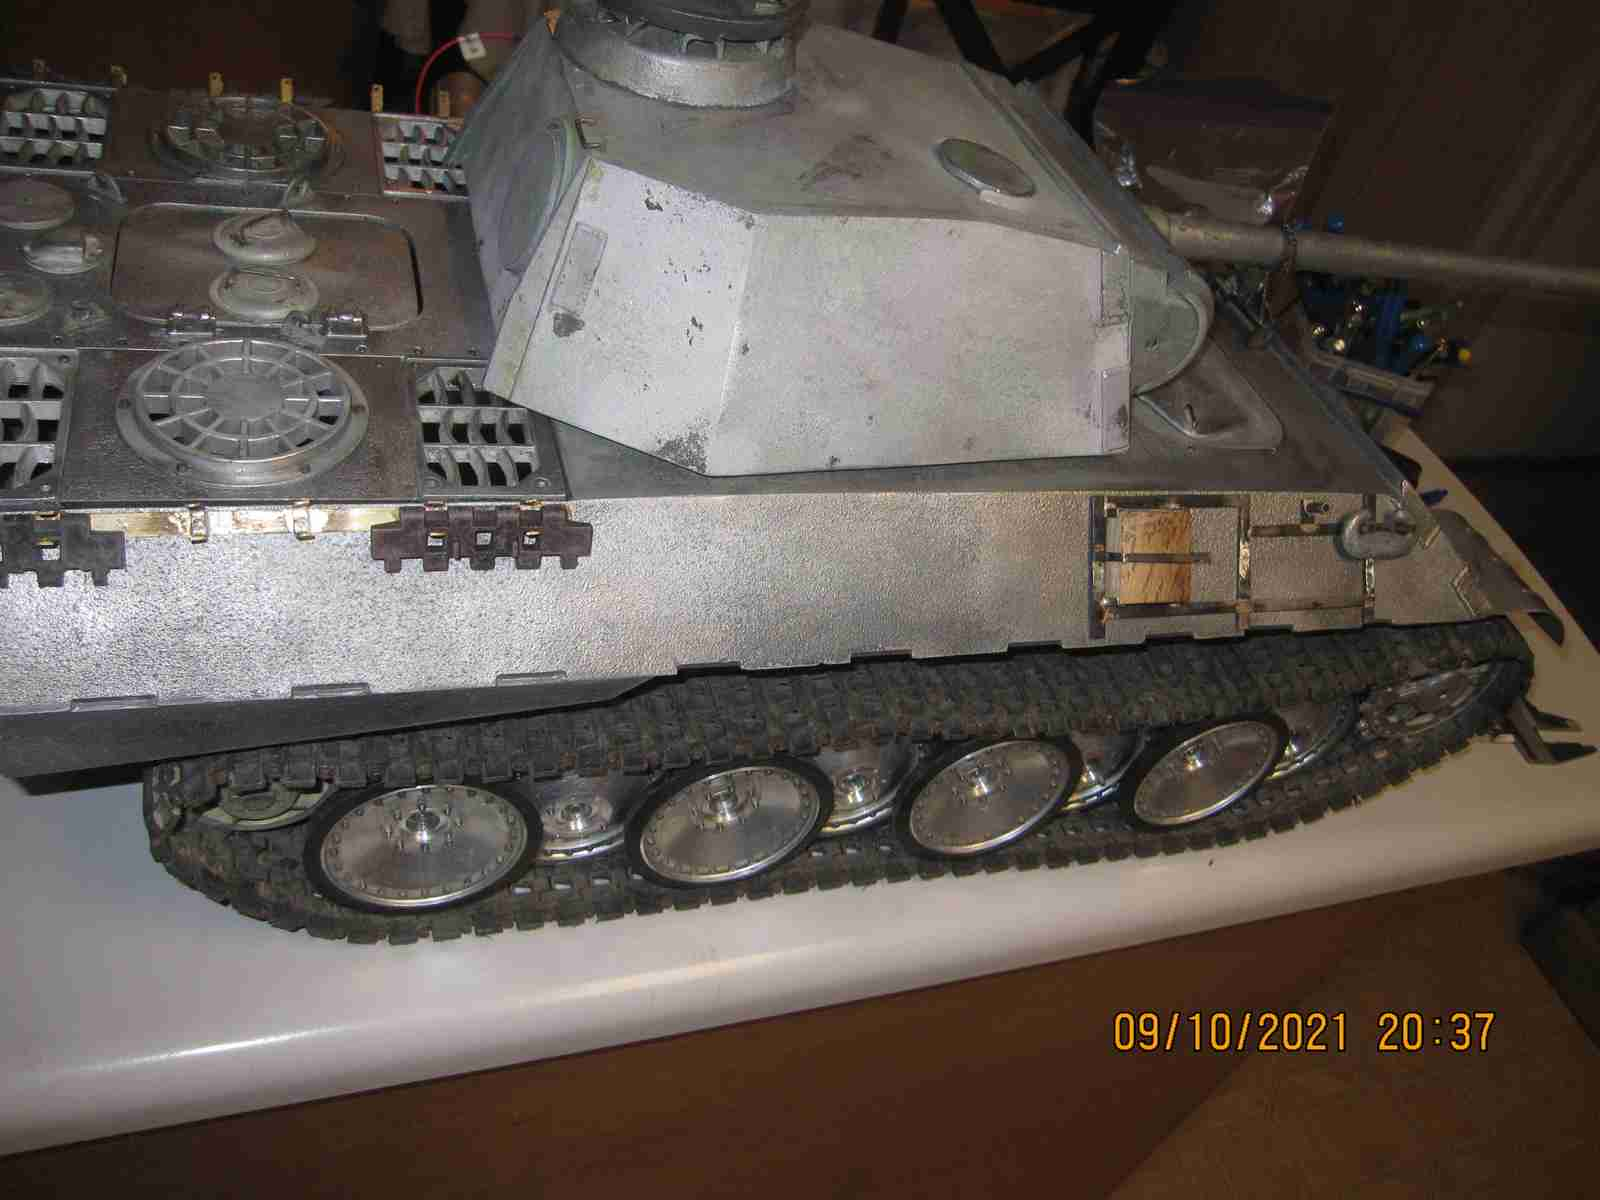
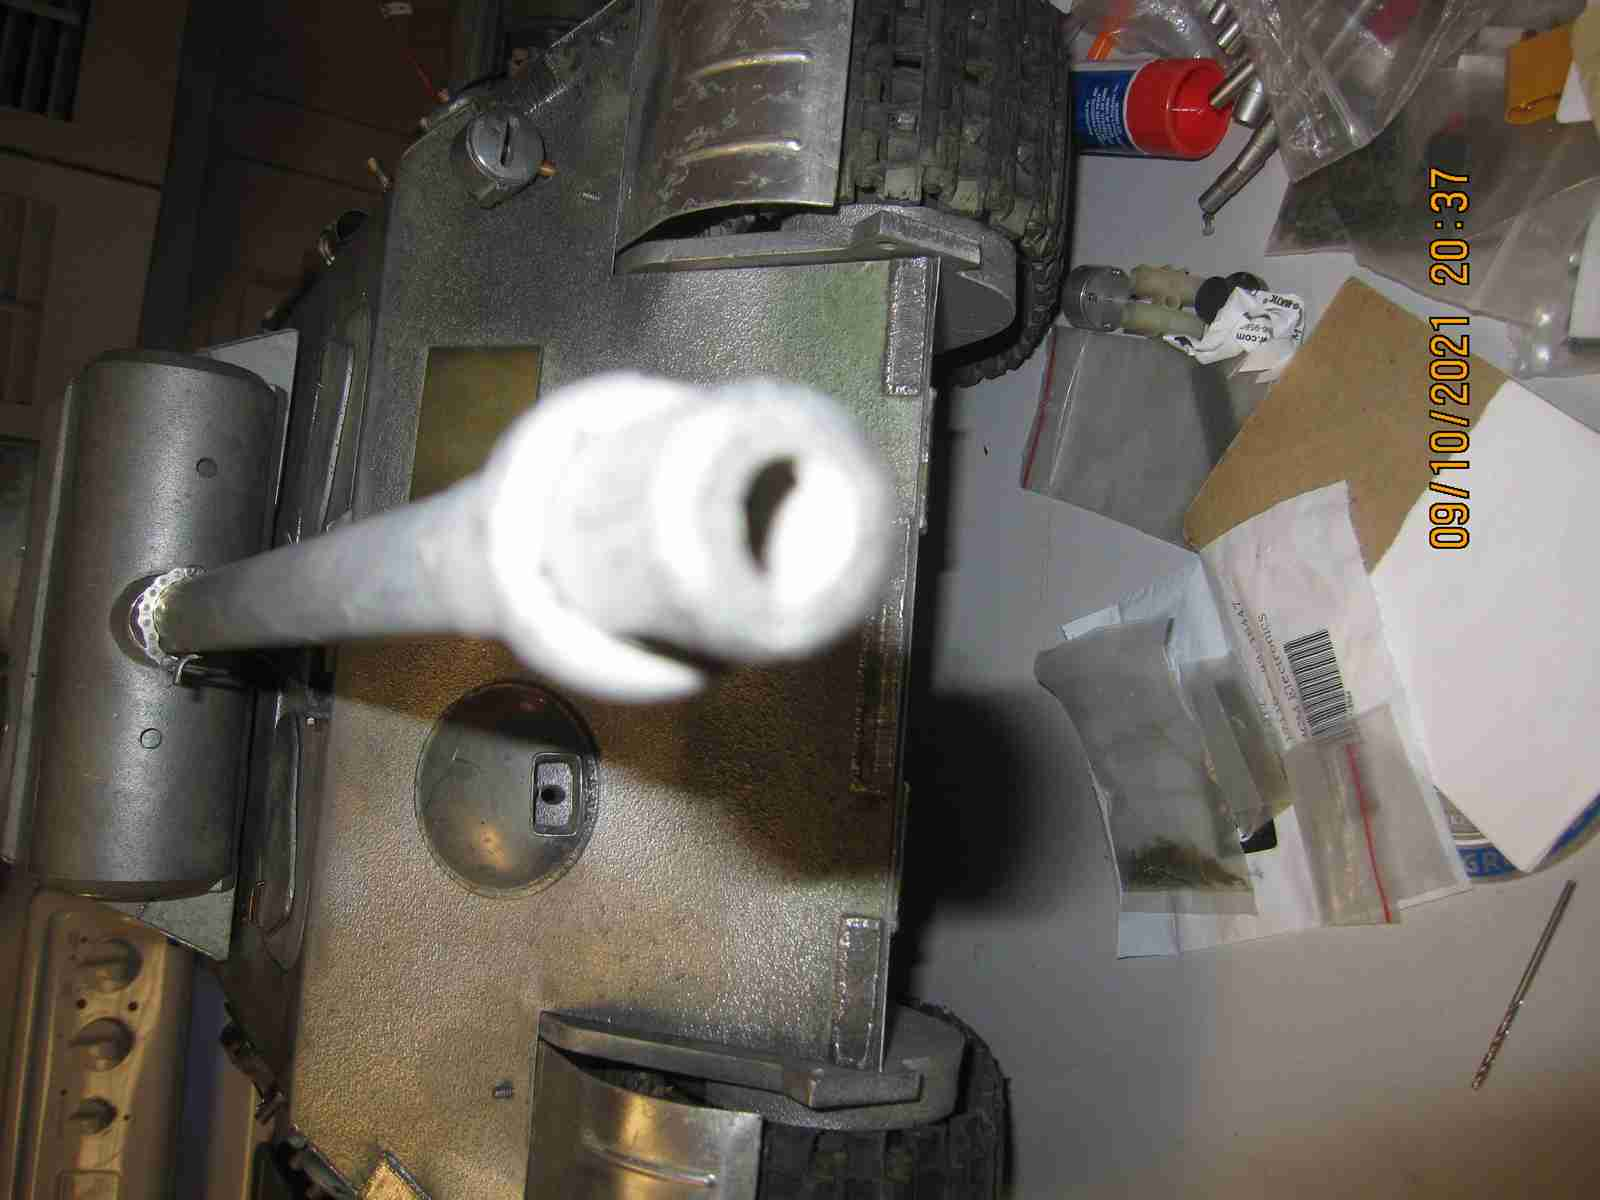
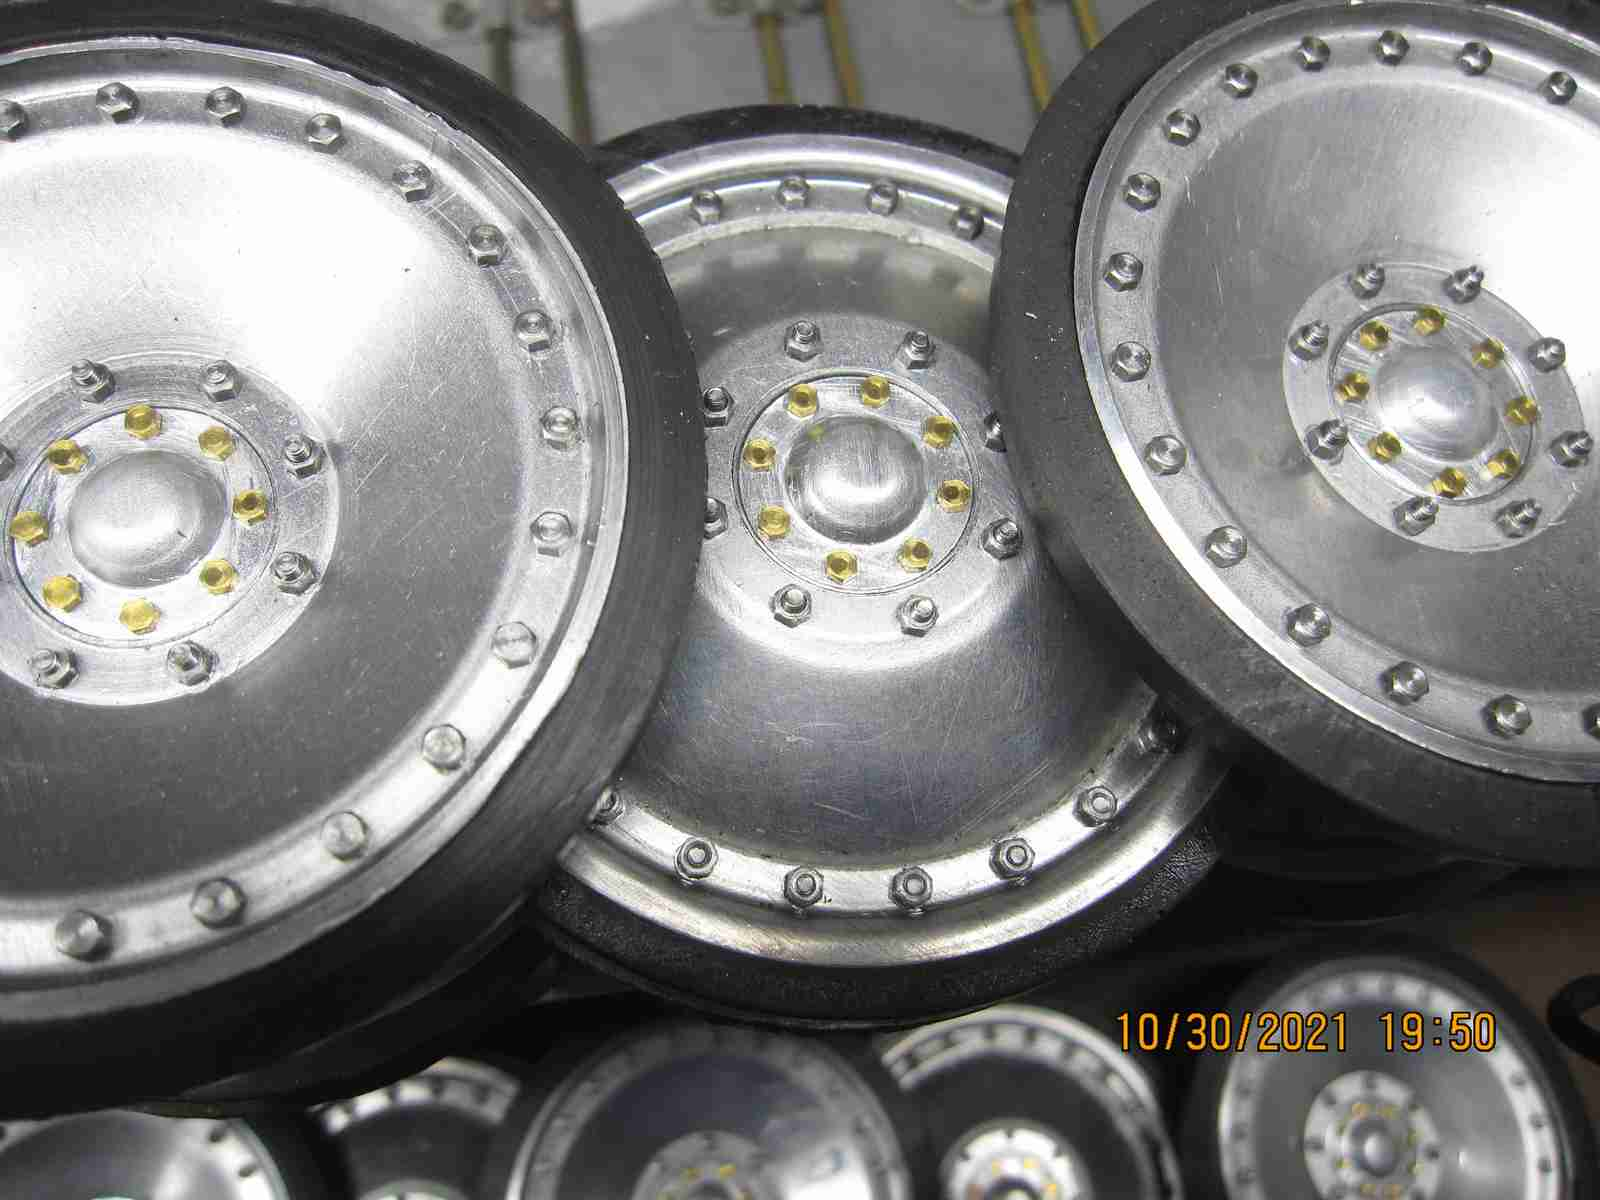
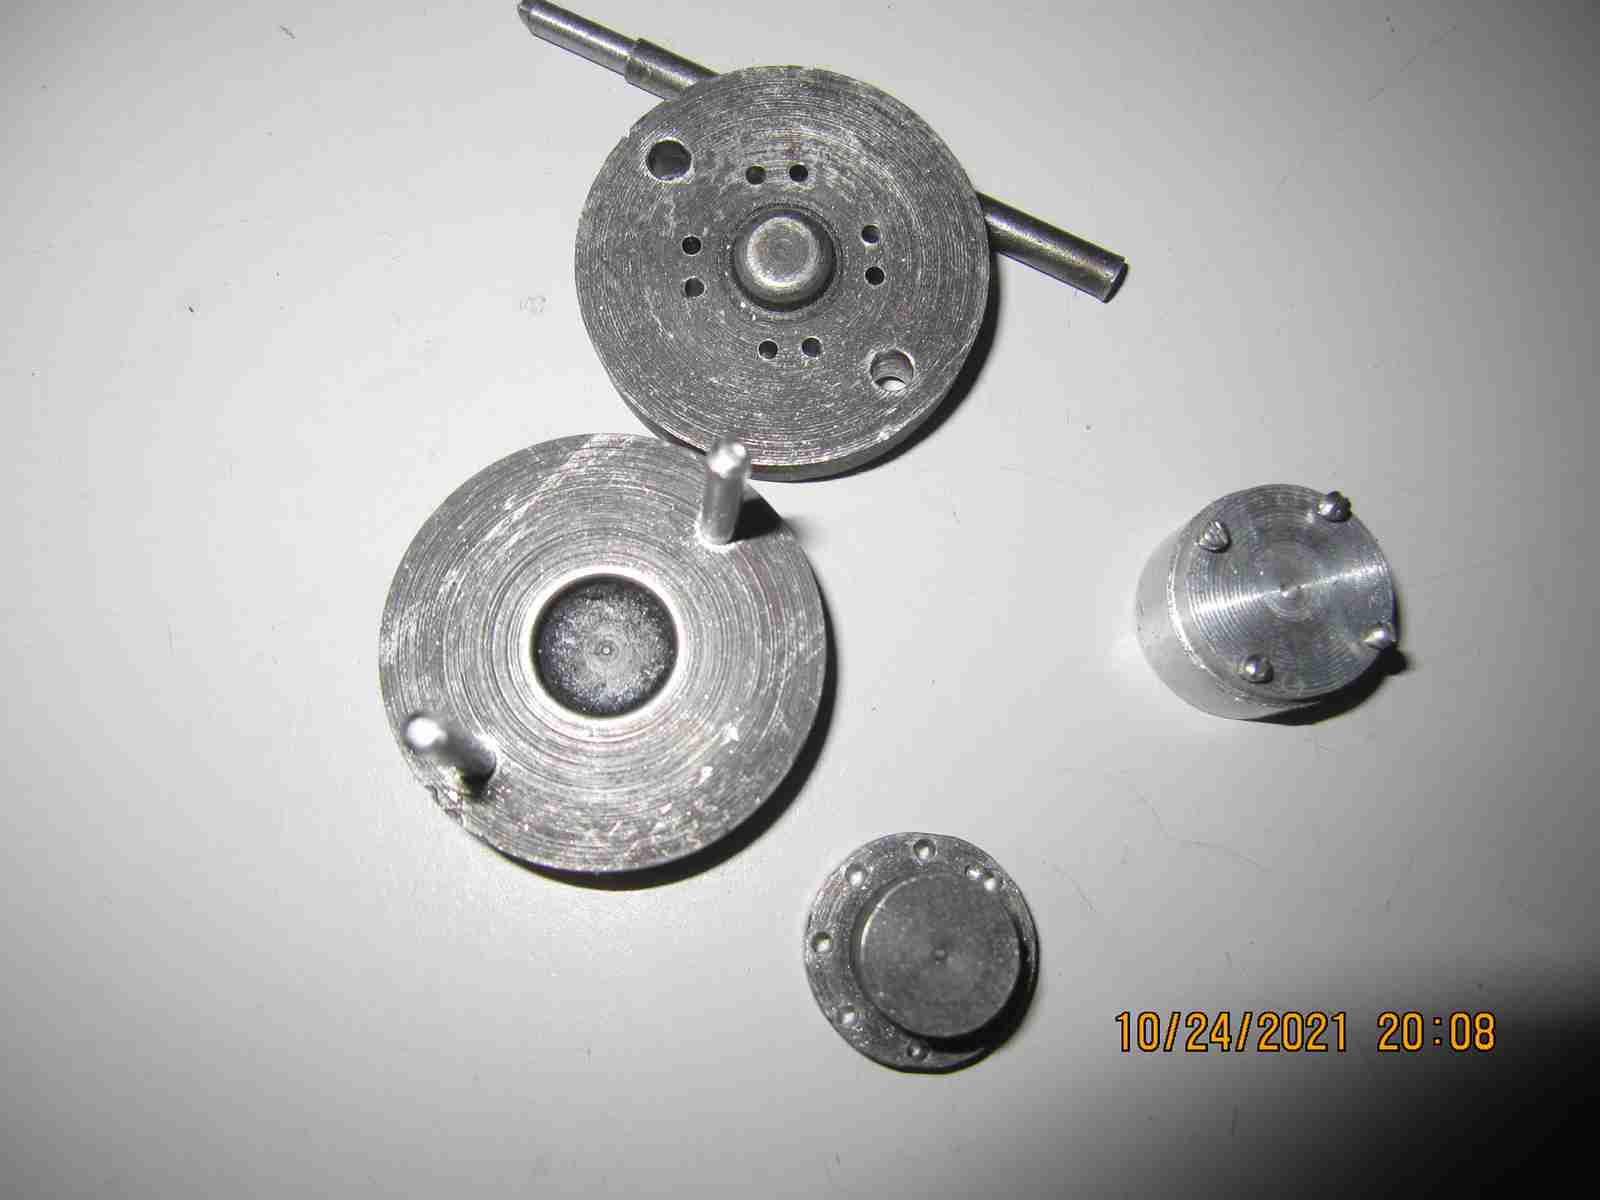
Got back to working on the Klingeberger-Maier Panther. Did some work that I'd put off as it's rather tedious. When I first made the wheel hubs I was not fastidious when boring the center section where the hubcap is supposed to be. Consequently I could not get either my own caps nor originals to fit. Rather annoying. So I dismounted all the wheels and bored them to a correct 19.1mm. As I'd made a set of steel caps initially but had turned them in a vain attempt to get them to fit I had to make a new set of 16 and I decided to use aluminium this time. All that remains is to properly mount them on the wheel hubs. The last photo shows the die I use to press them.I would have considered using the original lead parts Maier made but the originals were pretty beat up and besides the bolt pattern isn't correct. Jerry 10/24/2021
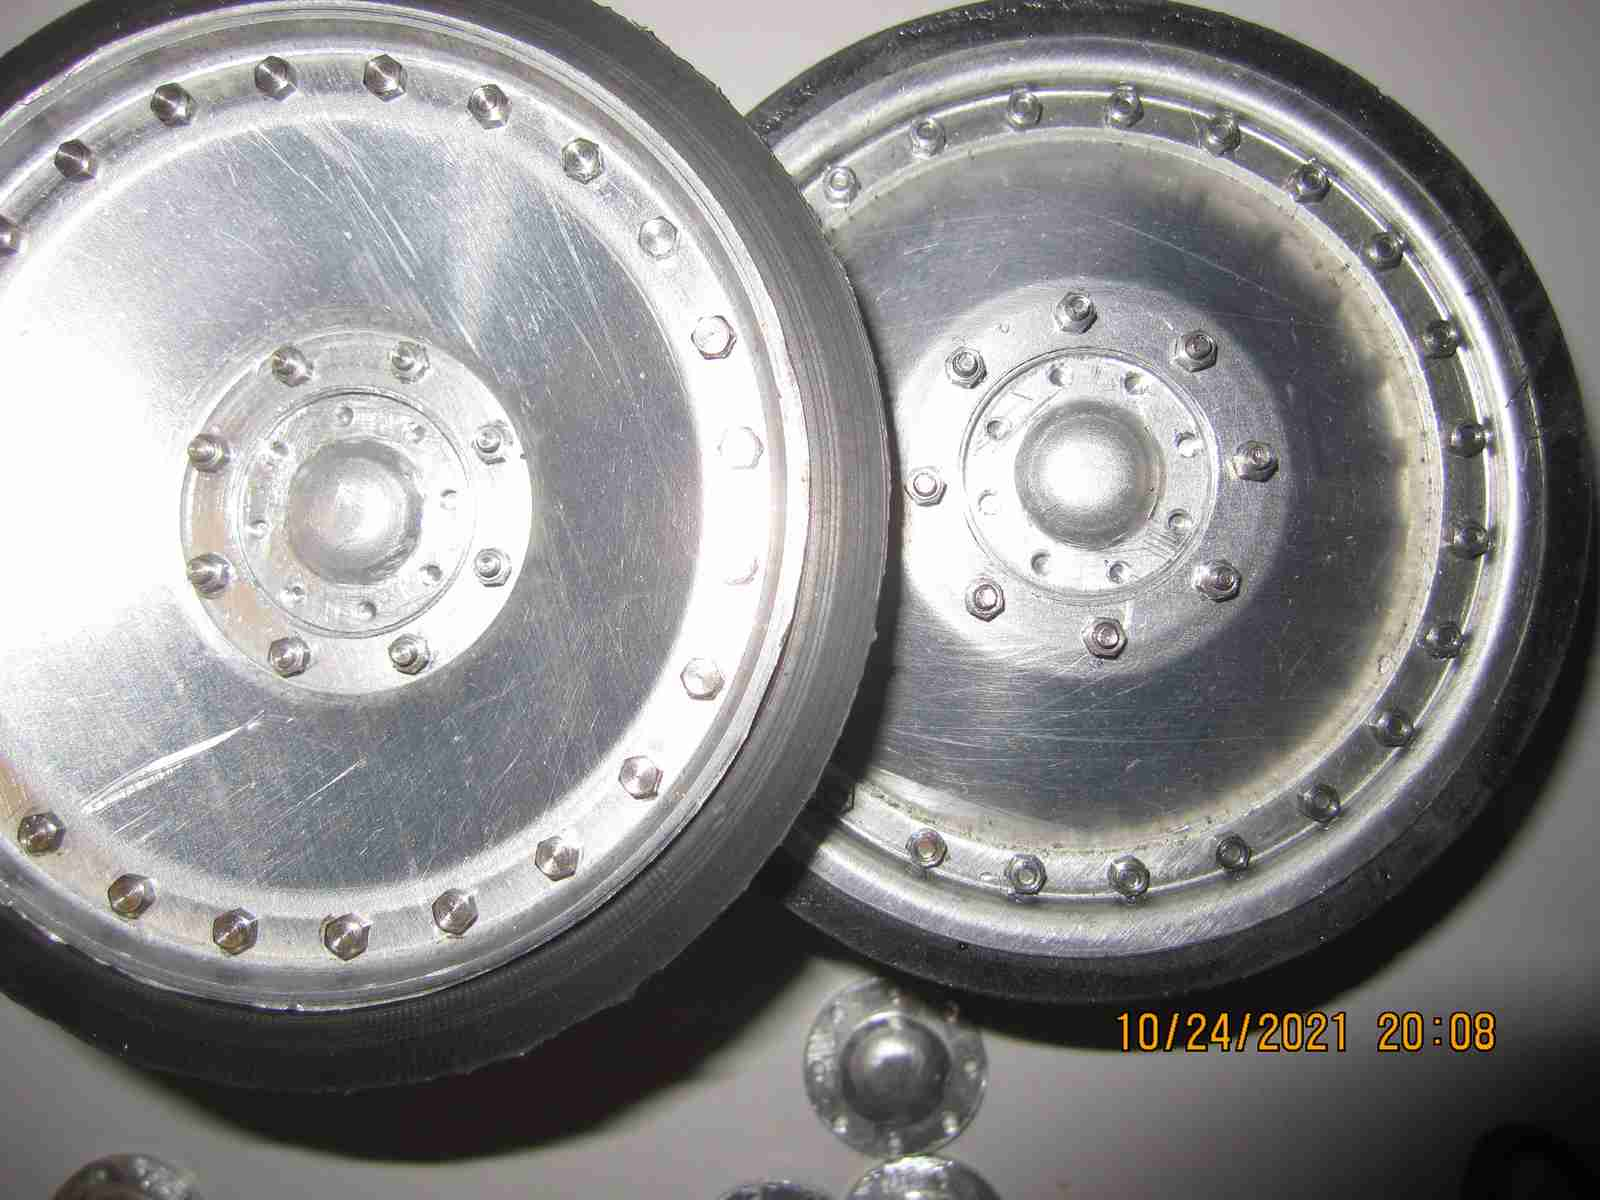
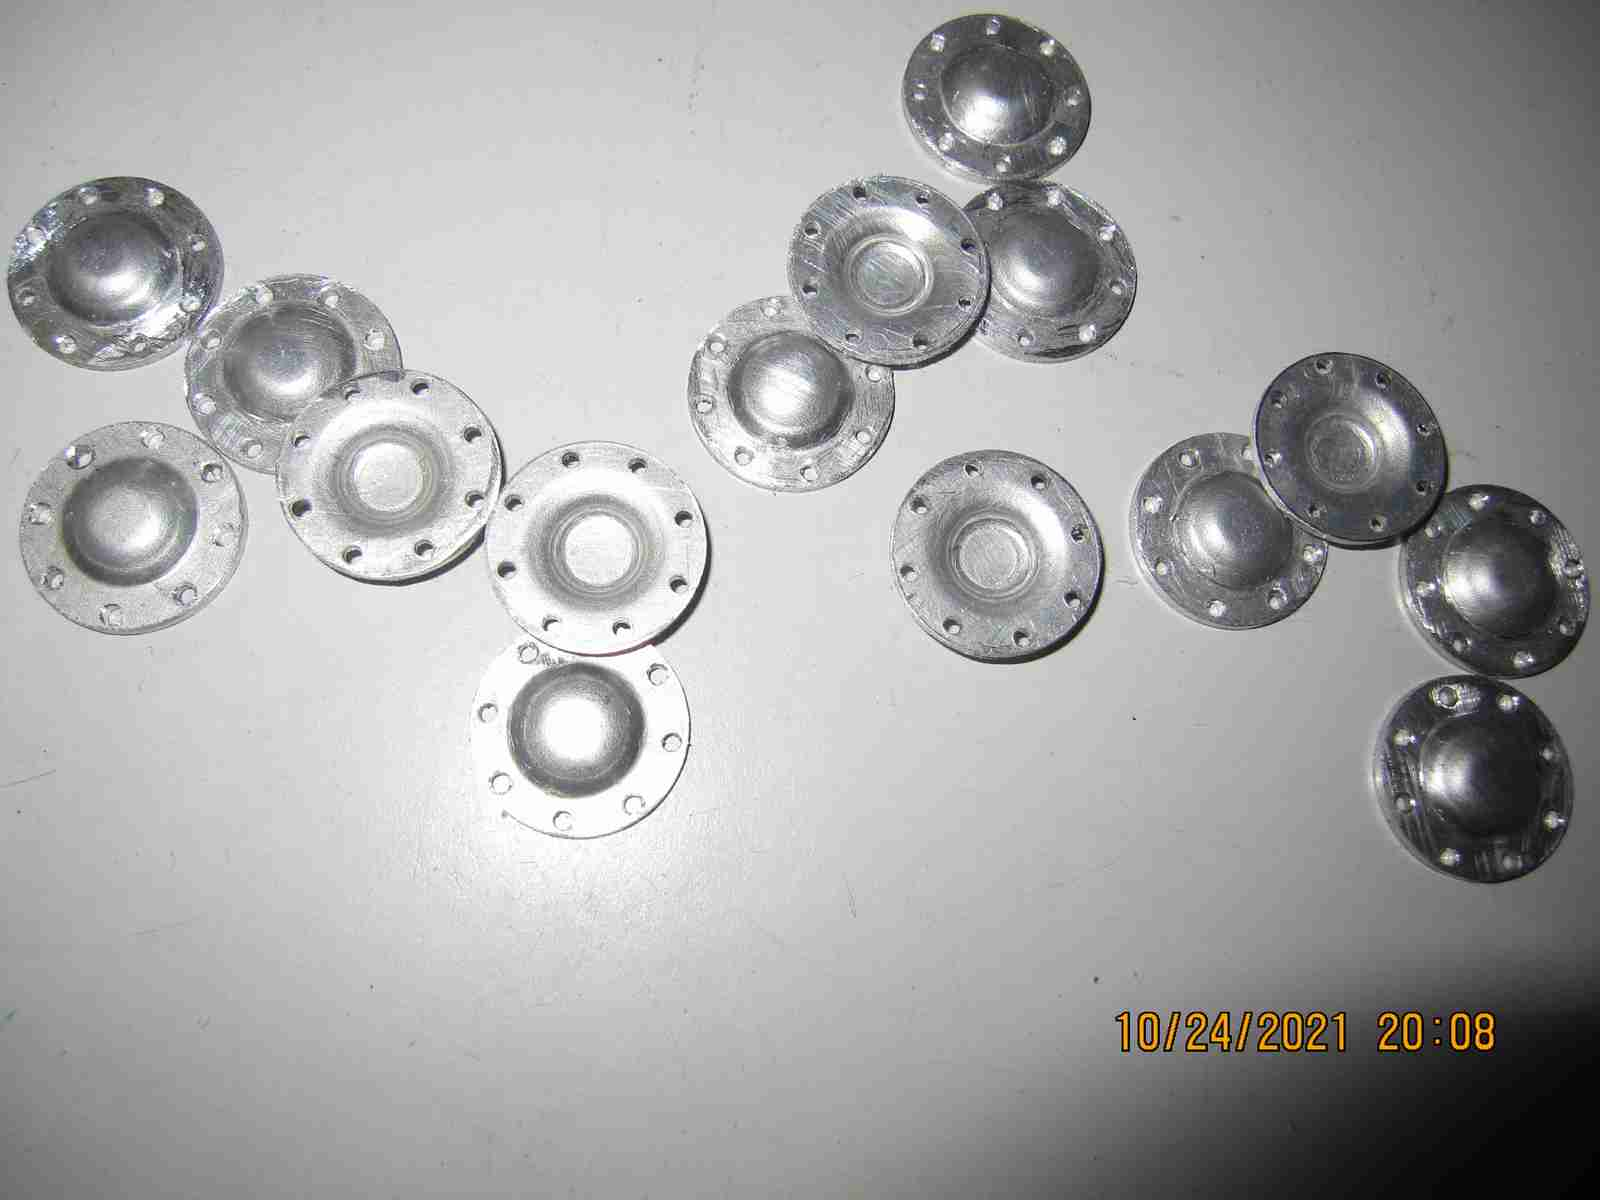
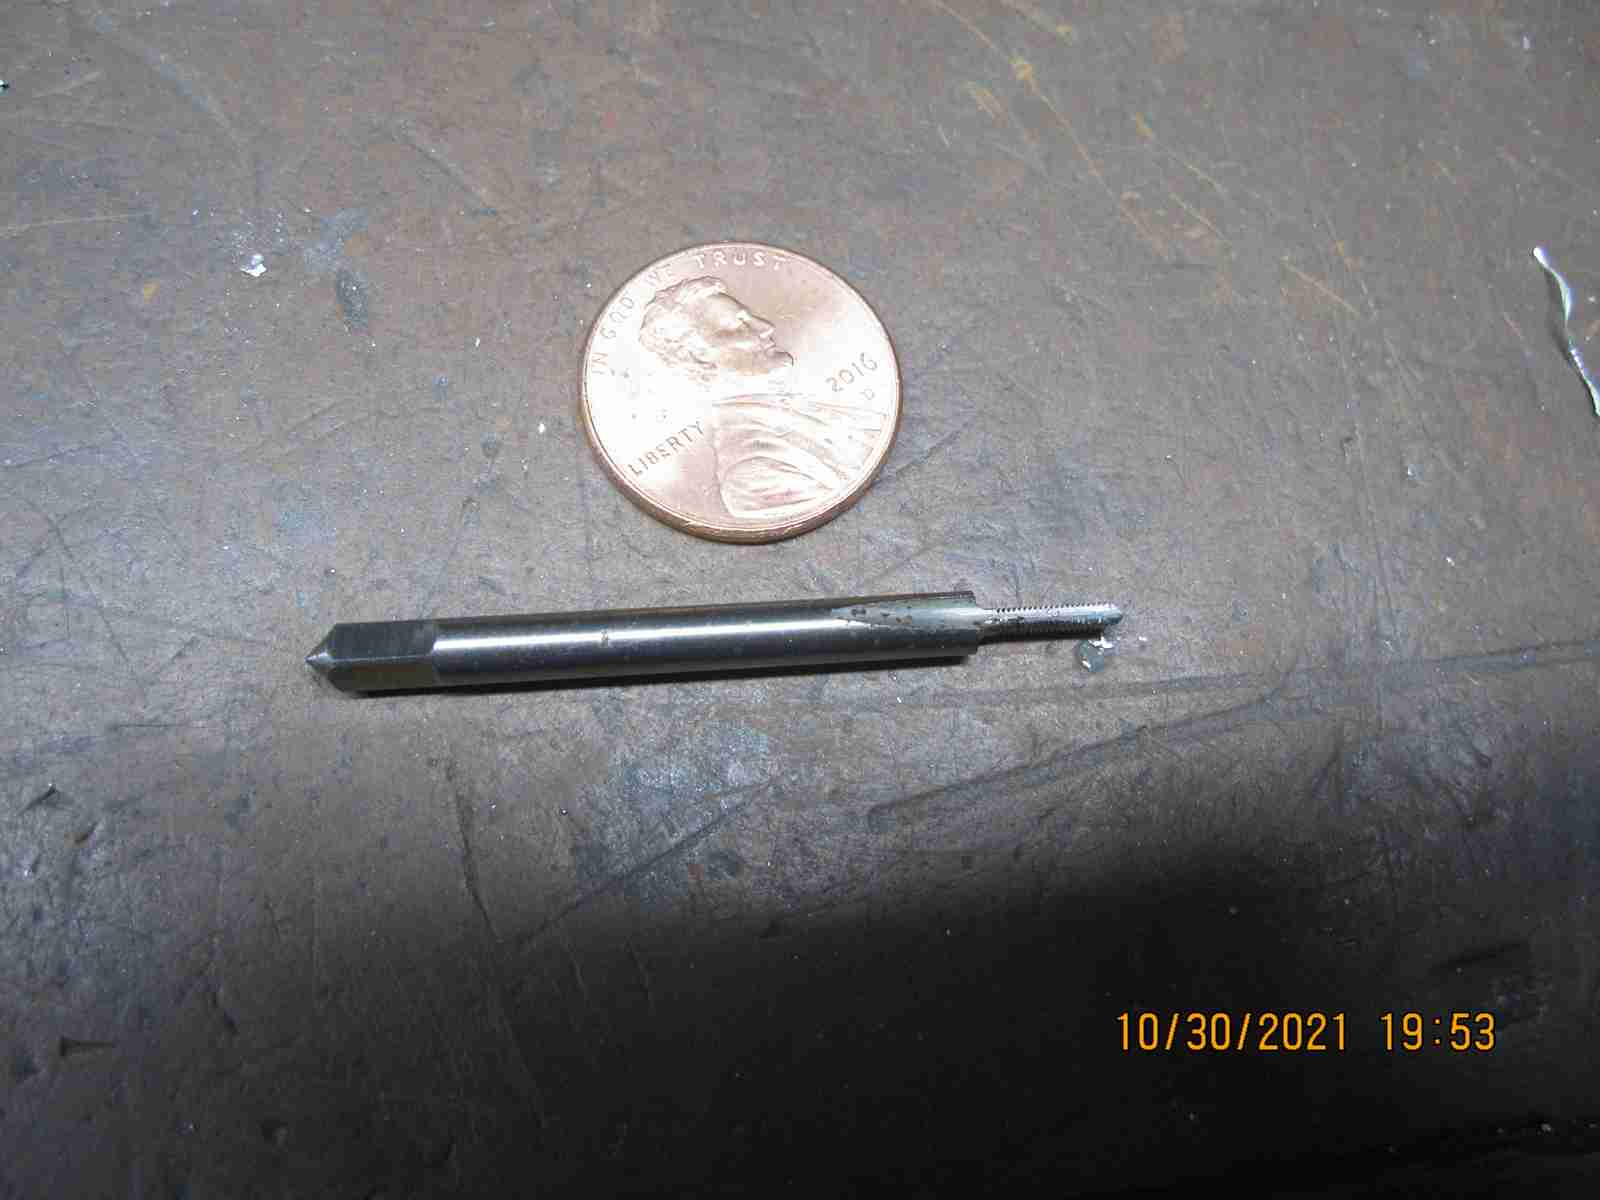
I breathed a sigh of relief as I finished tapped the last Panther wheel hub this evening; this to allow attaching the hub caps I described in my previous post. 128 0-80 holes threaded on 16 wheel assemblies and I never broke a tap; I did manage to break 2 1.2mm drills but fortunately these were removable and caused no issues. I used a 1.2mm drill for the tap drill as it is .001" larger than the specified # drill for a 0-80 thread. My thinking was that I didn't need a full depth thread for what the purpose is.
Anyway this is the second time I've run the gauntlet for this work- I did it before on my JagdPanther some years ago. It is tedious, stressful and I'm going to try my best never to do this again! At least not with such tiny screws and taps.Sad thing is once it's painted no one will likely ever see it. I chose to use screws to hold these in place as gluing never really works for me and if there's any maintenance to be done this will help that. Jerry 10/30/2021

