
Amortek Sd. Kfz. 7 halftrack (M11)
I was fortunate enough to be able to acquire an older Armortek model- the Sd. Kfz. 7. I saw this model and the 88mm FlaK 36 gun up for sale on Armortek's forum several months ago and I really wanted to add them to my growing 1/6 collection. Over the years I'd gone out to Armortek's website and saw as they released this and other models but being in the 1/10 scale as deeply as I was I couldn't get myself to pull the trigger to buy one although I must say this one was very attractive to me from the first I saw it. I think if any thoughts popped into my head back then I probably groused as to why no one brought out a 1/10 scale version but at the same time I thought these seemed pretty spiff.
By the time I write this I've already had this as well as a Flak 36 88mm model. Very happy to have these in my collection. I will begin writing up the progress of revising and refreshing this halftrack model shortly. the
I want to give the seller kudos and props for the absolutely incredible packing they (Debra) did on these models. I realize it was no east tasks to prepare them for the long trip over here ensuring that they would arrive in good shape which they did. Also having had to make the decision to gibe up something that her father enjoyed made the decision to part with them doubly difficult; I know this from personal experience...As I write this I've had these models for some months no and this will be a condensed version of what I've done to refresh the Sd Kfz 7 as well as add some more details that the original model didn't have.Jerry 08/2022
the first thing I did was to address the sprockets. Apparently this early release of the model had some issue with the retaining pins for the sprocket rollers. The originals were apparently pins with a head on one side like a rivet and were to be glued or held in place with Locktite. This had cause problems if a pin worked loose and wasn't noticed; a damaged sprocket could be the result. The previous owner apparently substituted screws and nuts for these pins however the clearance in the track tooth holes wasn't great enough to allow smooth operation so I decided to replace these. I made a series of pins with a thin flat head on one side and just enough of a project on the other, cut with a groove for a spring steel circlip. I tested these and they seem to work and provide a bit more clearance. I would have liked to purchase a set of later type redesigned sprockets where this pin was eliminatted but sadly none are available.
After the sprockets were addressed I essentially took the model apart to address missing fasteners, replace fasteners with more scale appearing types, reattaching loose parts, repairing a few aspects that had become separated, added better detail in some areas and repainted large portions of the model. Jerry 08/2022

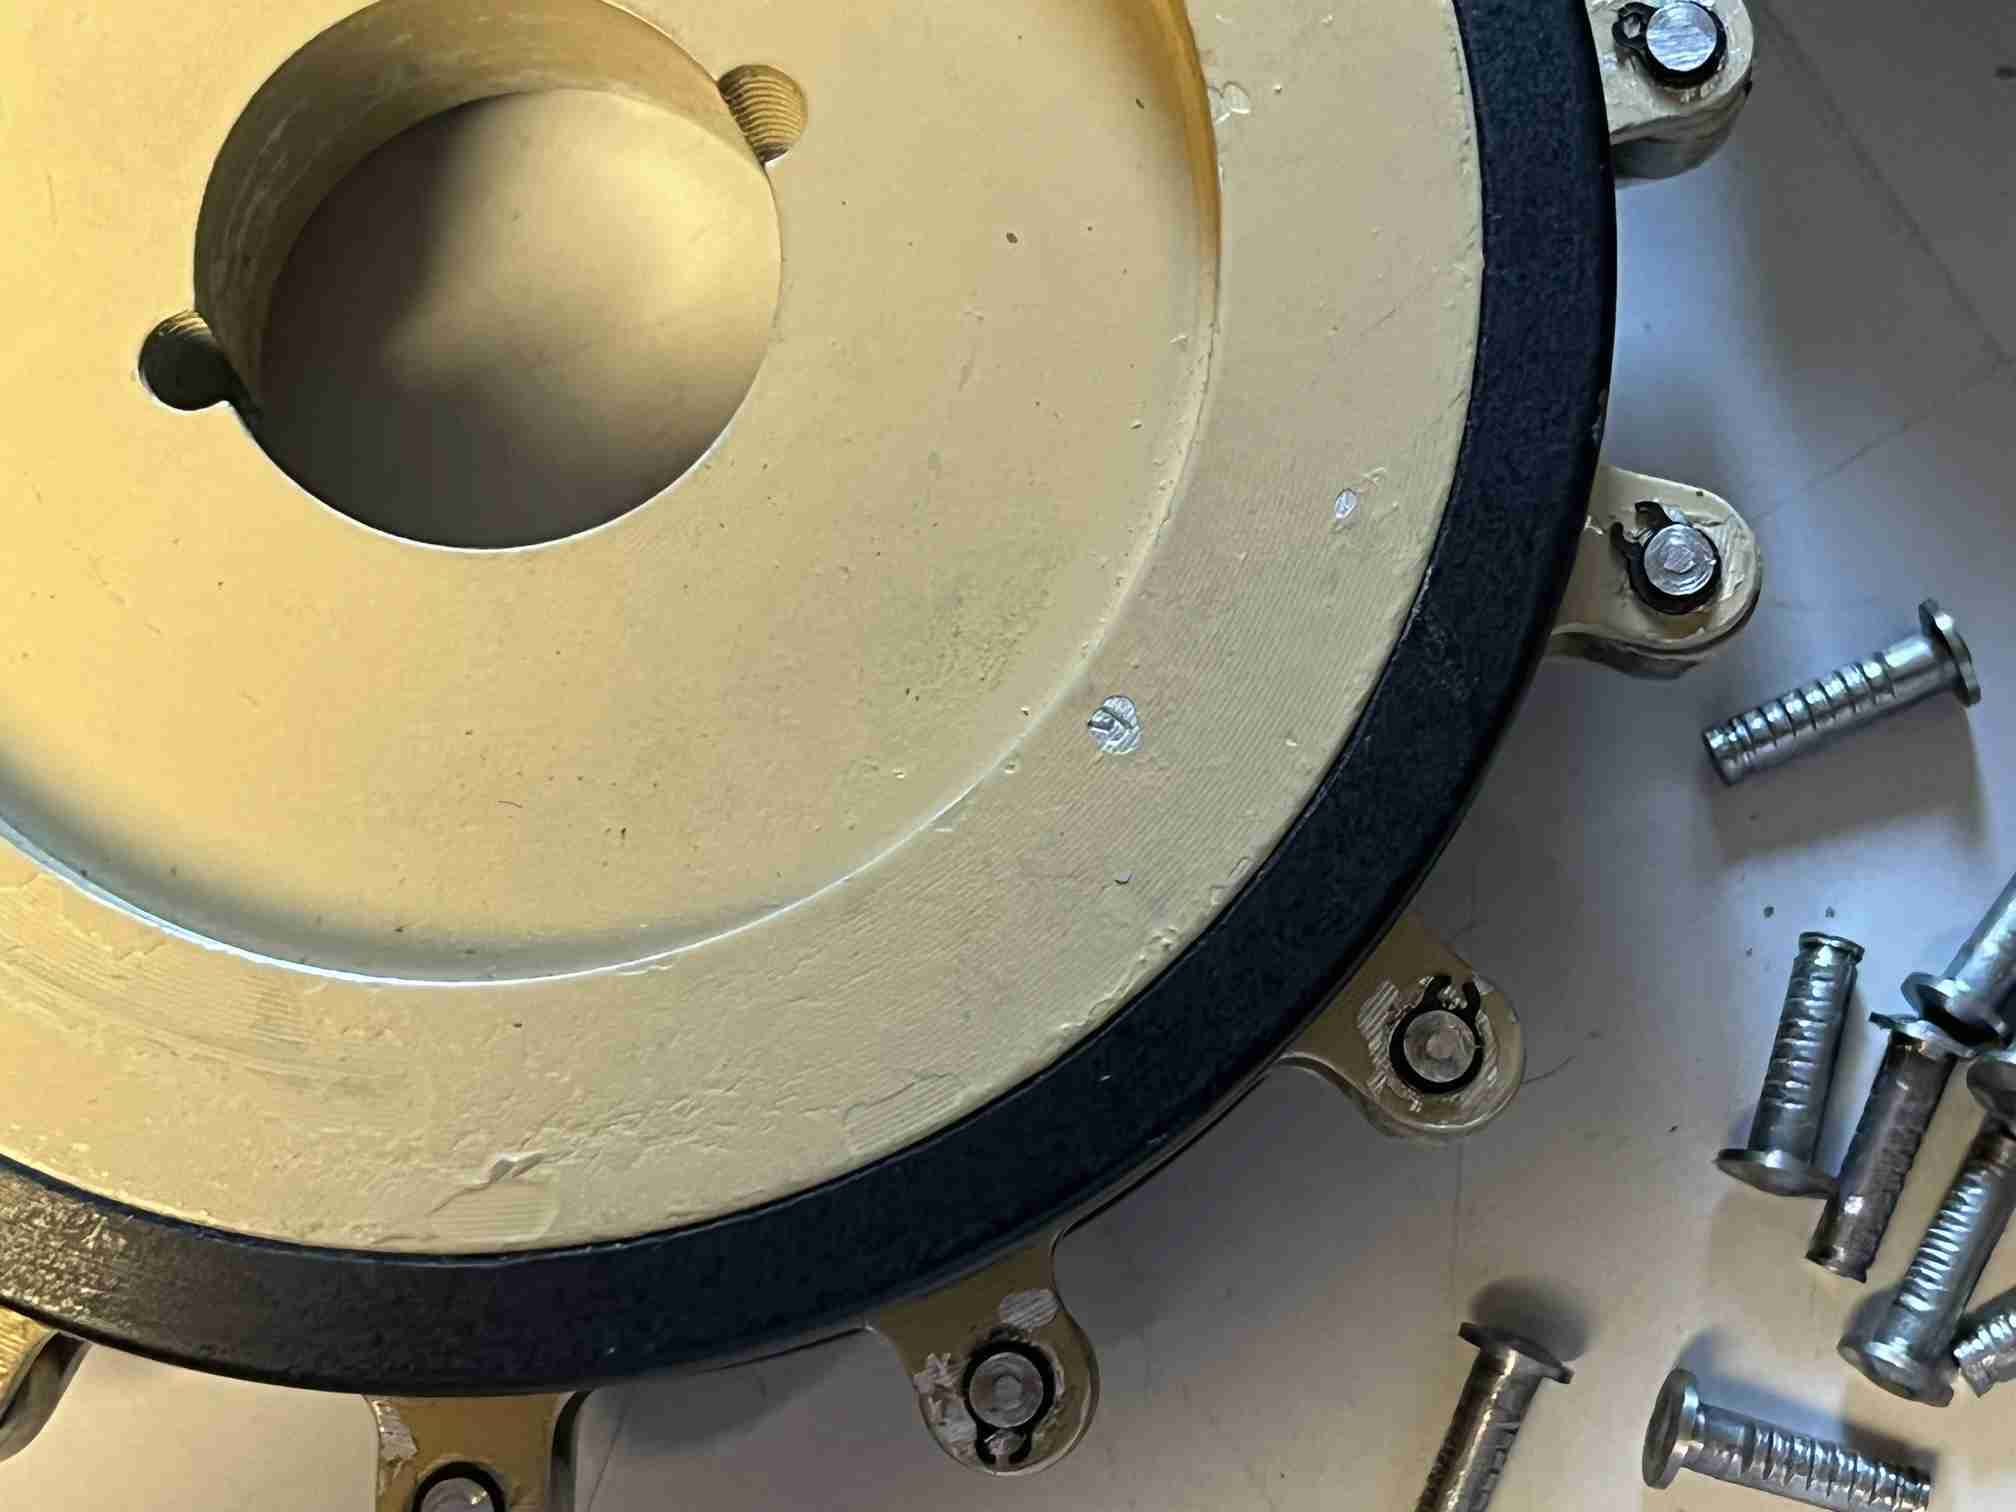


The next thing I did was to dismount all the wheels and mount them on my milling machine to open up all the kidney bean shaped slots along the perimeter of those road wheels that had them as well as the idlers. A small thing but really adds to the appearance; even though the wheels are cast and not pressed the openings are fairly obvious. I also changed the screws from the relatively clunky 3 mm hex head screws to 3mm studs and proportional nuts. The pattern of these while having the correct number as the original is not in the correct original pattern which I elected not to change

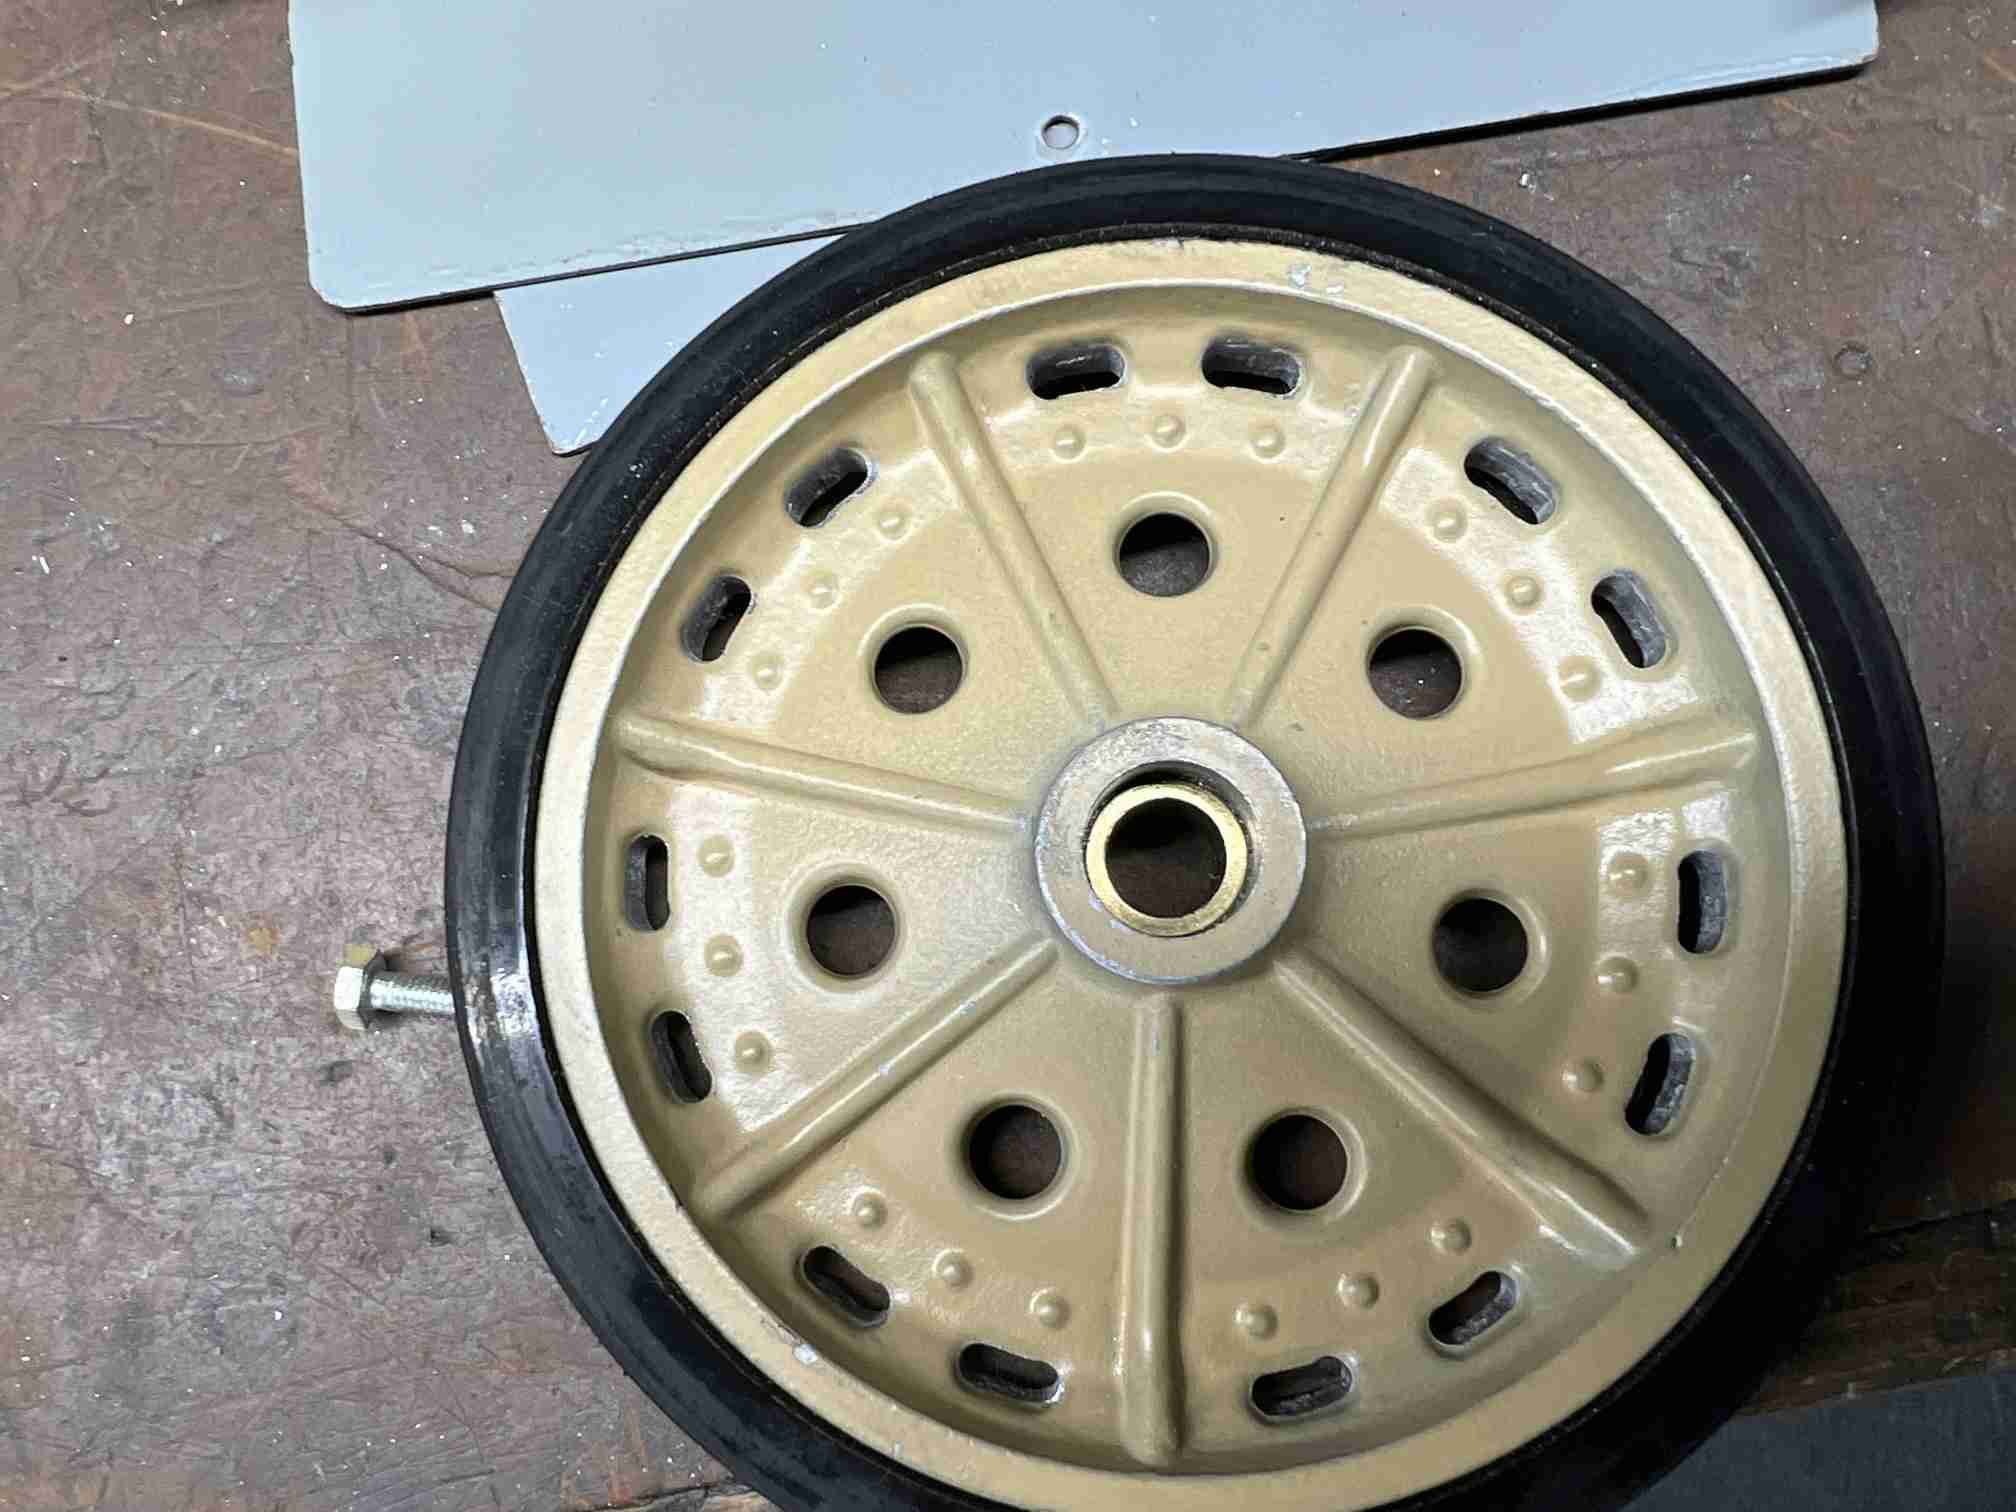

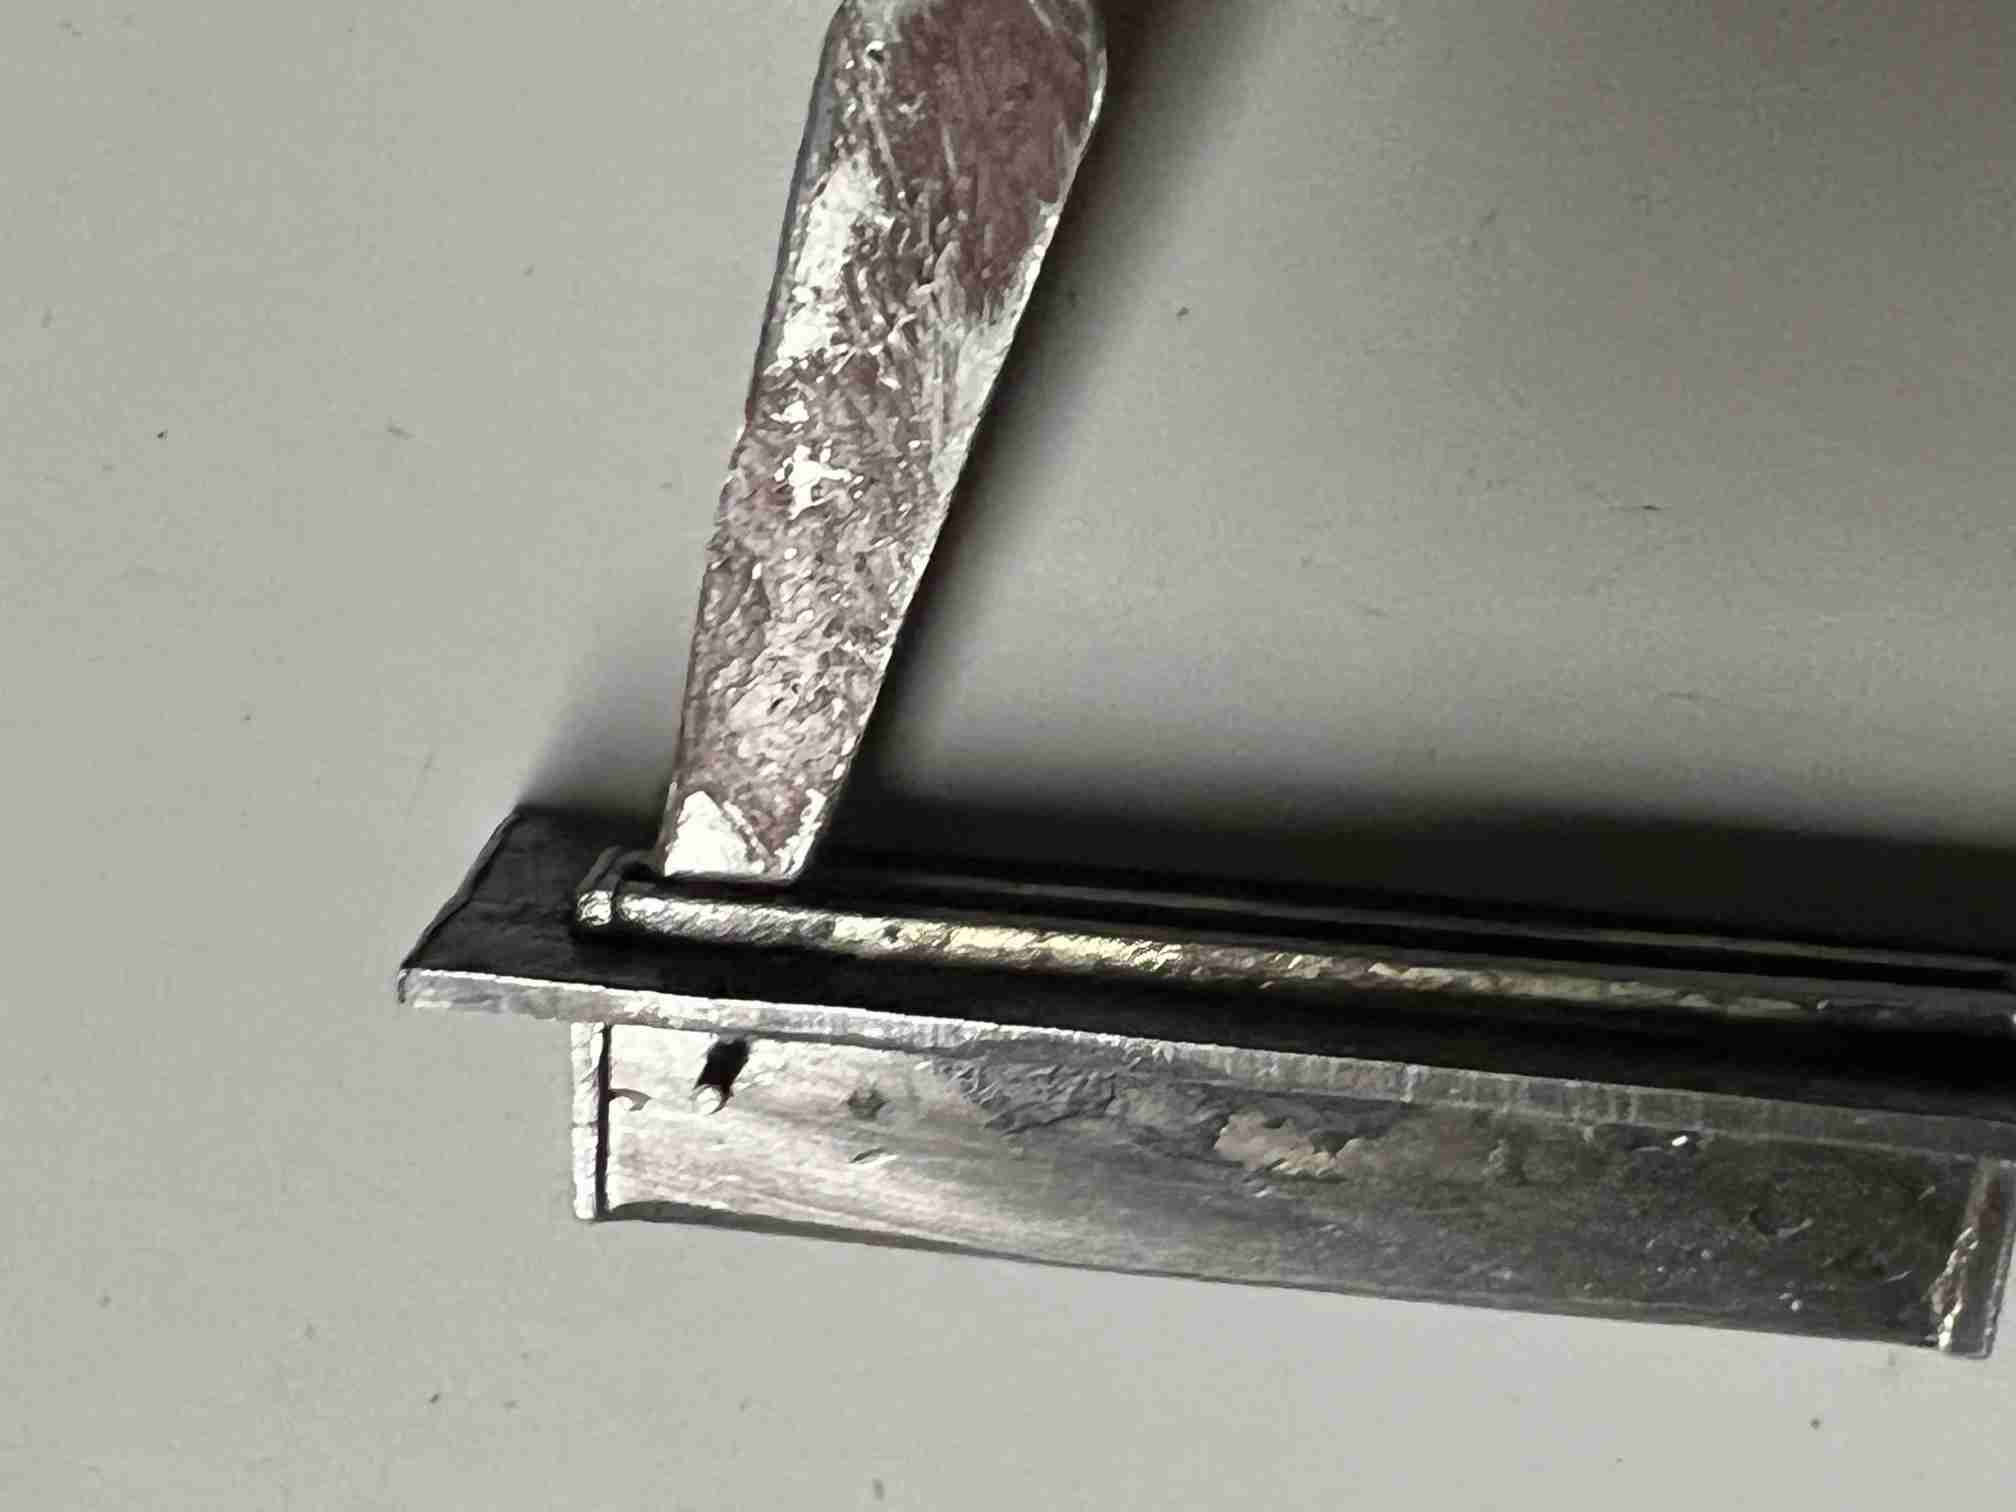
After the wheels were complete I basically stripped the model down to the frame. I worked over the winch which clearly had never been used and I made a set of cable retaining bars as the orginals did as an aide to keep the winch cable in place. A small detail not easily seen once the model is reassembled.Jerry 08/15/2022


I found that a number of fasteners had come loose or were missing and the edging of the side panels had become unglued. Removing the edging completely I tried to file it and profile it to give it a more rounded profile but this was easier said than done. I seached for half round brass or steel in an appropriate size but none was forthcoming so I made do with whatever I could do with files and abrasive papers. I soldered the edging to the side panels. I also made function semiphore turn signals but these I've chosen not to make operations by radio; they just give a much better appearance overall than the OEM pieces. I'd originally planned conceal all the flat head hex screws that fix the side panels to the body but in the end I decided not to due the difficulty removing the panels for some unforeseen future maintenance. Wherever it was appropriate I replace the outsized hex head screws with more proportional versions.




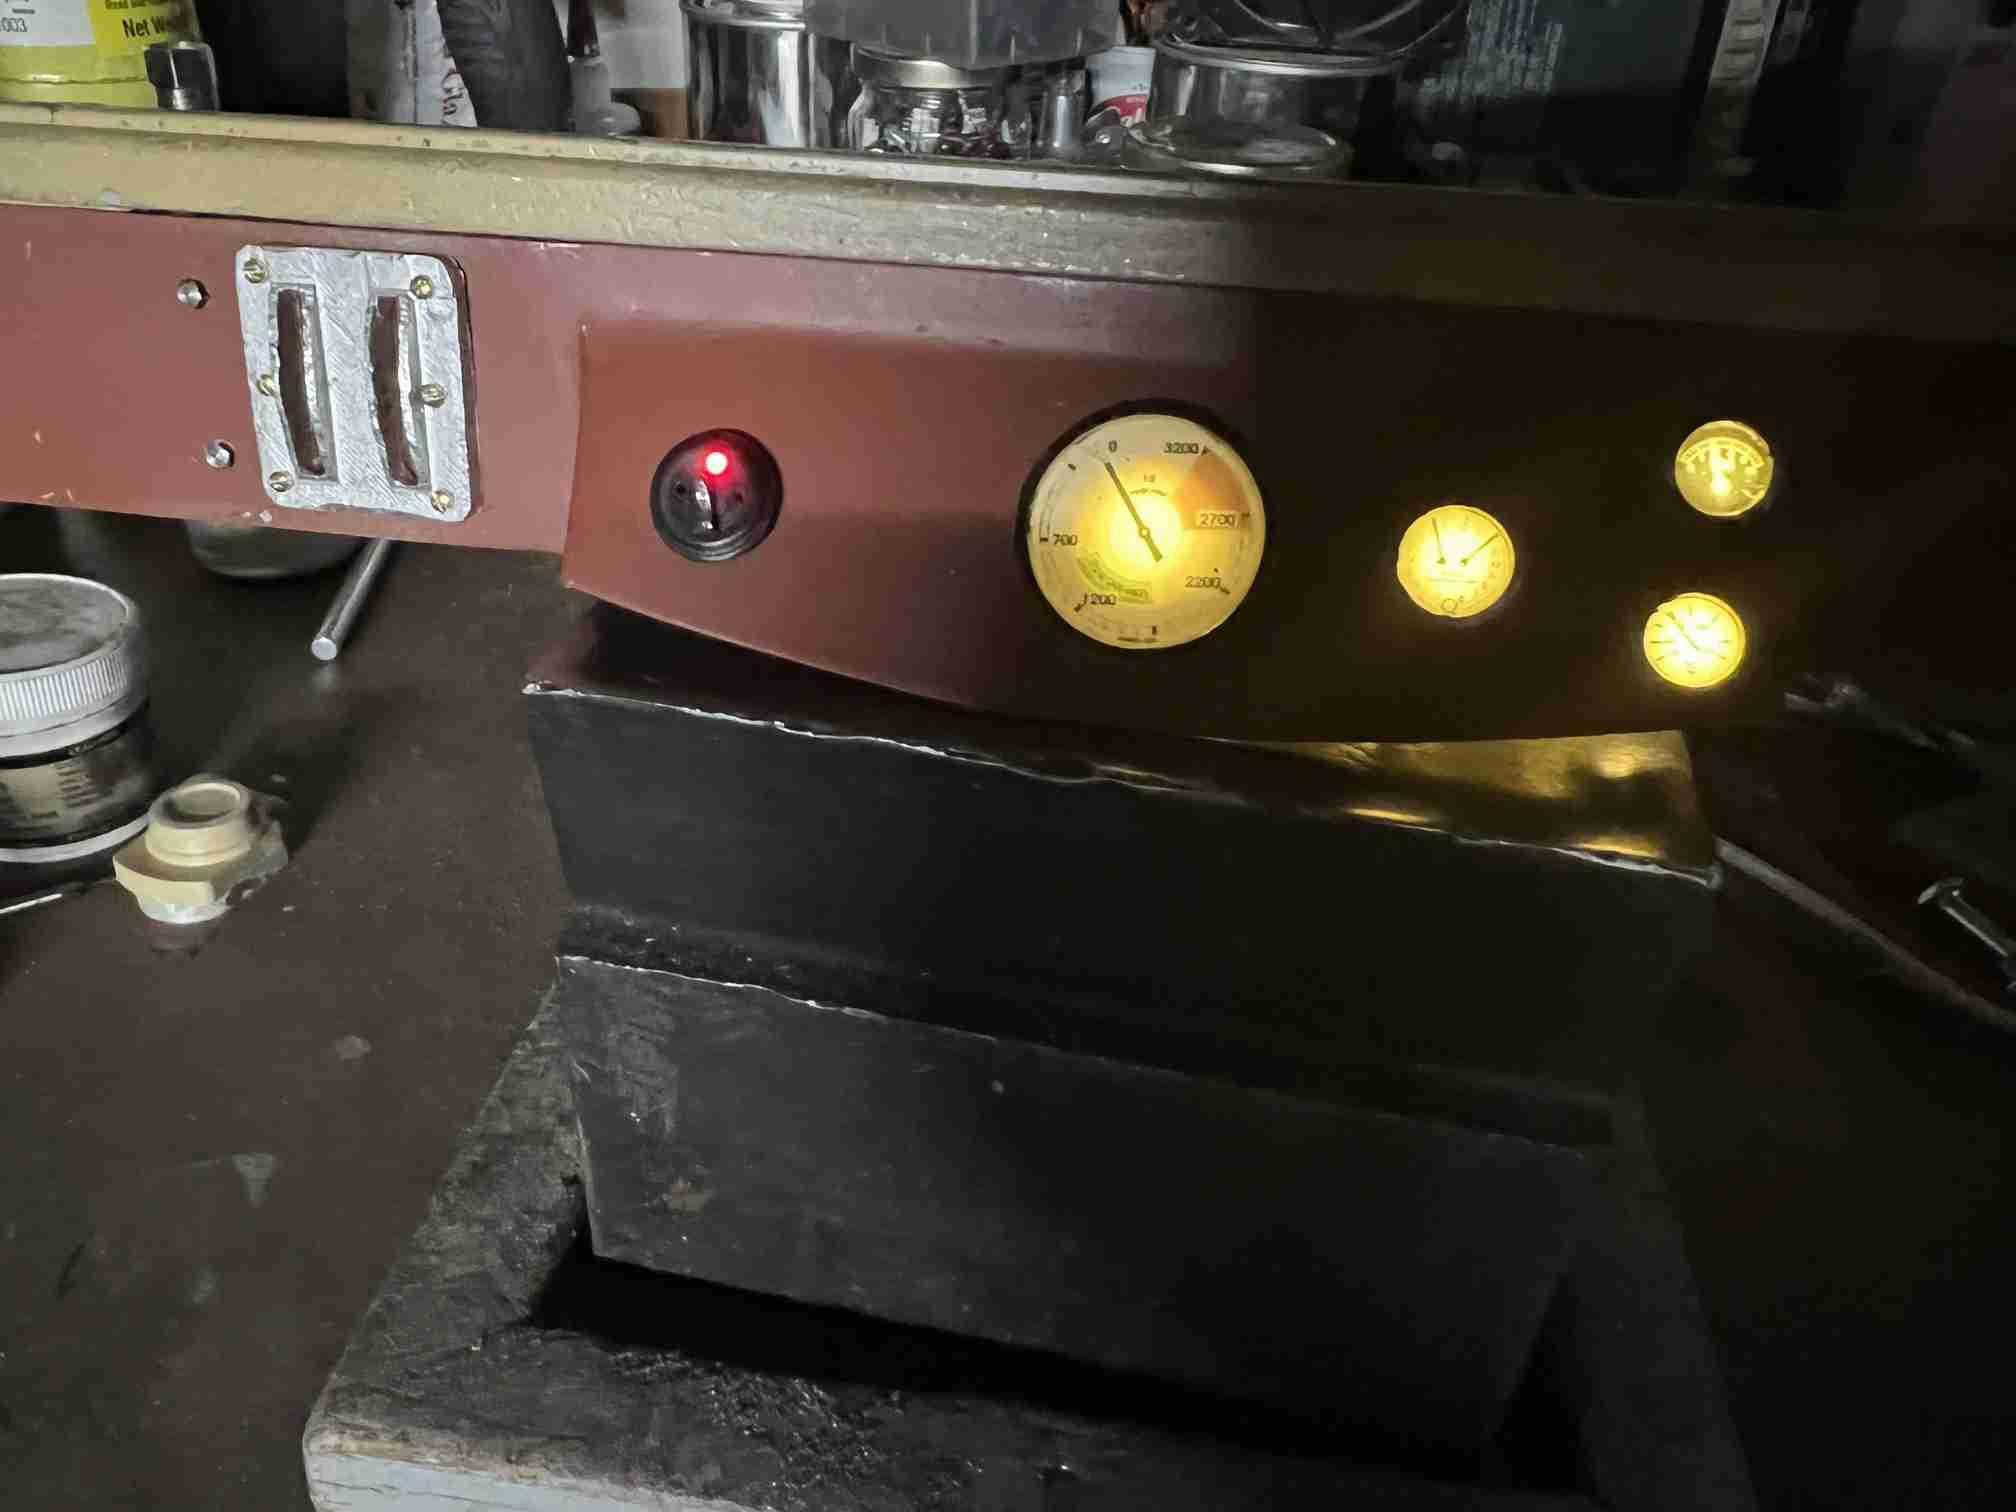
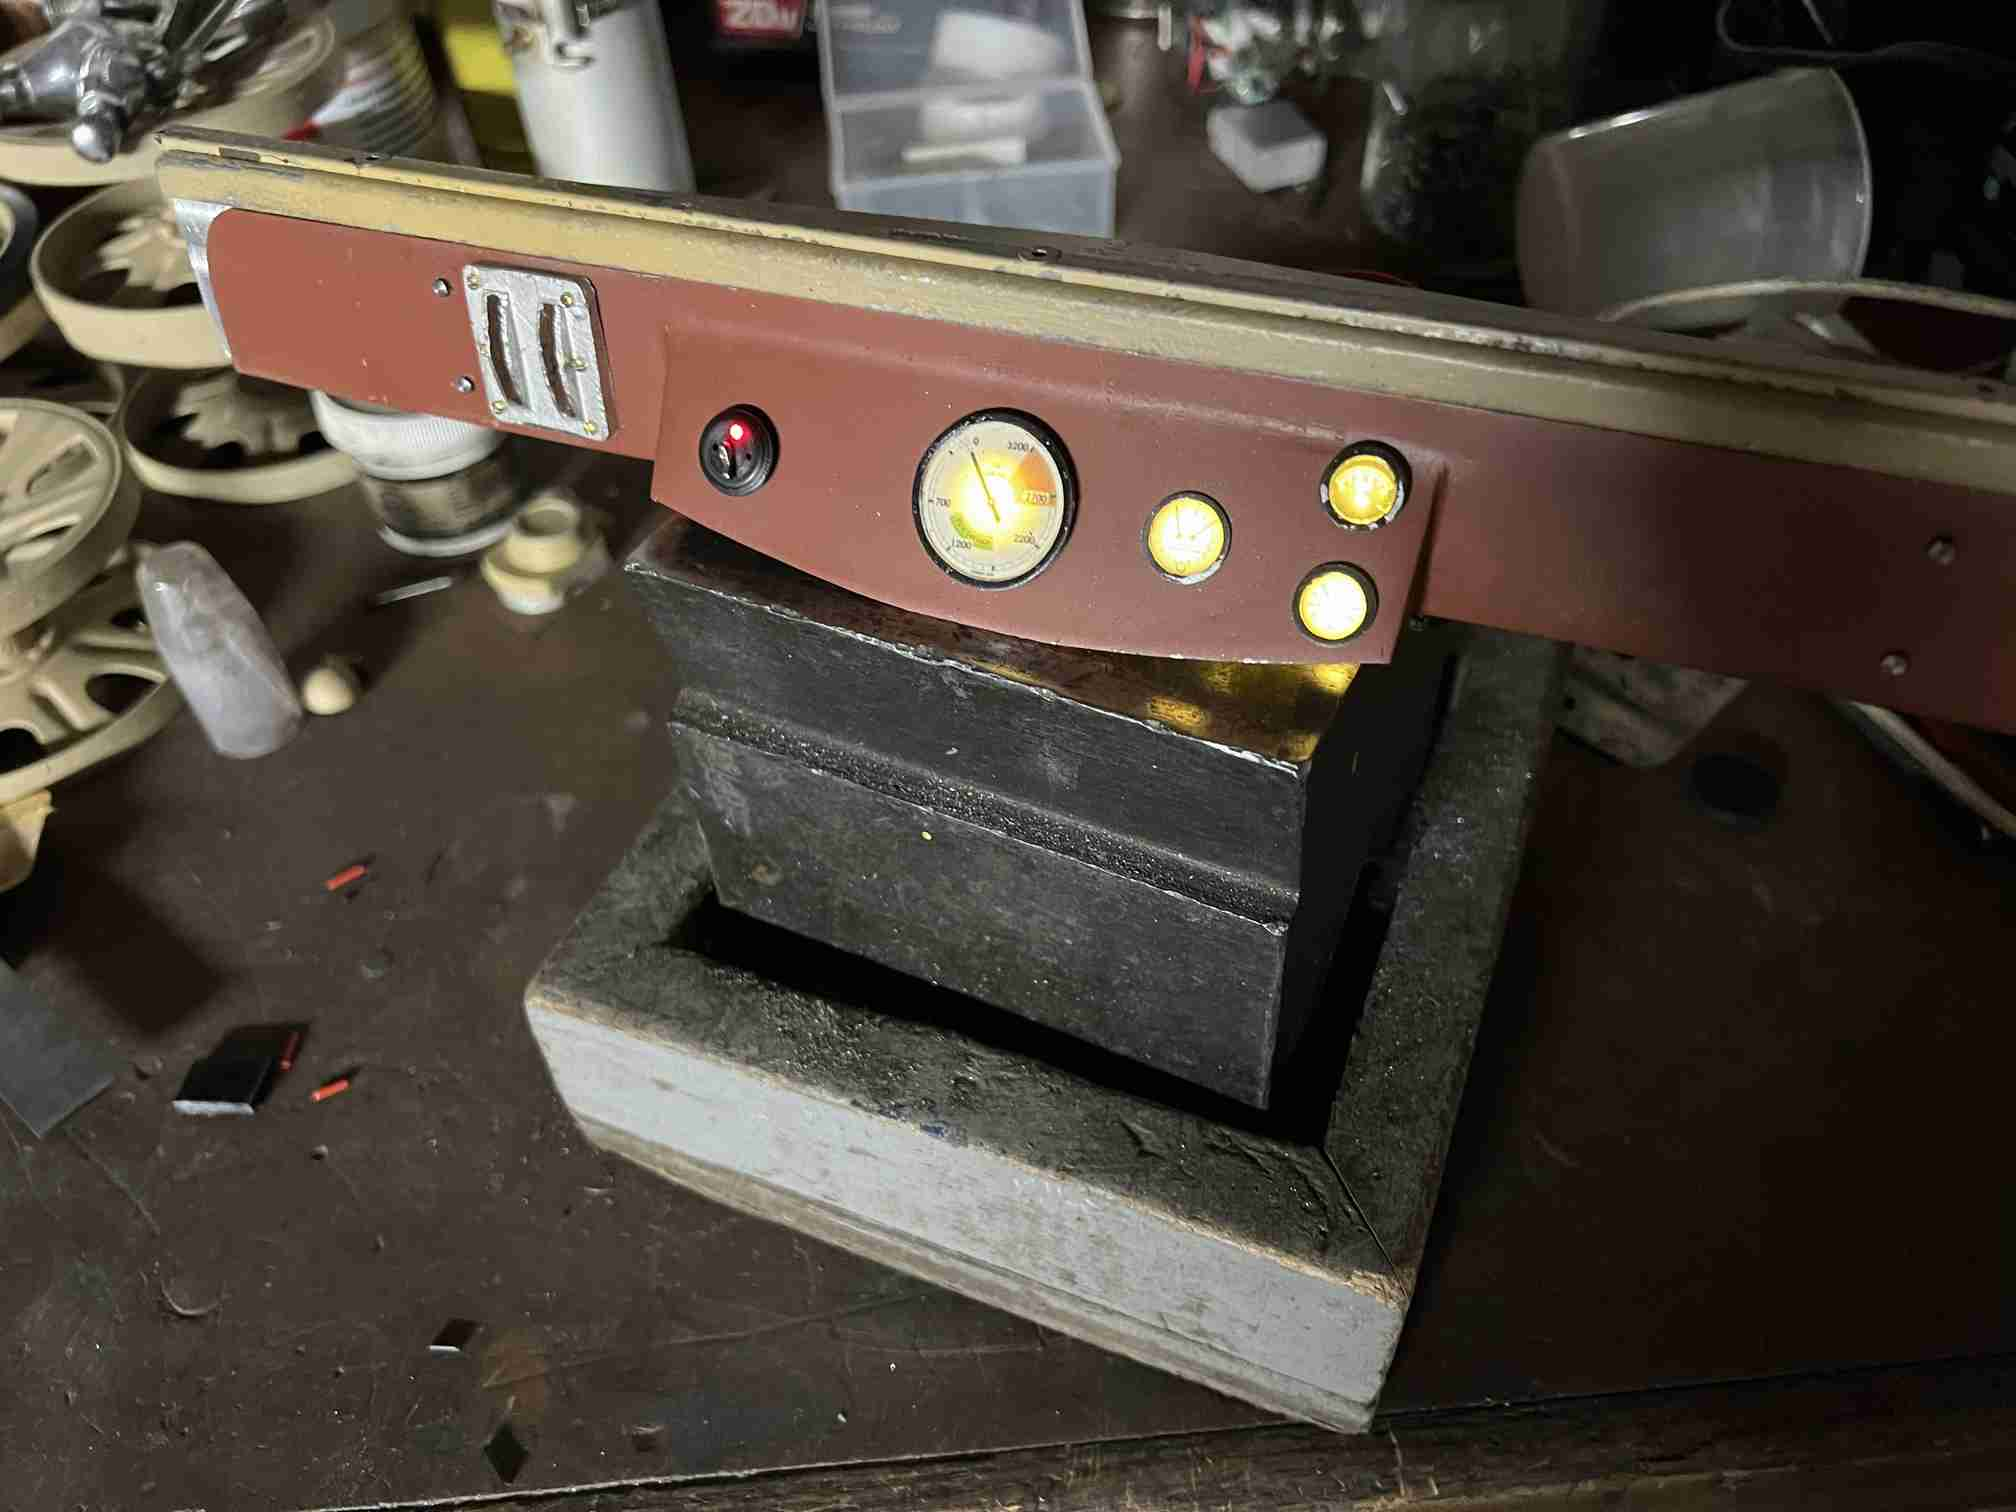
The next part I worked on (and there is still some work to be done on it( was to completely rework the dashboard. There was very little detail on the original and for such an open model it begs for better detail. I spent some time of this so far, I made one functional panel light and the 4 gauges were made from aluminum with printed dial faces and plastic lenses. All 4 are illuminated with a soft white led. There is one mre switch to be added and I need to eventually make a copy of the tachyometer that was mounted to the left of the steering wheel. There are also instructive and informational lables to be made for the dash.

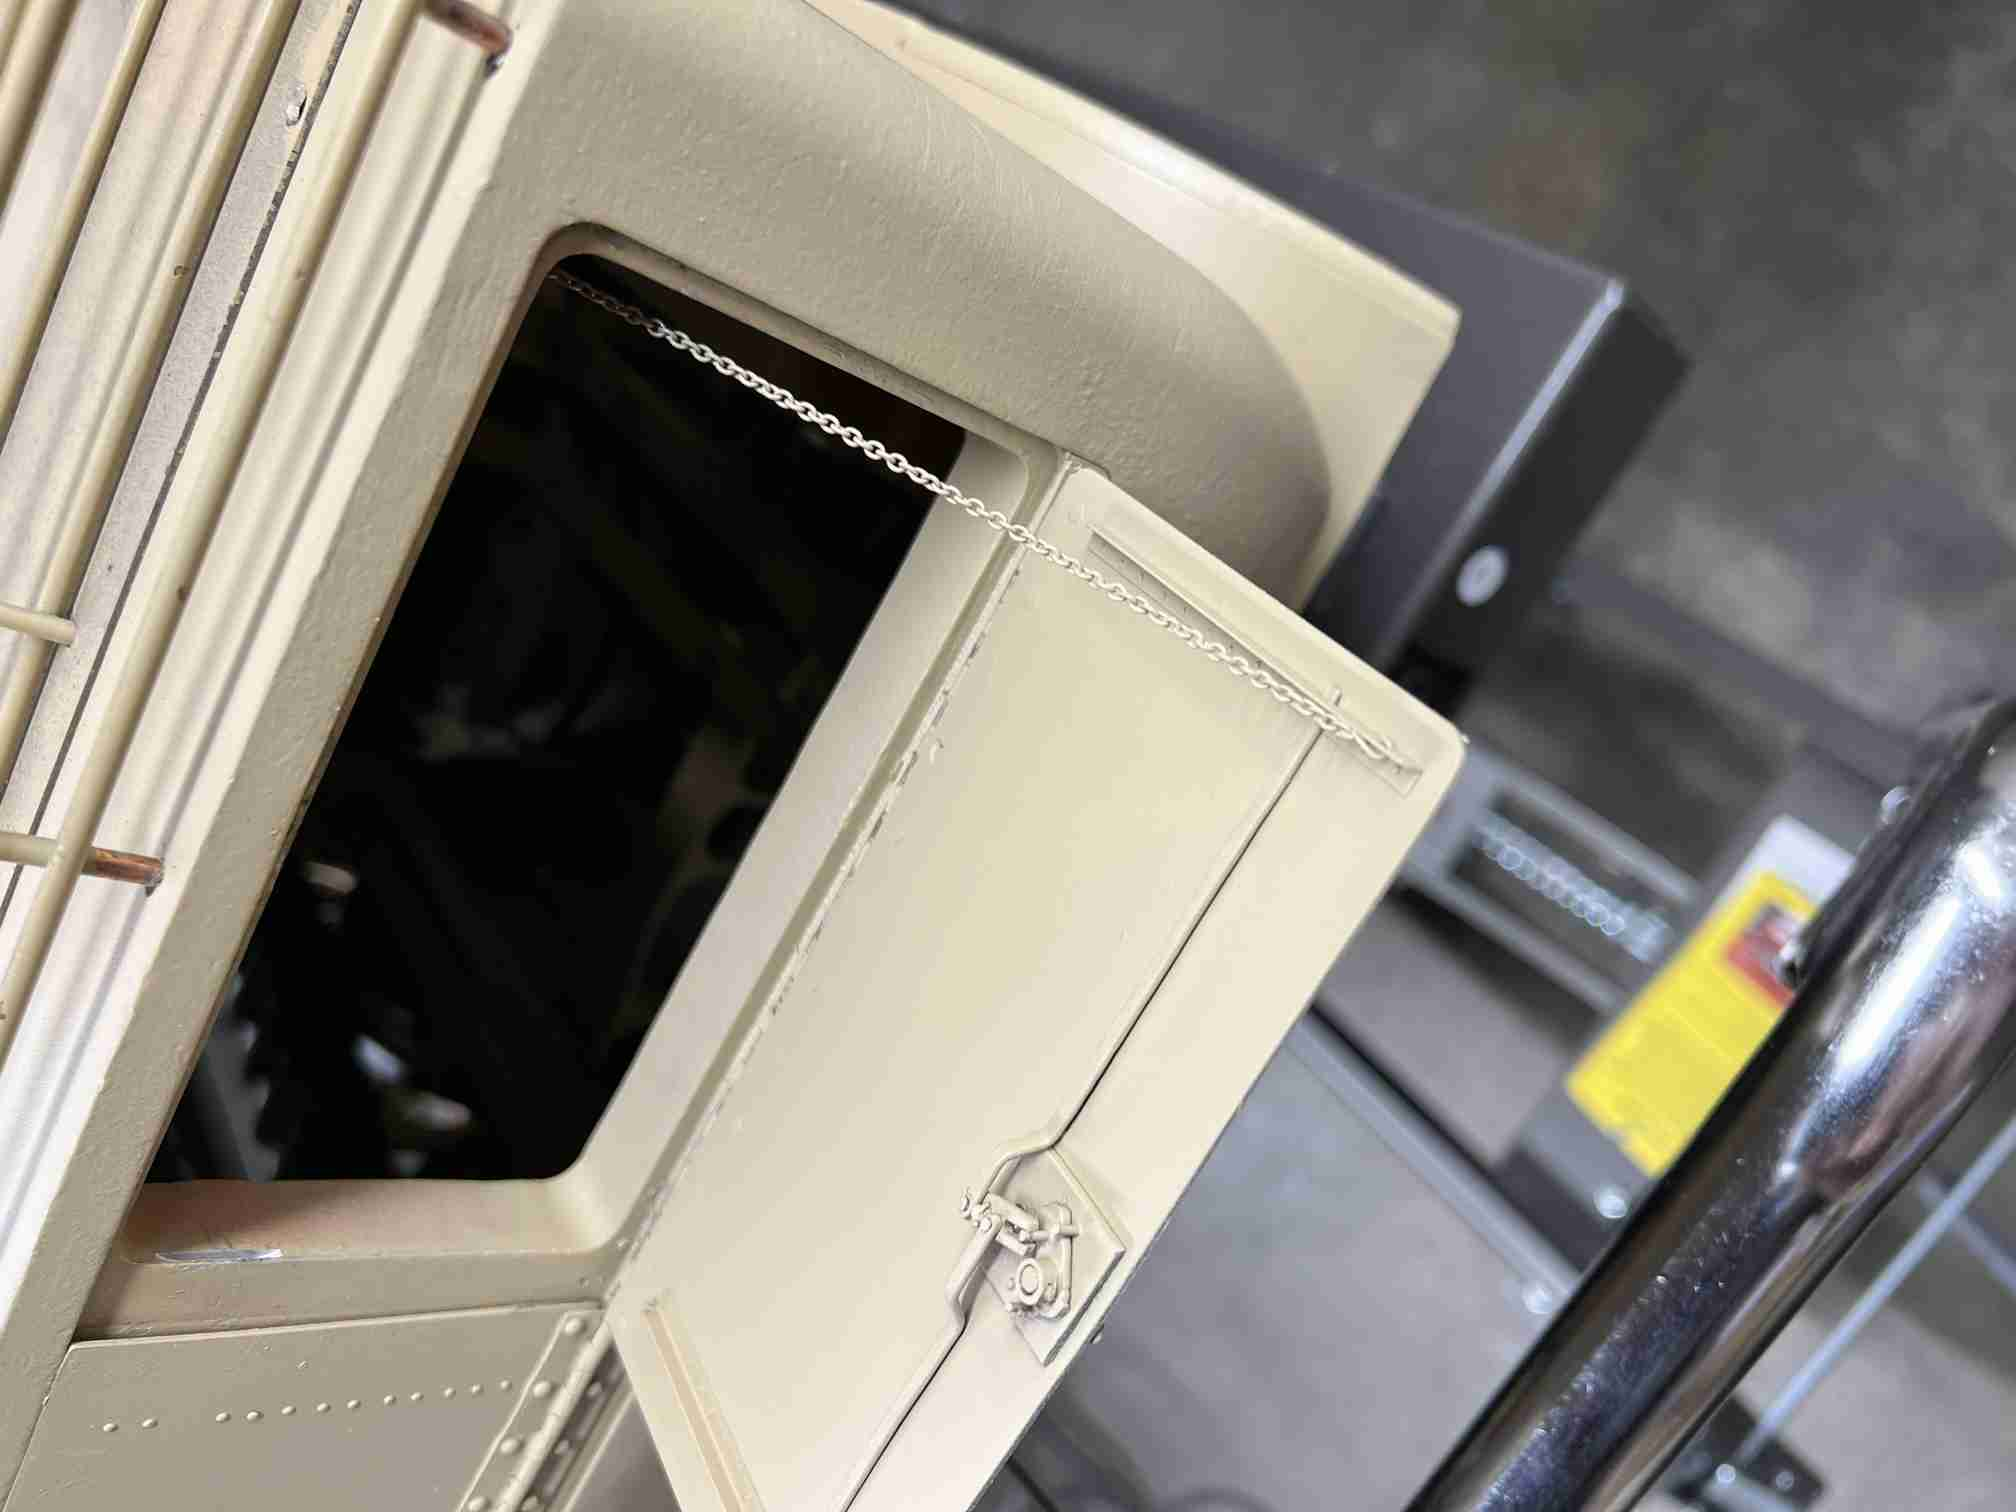
There are two stowage bins at the rear of the model which when I received it were both unattached. These needed quite a bit of attention. I riveted the hinges to the doors, no mean feat considering the large holes that were in both which required filling. I fasted the hinges to the heavy cast aluminum rear body section with 1-72 hex screws which seemed to be a good size for the application. I also riveted some vertical angles to the door which served as additional detail and provided a guide for the securing latches. I fabricated a semi-scale but fully function pair of latches; one each left an right. Fully from steel and brazed as needed. These were as I mentioned not a reproduction of the originals but related in form and function. I cut slots on the inner edges of the body casting to allow the latches a mating feature in which to engage so they could function. The handles seen from the rear actually work. Retaining chains were added to support the doors. Additionally a stowage bin for a spare tire provided on the original machine but not on the model so I made that as well.


The original model came with solid lead headlights and side marker lights. These I remade in brass and illuminated with soft white leds. I also made a tail light; apparently there was only one 'traditional' light, the other side being a convoy light which I am purchasing from a fellow in England as well as a Notek night light for the front left fender. 08/15/2022 Jerry
I must confess I've, obviously not keeping my site up. I've posted relaevant work on the FaceBook counterpart page and my work with these Armortek models on the Armortek Forum. I will attempt to keep this website more current. I've done quite a bit more work to this halftrack although even as of this writing not quite everything I've wanted to do. I went full tilt into the companion piece I received with it - the Flak 88. I will close off this article with the latest work I'd done and create a new one for the 88 which had been a massive amount of rework and is also nearly complete. So I can honestly say I've not been sitting on my hands since my last update here! In fact beyond the 88 I've begun work on the massive Armortek King Tiger! Jerry 10/15/2023