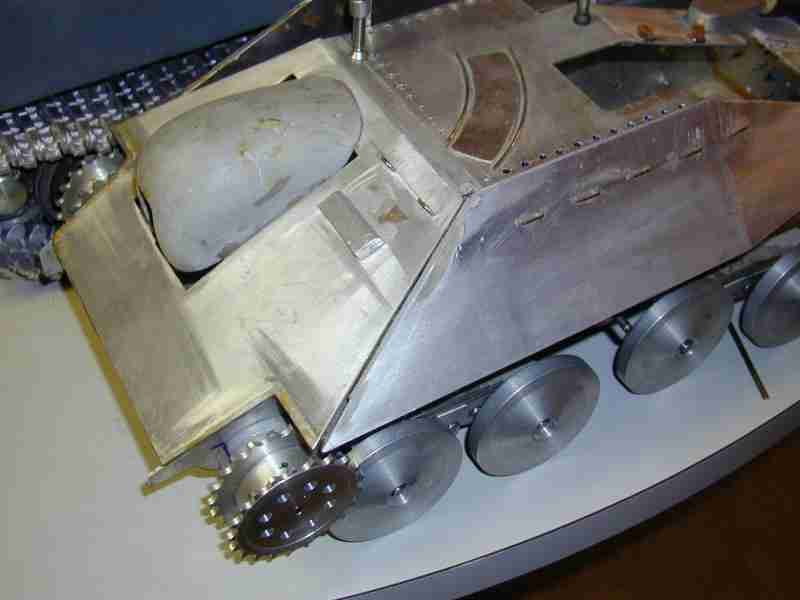
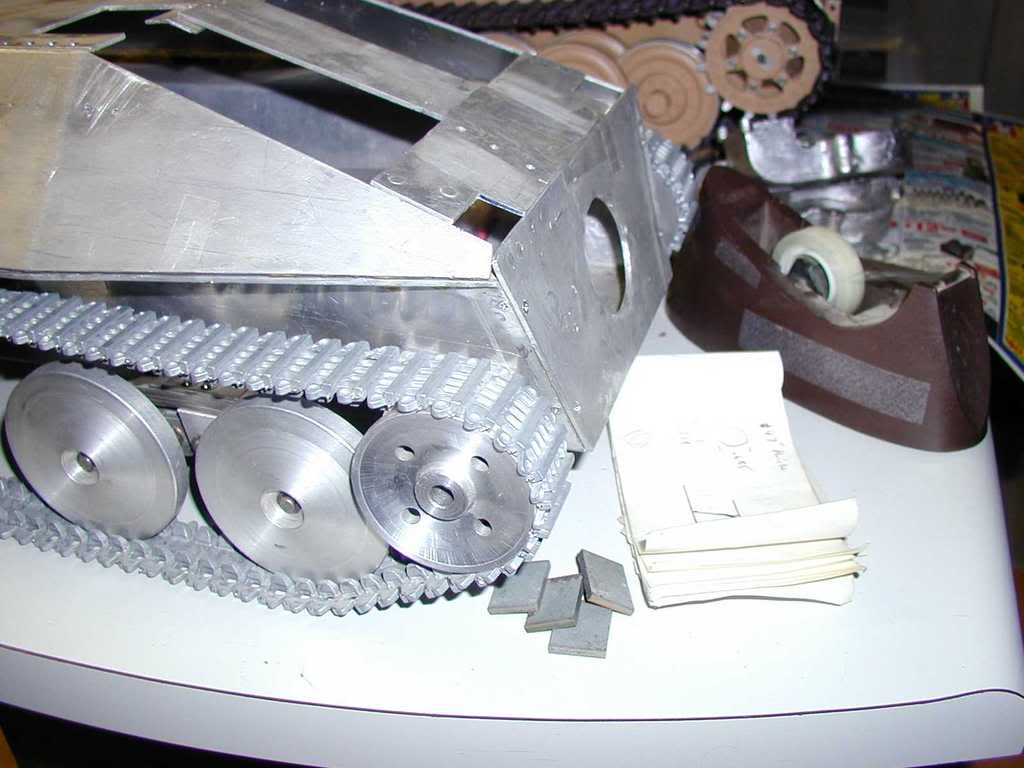
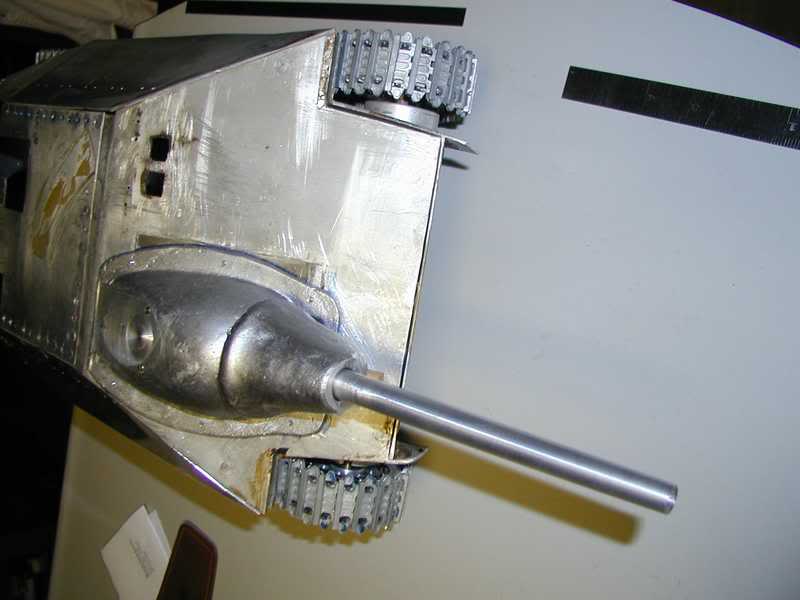
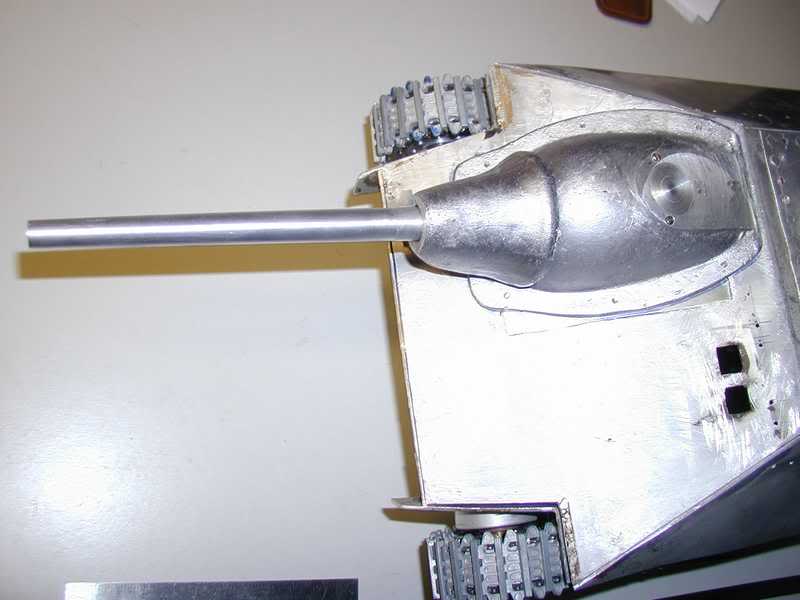
Below I've put in some photos showing the maingun and mantlet I've loosely set up on the hull. The mantlet needs more work but the worst is done. That worst bit was boring the .625" hole for the main gun tube. The main gun tube is actually a bar that I bored 3 or so inches into the front. It's all held together with tape( literally ) and propped up with odd and ends so I could see what it will look like. So far I like it.
I'm considering a taking a break from all my building for a while. I'm getting burnt out. I've been fighting the worst cold for two weeks now, barely shows any signs of getting better. Not helping is the constant stress at work, stress form having to produce, produce, produce at an ever increasingly feverish rate. And the constant fear of not knowing when one will loose their job at the whim of some faceless upper manager. Further compounding it all is having seen my retirement funds dwindle by a horrific amount. I'm tired often and I know it is stress as my life isn't physically strenuous...I don't truly enjoy this hobby when I'm that off kilter. I want to lose myself in my beloved Baroque and Renaissance music for a while.... Jerry 04/02/2009
08/25/2009 Still listening with a rekindled love of Bach's wonderful organ works, St Anne, Dorian, Passicaglia and Fuge in C, The Gigue as played by Karl Richter, E Power Biggs, and Chorzempa. I'm listening to Chorzempa's performance of Bach's Prelude and Fugue BWV 543 while typing this at 11:30 at night... I'll always love these grand works. But I've also rediscovered a love of French music from the times of Marais, Couperin, and Duphly - magical, brooding in some cases and wonder all....And now the Hetzer- I've dome a few things to it.
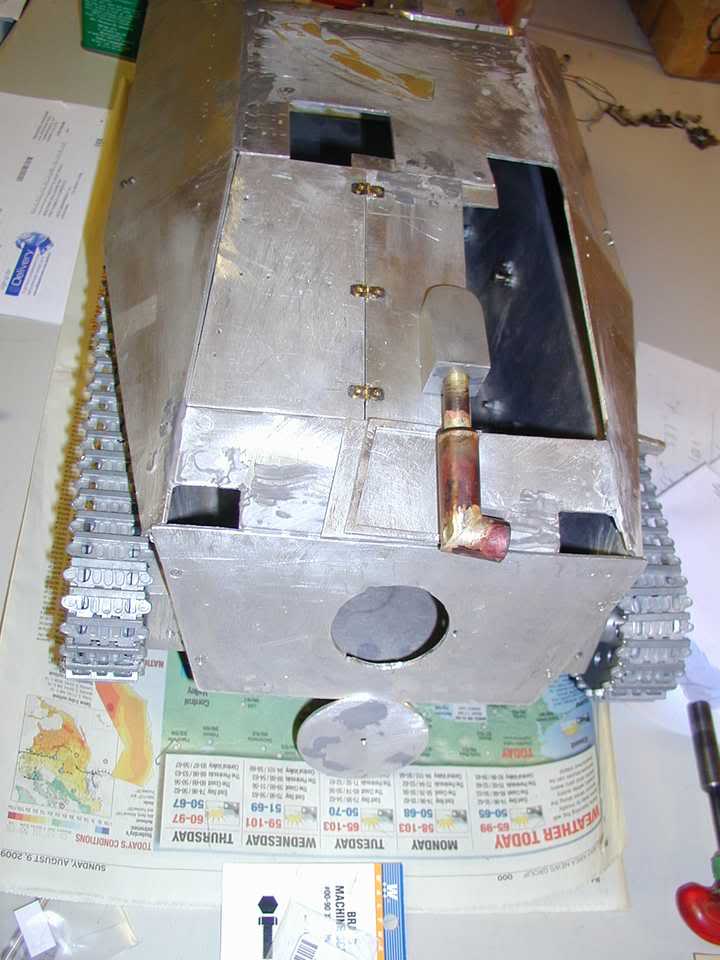

I worked on the upper hull more; I used aluminum "solder" and JB weld to firm up the upper hull. I've used the solder before with mixed results and this time was no disappointment in that department but it appeared to make a solid union
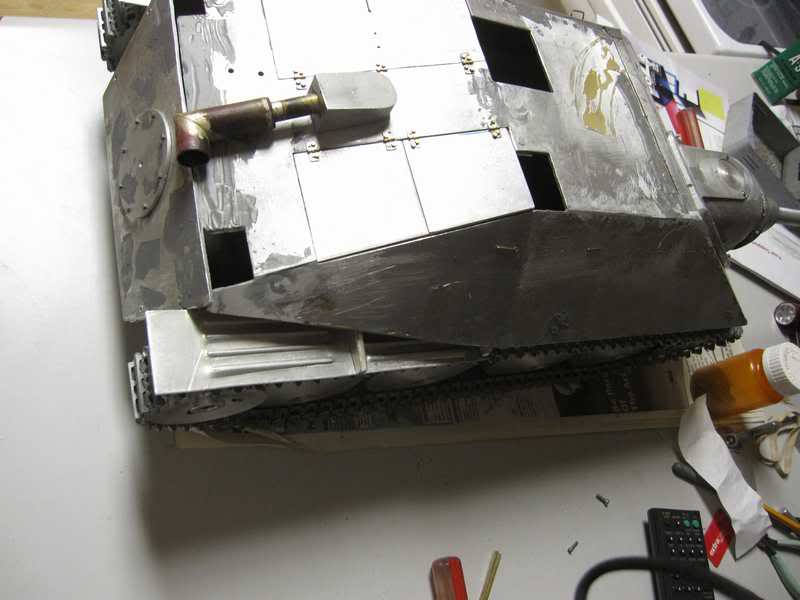
albeit rough - O can't seem to make a smooth seam with the stuff. I am a first time JB Weld user as well and I must say it seems rock hard. I tried to use it as a fillet along the inside of the seams and as a method of filling all the needless holes on the roof. I've been spoiled by Stabalit Express and Devcon 50% steel epoxy both of which have served me well over the years for filling unwanted holes and building up non mechanical surfaces. I've used Devcon to cover up screw heads and in a couple of instances on my Seiki Tiger I's to bond cover plates to the thin aluminum sheet they made their hulls from. Stablit I've used to repair ceramics pieces, affix the odd part to a model and most recently as part of the repair to my second Pracht JagdPanther I have yet to write about... Anyway on to the Hetzer! I used to JB Weld on the upper hull as I said to fill in holes and to build up the upper hull a bit in places. JB Weld cures very hard! It should do well in the application as I've used it. Further I made 3 small hinges as I did for my King Tiger mud flaps but in this case it was to secure the first of quite a number of hatches on this model. I've already recognized that the hatch openings are not rounded on the corners as some should be but I'm leaving them be. In the two photos above note the large hatch on the left rear hull top. The opening is large enough for me to place my hand . This I believe will be key in the operation of this model. This model will be a departure for me as the upper hull will be fastened to the lower hull with screws while in operation unlike my other models on which the upper hull can be simply lifted up to access the internals. I also began on the exhaust system. My philosophy with this model is to try to save as much of the original materials as possible. so in keeping with that I disassembled the original exhaust system which was glued together and copper/silver brazed as much as possible, bored out the angled mount block as I brazed a larger exhaust pipe to reduce restriction. My intention is to power this with an old OS 20 4 cycle which I'd already fitted on a mount with starter and cooling fan. That's it for tonight...
09/29/2009 Some progress has been made on the Hetzer. See photos below...

All I need are 20 more of my small transmission!
Jerry 5/30/2010 - Hopefully with most if not all of the transmission (See development here) development work is behind me, it is time to return to working on the Hetzer itself. Already as part of the work I did for the drive line work I modified the return roller mounting, creating an eccentric to allow tension of the tracks to be adjusted. I mounted the left and right fenders and fender braces. My attention will focus on these items:
- upper hull in particular needs cleanup/ smoothing
- The wheels. Needs rivet simulation; needs outer retaining ring, needs rubber tires!
- Hatches - need to complete!/
- Front fenders, driver's visor
- Rear deck/ plate needs finishing
I have to find a better internal exhaust linkage so the exhaust oil doesn't fly all over plus I need to "subtly" modify the exhaust output so it is thrown further away from the rear deck. Otherwise I'll always have a mess up there which will no doubt mix with dirt when running to make a world class mess. Over the next few days, which I have off, I will consider how best to make the wheels better. I hate to make a mold for only 8 tires but don't see a better way. In any even I'm off the air as to running any models as I managed to break 2 toggle switches on my workhorse Futaba 8UAP transmitter. I have sent away for replacement parts so ot will be a few days.
08/28/2010 It has been some while since I've done any model work and longer still since I've written here. I did spend a while fixing my primary running Panther. The starter bearings had broke quite a while back and I finally got around to repairing it. While that took some time I also spent time cleaning ' it up and rewiring it to replace the old untidy work I did some while ago. I'm thinking of starting a miscellaneous page to cover repairs and odds and end subjects.
I'm including a current photo of the Hetzer as I have done some things to it notably another set of hatches and the rivet work on the rear fender supports. I used tiny brass nails; I drilled 6 #80 holes on each bracket and the rivets are functional. I'll try to take a close up as you can hardly see them in this photo. More soon.

Along with the fender brackets I'd also installed the twin hatches on the left side of the roof. Had to fill in and build up the material so that I could give the hatch the characteristic round forward corners. I've also modified the opening for the right hand roof hatch to also give it the rounded corner the proto type had. I've rough cut the hatch itself but have not yet mounted it. I'm making my own hinges and only have two left and I need six more for the remaining hatches. I've been using brass 00-90 screws to fasten the hinges although the heads are a bit large. I have really tiny brass metric hex head screws but I don't consider using these as 1) they were given to me a long while ago and therefore I don't consider them a regular supply and 2) without a regular supply I don't wish to depend on them and lastly 3) I have actually been tapping the hull plates for 00-90 threads for the screws I've used and having no corresponding tap ( and die) for the metric screws I can't do the same. I'd rather use the tiny screws and should look into finding a reliable source along with threading tools. The metric screws are nearly 1/2 possibly 2/3 the size of the 00-90 screws so these would have been far better. I have no problem at some later date filling the screw holes on the hull and hinges and re-drilling and re-tapping everything!.
I also modified the exhaust to hopefully direct the exhaust stream away from the rear of the tank and theoretically be even less noisy than before. I've not yet improved the internal coupling. That's all til next time... Jerry
The photo below shows where I've left the model. The exhaust coupling remains to be improved and of course the model details, wheels and such need to be finished. Jerry 02/26/2018

A short video of the model running is seen below.
I believe I mentioned somewhere that I wanted to take a brief break from the Panzer III project and so had in mind to come back to revisit the road wheels of the Hetzer I'd worked on. This serves another purpose, obviously, besides just a break; I've needed to improve the monolithic wheels of this model as I'd not touched them since the beginning. Whoever turned them I can't imagine they planned to leave them as well turned lumps of aluminum so I begin to have at them. They were roughly the diameter of a finished Hetzer wheel- 82.5mm. So first thing id did was to reduce the diameter to allow for a tire to be made and installed. Next as they were solid whereas the original is not I turned the rear part to have a depth of 4mm for effect. I didn't want to weaken the wheels by making them thinner. Next was setting up the outer diameter with 16 holes to fasten the tire retaining/ support ring. I chose the later 16 bolt / rivet pattern. Next will be to make the 16 holes to mount the center cover. Then it's on to making the retaining ring and finally mold for the tires. I wanted to this latter step while my last batch of rubber is still viable, at least I believe still is but likely wont survive another year as hot as it gets here unless I refrigerate some! You make see the progress I've made so far below. Jerry 03/16/2018
Ok, sometimes something seems easier than it really is. Bite me! I finished drilling the 16 'rim' holes in the 8 road wheels that make this a Hetzer. Not so bad, set up the indexing head with the correct hole wheel and have at it with a Nr 60 drill. Roughly 1mm which I actually began with but switched over to SAE drills as they're easier to find and my tiny metrics are of questionable sharpness. The wheels themselves aren't too bad to drill being aluminium. The retainer rings however... I decided to make these of steel, Sounds easy, right? I picked up some gigantic steel washer 1-1/4" ID and a whopping 3" OD and .125" thick, a box of ten at the local Orchard Hardware (I was impressed that they had something this large there!). See the image below and imagine what it takes to convert A into B.
Not the most fun way to spend time on a Sunday afternoon and I just made the one example as a test. Looks ok, tiny drill wandered a bit in a few instances affected alignment of the holes however I'm likely to enlarge the holes as I'm thinking I'll make my wheels the bolted variety versus the riveted type. In the photos below I used steel pins to stand in as rivets but the heads are a bit large and of course the shape, well, looks like a pin and not rivet_ish. Work needed there. The lesson here? I don't think I want to spend as much time making 7 more retaining rings from the giant steel washers I purchased so back to the material selection process. Now if I could find these in aluminium.... Jerry 03/18/2018
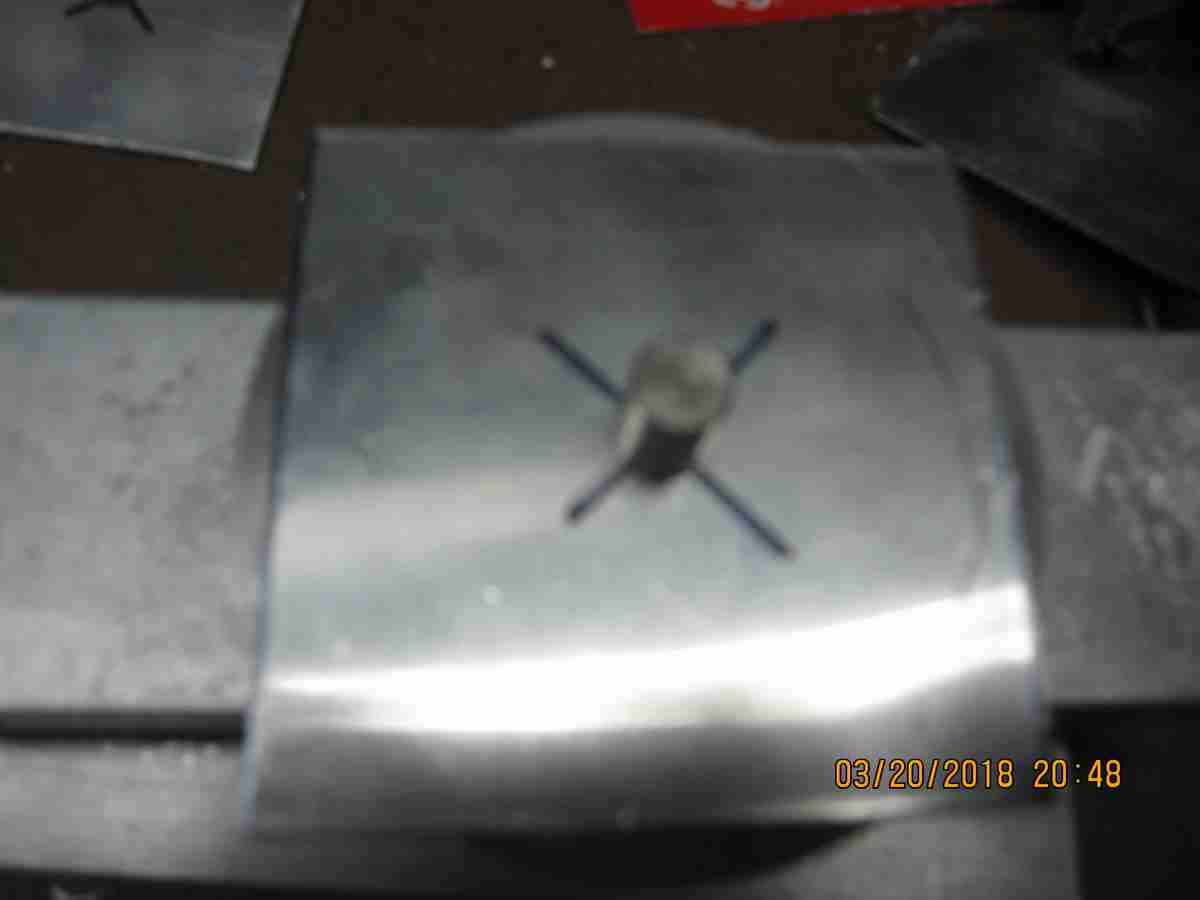
The next best thing to finding these in aluminium is to make them out of aluminium. I remembered I had made a die for another project years ago and as luck would have it the out diameter of parts from this die are within a few thousandths ( smaller) of the parts I need to make. Good luck that. I made this die to press parts from about .040" aluminium sheet and that is ideal also. I made a few test parts and they will be perfect. And the most important goal of less machining is met very handily. The only thing I need to work out is how to safely hold them in the lathe while cleaning them up but beyond that the machine time per part prior to setting up to drill the rim holes is a fraction of the other steel parts. The part in the last photo has not been finished turned to its finaal size. I'm quite pleased with this solution. Apologies for the blurry photos. Jerry 3/20/2018



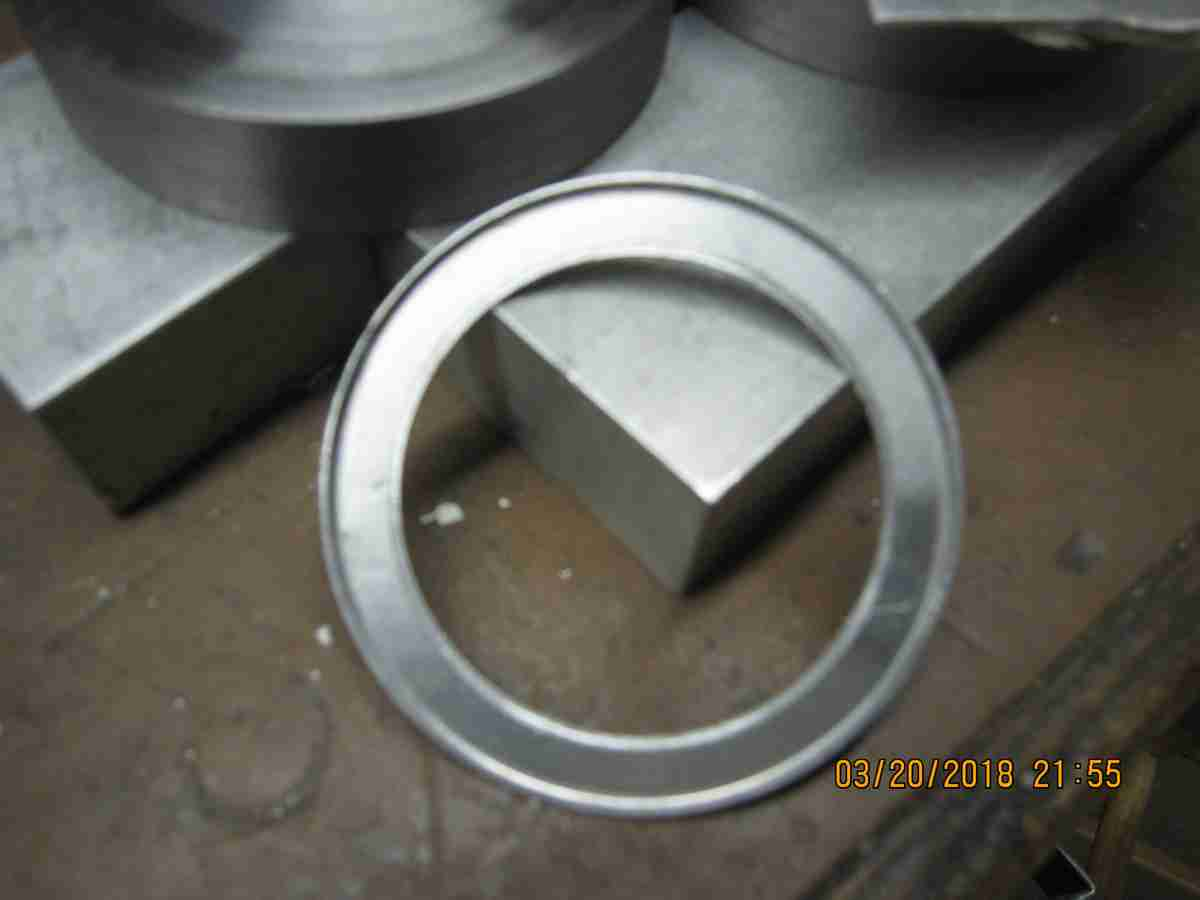
Despite a persistent effects of my last cold and another worrisome condition I have made significant progress on the Hetzer road wheels. I have cut the retaining rings and prepared the perimeter holes to match the wheels. Final truing and dimensioning will occur once the rings are mounted on the wheels. I also began drilling the 16 center hub holes. It all looks trivial in the photos seen below but it's actually time consuming and tedious. With only 8 wheels to do I didn't feel it was worth it to make drilling fixtures or jigs to make these parts as I like won't be doing any more anytime soon. So to make the holes properly I've been doing each set using a rotary indexing head. Even though I actually have substantial parts to make a third Hetzer. I may have a suitable tire mold with which to form the rubber tires which I will begin work on next. See the photos for the progress so far. Jerry 3/25/2018
Ever wonder how you can believe you had a deep connection with someone only to see it evaporate and worse when you see the person some few months down the road the feeling you get from them is as if none of it happened at all? I experienced that and man oh man I wonder just where my mind was 9 months ago! Anyway back to the Hetzer! The wheels are progressing very well. I made a contour cutter for my lather which has enabled me to carve out the rear part of the wheels around the hub thinning them sufficiently well. This thinning I deemed neccessary because I wanted to tap all 128 holes(!) on the 8 wheels to support the bolt pattern where the 'hubcap' is. Yes I tapped 128 holes with a 0-80 tap (by hand!) and I am pleased to say full 75% threads and I was lucky enough not to break a tap in the process. Whew! Tedious! The results are worth it. See photos below. Next is to rivet the rings to the wheels then on to making the tires. Jerry 4/2/2018
Today I tried riveting the retainer rings to the wheel bodies. Below are front and rear views of the first two wheels I completed. Not bad, there's a method that surfaced that hopefully now after the second wheel I will be able to reproduce uniformly through the rest of the remaining wheels. Jerry 4/2/2018
I have made good progress making tires. I won't bore everyone with the process of machining the tire mold itself. Basically I ended up using a section of very thick walled 4 inch diameter aluminum tube for the outer body of the mold, machined to be 82.5mm inner diameter which forms the outer diameter of the finished tire. The end caps shape the side walls of the tire front and rear. These have, but can't be readily seen, a slight taper from the inner to out diameter of the tire itself. Also there's a groove at the front part of the side wall to allow for the tire retaining ring, riveted in place as seen above. Also along the inner and out faces of the tires I took the liberty of putting my initials(!) and an ersatz size designation 825 as the full size tire is 825mm in diameter. As of this writing I have but one tire to finish although I will likely replace the very first tire I made as I was still working out the loading procedure, temperature and time for vulcanizing the raw rubber. I didn't mention it but this rubber I use is retrea rubber for commercial tires which vulcanizes at about 275-290 degrees Farenheit. On the whole not bad tires, not perfect but better than what was there before. A fair amount of work for 8 wheels worth of tires but it was worth it. Jerry 4/13/2018
Raw rubber- like chewy licorice.
loading the mold.
Test tire.
Mold just pulled from oven.
Mold just opened.
Tire just pulled from mold. The stringas are from the expansion holes.
My creative license, my initials JC and size 825. Applied to mold face with 1mm steel stamps, reversed characters.
Progress.
My Hetzer is wearing it's new shoes. I found that the suspension arm centers as too close together so I'll have to make one new one for each set of two wheels to move them further apart. Even though they look for all the world as though they are rubbing they actually aren't but the look is 'off'' The spacing between the inner two wheels of the sets is greater than it needs to be by quite a bit so moving them closer will improve the appearance. Also the return roller needs attention now..Jerry 04/15/2018
I fiddled around with the suspension arms for this Hetzer making 4 new ones to modify the spacing of the central 4 wheels. It isn't as simple to get the spacing right as you might think. Firstly and I don't want to say anything bad about the original maker of the basis parts of this model which I've always felt were pretty good. It seems as though the person used hand tools for the most part and there's nothing wrong with that however I measured some inconsistancies with the spacing between the pivot axles and mount point of the road wheel shafts. My fear is I assumed these were uniform when I first disassembled the model years ago but I'm now wondering if perhaps the original builder knowing these limitations made the parts for specific mount points on the model and I've basically jumbled that all up. What I need to do at some point to properly assess the situation is remove the wheel assemblies and measure them and determine more accurately the center-to-center distances for all 4 wheel pairs, then I need to see how their relative position on the model affects the spacing between pairs. On the full size Hetzer there is a slighly larger spacing between the center two wheels on either side than between the wheels of any pair. Getting this correct without understanding the basic geometry will be impossible. So right now there's a mix of 4 new made swing arms with two different spacing between the pivot axles and mount point of the road wheel shafts( I modified two of the 4 I made after I saw the resulting spacing wasn't what I wanted) and 4 of the original swing arms with their variations. Overall it looks 'ok' but not as good as it could be. What I did didn't warrant a new photo so I just wrote about it. I know this will be stewing in the back of my mind but I'll try to leave for another day as it si funcionally viable at the moment. Jerry 04/18/2018
Well ok maybe one new photo... see what I mean? Jerry 04/18/2018
=====================================================================================================================
A second Hetzer!!
If one is good two is better, right? Never having met a 1/10 scale tank model I didn't like I happened to find this beauty at one point. I did get it sometime after working on the model you see here but no longer recall how far back I did get it.. This second Hetzer is mostly made of steel with what looks like a set of Geisswerk bronze tracks. It's quite lovely and heavy although a large portion of the detail was made from flimsy plastic card and much as fallen off or broken. This will be a model I'll get to at some point as it was far better executed that the one I worked on previously and is looks stonger as well. The images below tell the story although in it the model appears a darker mustard yellow than it really is. Jerry 02/22/2018
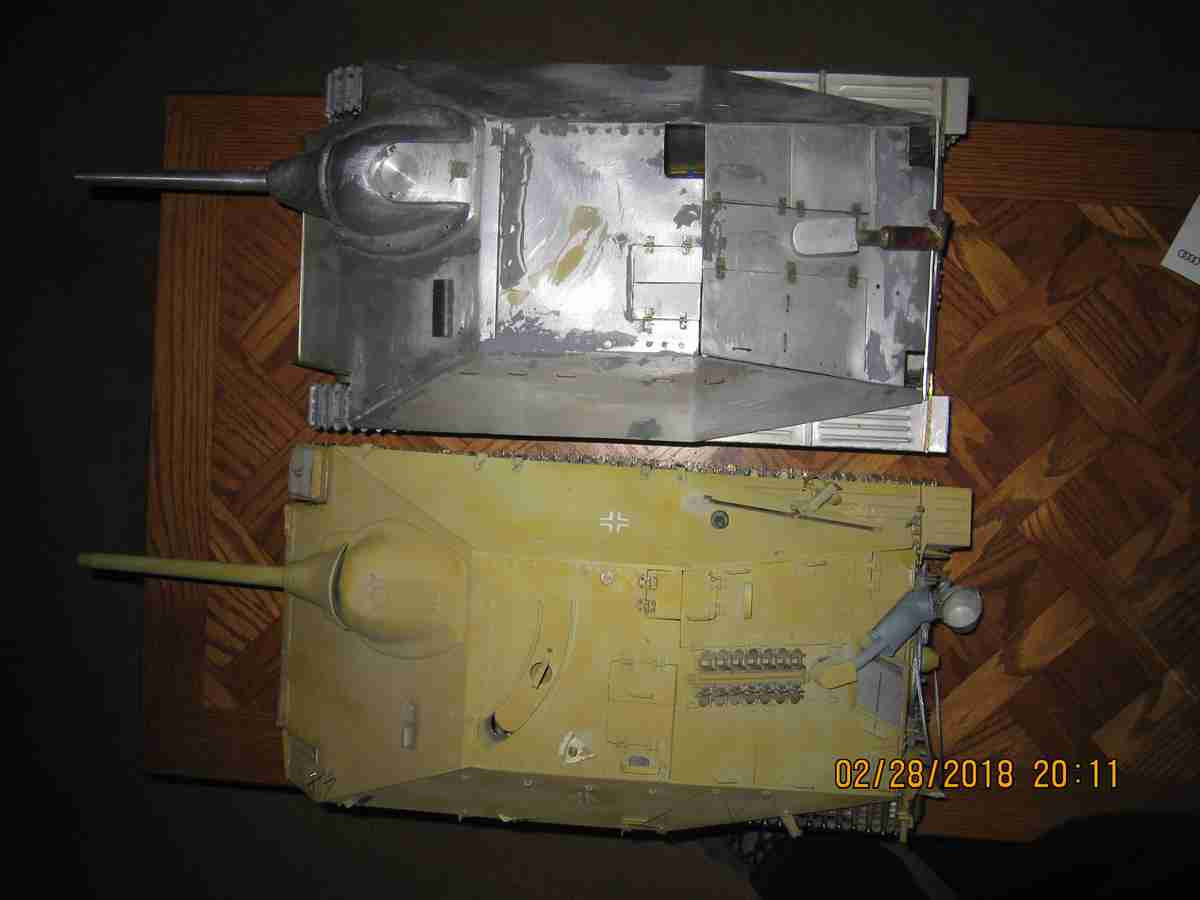
How do they compare?
As I'm sure everyone is curious as I am myself: how do the two Hetzer models compare? Well there are differences certainly. One is slightly longer, one is slightly taller; there are detail differences (where both share the same detail elements) but overall they are similar enough to call them the same. At some point I will compare the two to known information, photos and other reference materials and I will do what I can to make these nearly identical where practical. As always I chalk up such differences to 'different sub contractors'! These two models were made independently by two different modelers. In the case of the first, by whoever began it and then by me; we had different resources and reference materials. I suspect the second model is more accurate. What I didn't say previously is I may have elements for a third Hetzer but can't recall how much or what. The first thing I will do to my aluminium Hetzer, the one in which I mounted my own transmission/ engine 'power pack' is to make the road wheels more accurate with rubber tires, rivets and center details/hubcaps. These sorts of things are what I use to break the monotony of working on a long winded project like the panzer III or King Tiger projects. I find I get burnt out on them and itís better to move on to something else for a while to clear the mind and come back later with a fresh perspective; small short term tasks are perfect for that. The first Hetzerís road wheels are just such a task. Jerry 02272018
---o0o---
---o0o---